

Using Bondo to Repair Wood Furniture
This post may contain affiliate links, meaning I make a small commission on qualifying purchases.

If you’re repairing chips, gouges, or missing wood on vintage furniture, learning how to use Bondo to repair wood furniture can be a total game changer. Bondo might be known as an auto-body filler, but furniture painters like me love it for its strength, fast dry time, and smooth finish. In this guide, I will talk about all things Bondo and walk you through exactly how to use it for for furniture repairs.
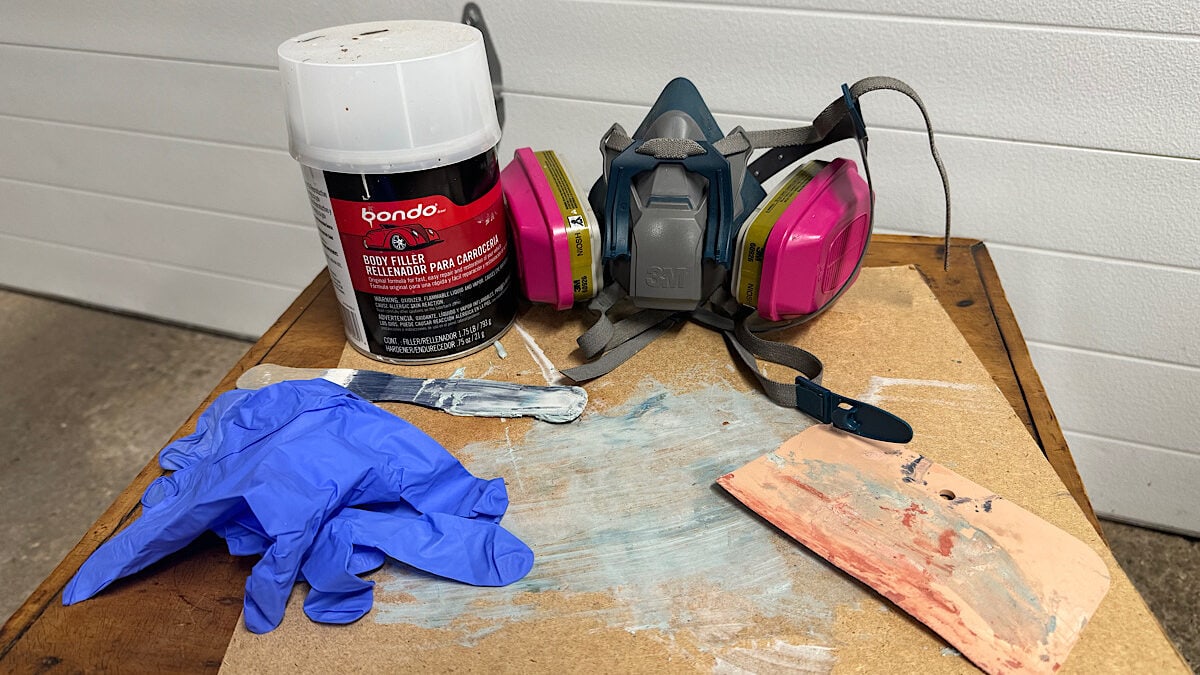
Bondo is very useful for common furniture repairs and is one of the most used products in my refinishing “toolbox.” But I had been painting furniture for years before I had even heard of it! When I started painting furniture as a hobby for myself, I was painting hand-me-downs from family, and all of these pieces were in good shape. But once I started looking for inexpensive pieces to repair and sell, I discovered how great Bondo was for repairing wood.
Summarize & Save This Content
What is Bondo?
Bondo is a two-part filler originally designed for automotive use to fill and repair surface imperfections. And guess what? That translates to filling furniture surface imperfections as well. I love using Bondo because it is strong, doesn’t shrink, sands smooth, and most importantly, it dries quickly! In my opinion, it gives the best result in the shortest amount of time. There is so much waiting around for things to dry when painting furniture, so if I can keep things moving along I’ll take it!
Bond is sold as several different products – the auto body filler, an all-purpose filler, and a wood filler. I’ve used all three on furniture and honestly can’t tell the difference functionally. The wood filler is tan (wood) colored, and the hardening cream can vary in color as well. But I find I only use Bondo on areas to be painted, so the color doesn’t matter. I will usually buy whichever type is cheapest.
How to Use Bondo to Repair Wood Furniture
The biggest downside to using Bondo is its smell and toxicity. If you’ve ever smelled it, you know what I mean! And if you take a quick look at the product safety sheet (which you should do when using any new product) you will see there are lots of warnings and long chemical names. Make sure are following the recommendations. Work in a well-ventilated area. Gloves and a respirator are a must.
A Bondo ALternative
Another, less toxic, woodfiller that is very similar to Bondo is Durham’s Rock Hard Water Putty. Check out my complete review of wood fillers which includes a side by side comparison.
Step 1: Prep the Area for Bondo
Before applying Bondo, make sure the damaged area is clean, dry, and free of dust or oils. If needed, lightly scuff sand the surface to rough it up, this helps the filler bond more securely to the wood. I will generally clean and scuff sand the entire piece before starting with Bondo repair.
If you’re rebuilding a corner or an edge, you can use painter’s tape or a temporary mold to help shape the filler while it cures (see more about using molds in this post).
Step 2: Mix the Two Parts Together
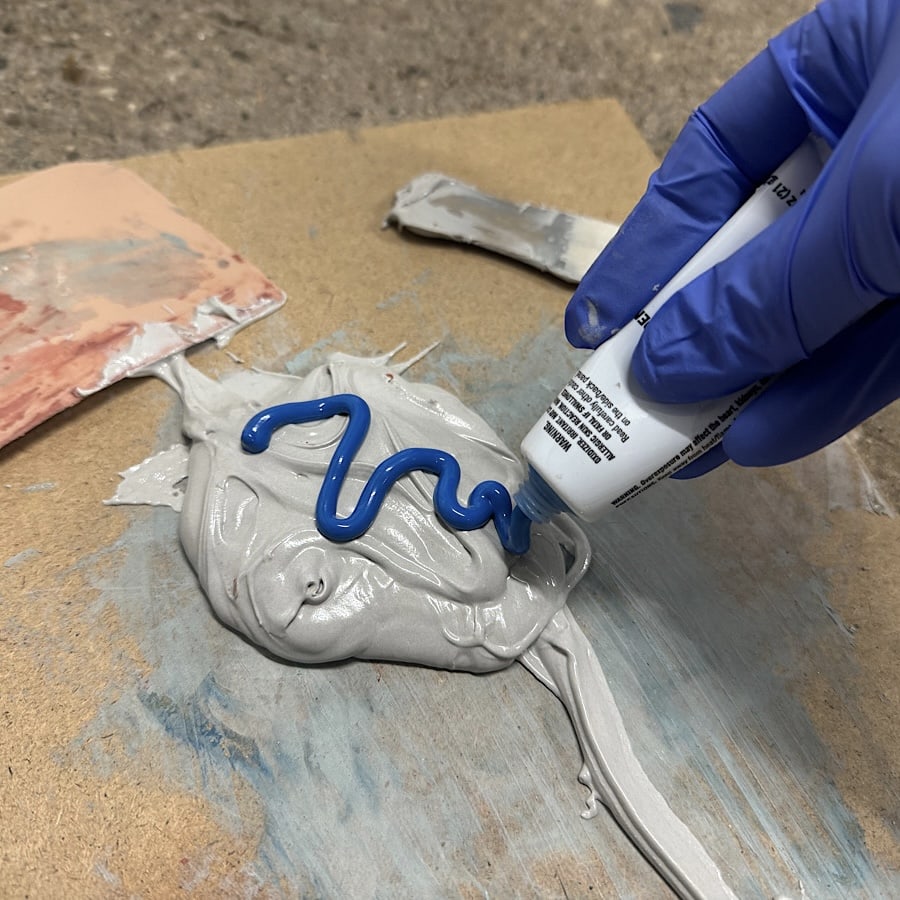
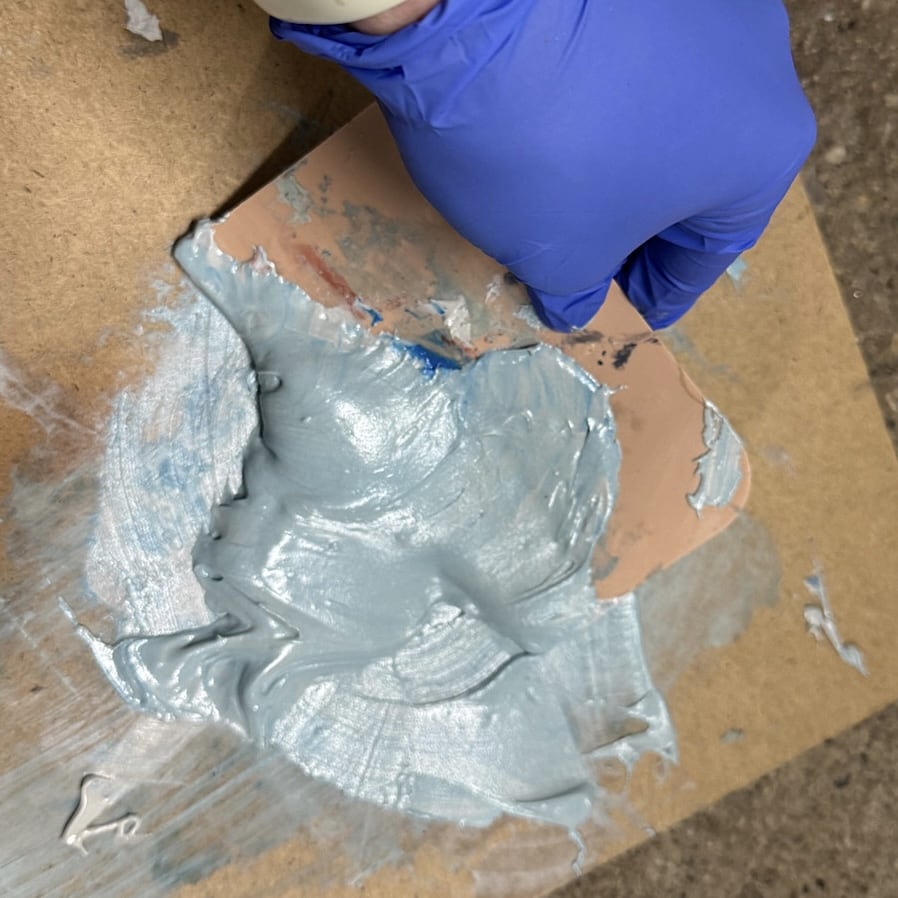
Using a tongue depressor or paint stick, portion out a “blob” of the putty onto a scrap board or box (something you’re okay with throwing away). Then squirt some of the hardener cream on top and mix it together using a spreader. In this case, the hardener cream is blue, but as I mentioned it can be other colors as well. I generally add about 1-2 inches of hardener for every inch of my “blob,” keeping in mind that the more you add the faster the mixture will dry. This takes practice and you’ll likely have some product dry before you finish spreading (step 2) the first couple of times.. I reccommend to start with small batches until you get the hang of it. Don’t worry, you’ll get more efficient!
Quick Tip
While both parts of Bondo are sold together, I always use up the hardener cream before I am done with the putty. Not to worry, you can purchase additional hardener cream separately!
Step 3: Spread Bondo Over The Area To Be Filled
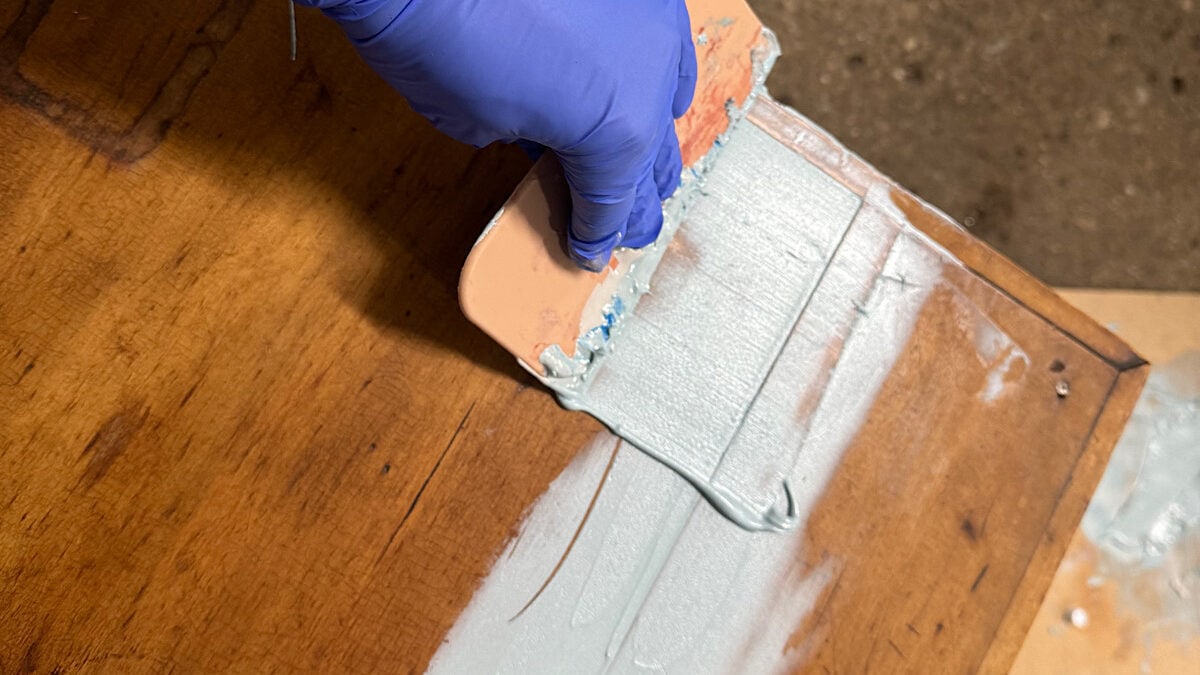
Once the Bondo is well mixed it’s time to start spreading! You need to work fairly quickly before the Bondo begins to set. And trust me, you will know when that starts to happen by the way it feels. If it does, let the area dry and then mix up some more and continue. You want to overfill, but not by too much, because extra product just means more sanding.
Step 4: Sand The Area Smooth
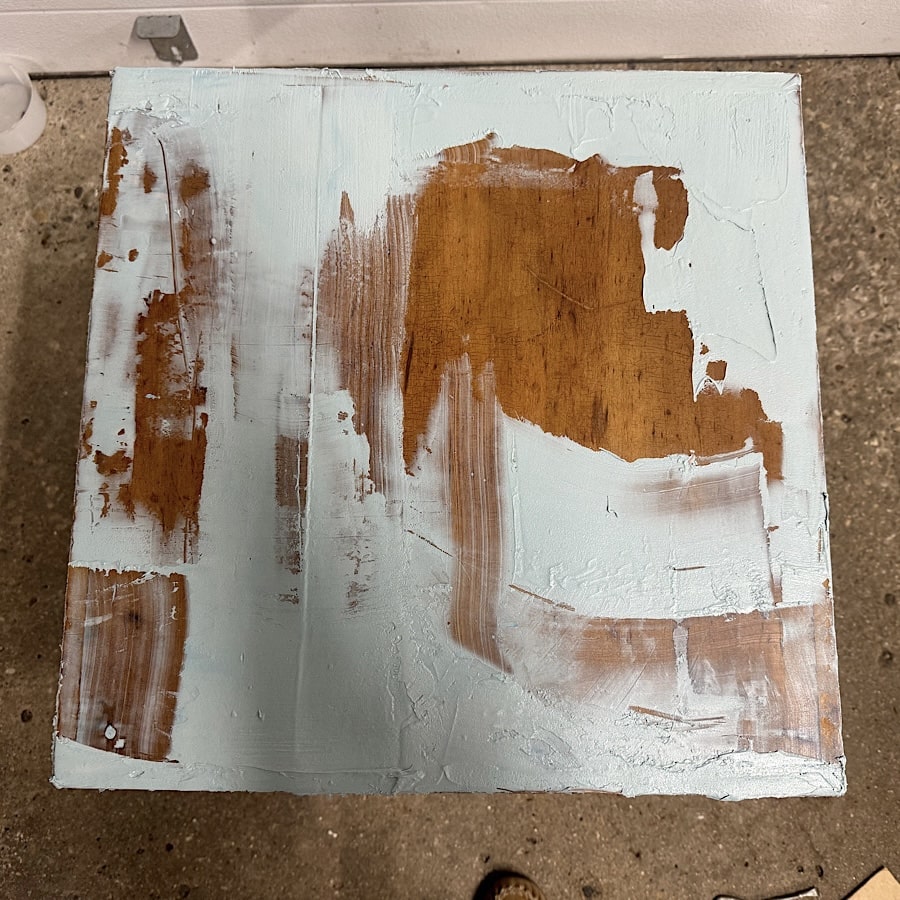
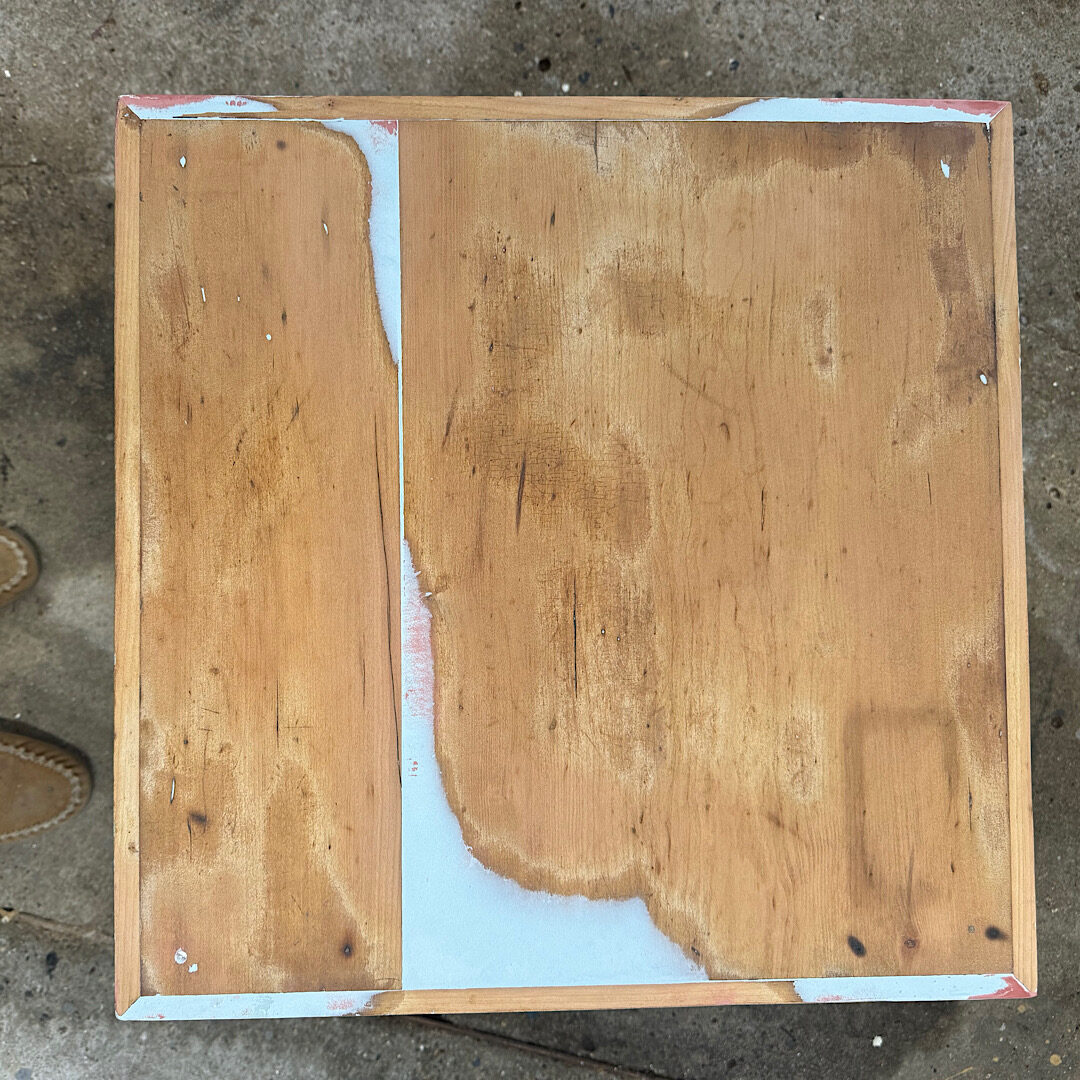
After you have let the Bondo completely harden it is time to sand. This usually takes about 15-20 minutes but depends on how much hardening cream you had mixed in. I sand back with my sander using 150 grit (you can hand sand but it takes a while). Once you’ve sanded smooth you can look and see if there are any areas you need to fill again. Often times, you will need to do a second round (this applies to other wood fillers as well).
5. Prepare The Bondo Area For Paint
When the area is completely sanded and smooth you are ready for the next step, priming. Because of the difference in the Bondo and wood surfaces, you will need to prime, either with shellac or a more traditional primer. Otherwise, your paint will soak into the different surfaces differently and you will see that unevenness in your finished piece. More information and recommendations can be found in this post about primers.
Would you like to save this?
When to Use Bondo to Repair Wood Furniture
Okay, so now that you have the basics on how to use Bondo, the question becomes when to use it. Bondo is my great for large or structural repairs that regular wood filler just can’t handle. Here are four “issues” that are great for using Bondo to fix.
1. Repairing Wood Veneer
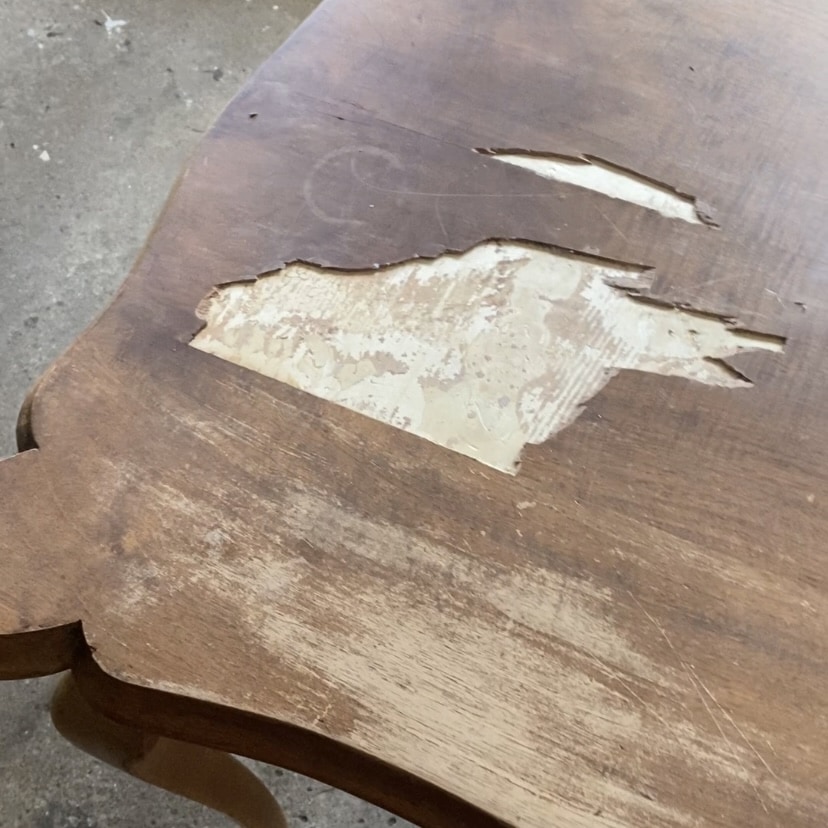
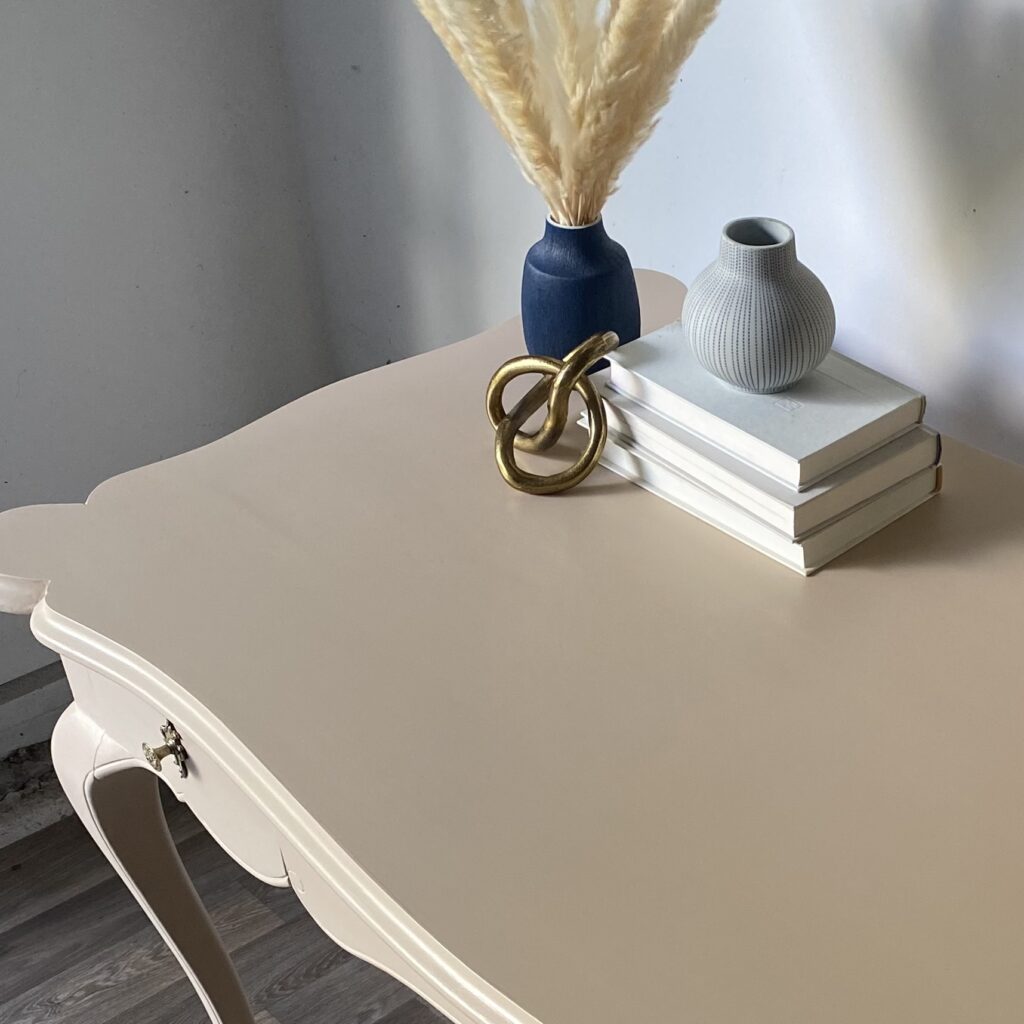
Bondo is great for filling in areas where the veneer has chipped away. This is my most frequent reason for pulling out my can of Bondo! Make sure you have chipped away (or glued down) any loose veneer in the area before filling (Bondo isn’t a glue and won’t help with resecuring loose veneer).
2. Filling Hardware Holes
Sometimes you may want to change the layout of the hardware on your drawers. This is a simple update where you just need to fill the existing holes and then drill new ones. Bondo is one of the materials I will use to fill old hardware holes. However, my favorite product for this purpose is KwikWood, so I will only use Bondo if I already have it out for another repair.
3. Fill Surface Dents, Holes and Scratches
Bondo is great for filling larger scratches, cracks, dents, or holes. If you have smaller scratches or imperfections I recommend using Bondo Glazing and Spot Putty. This is a thinner consistency and does a better job of filling the little stuff.
4. Use As Fill For a Mold
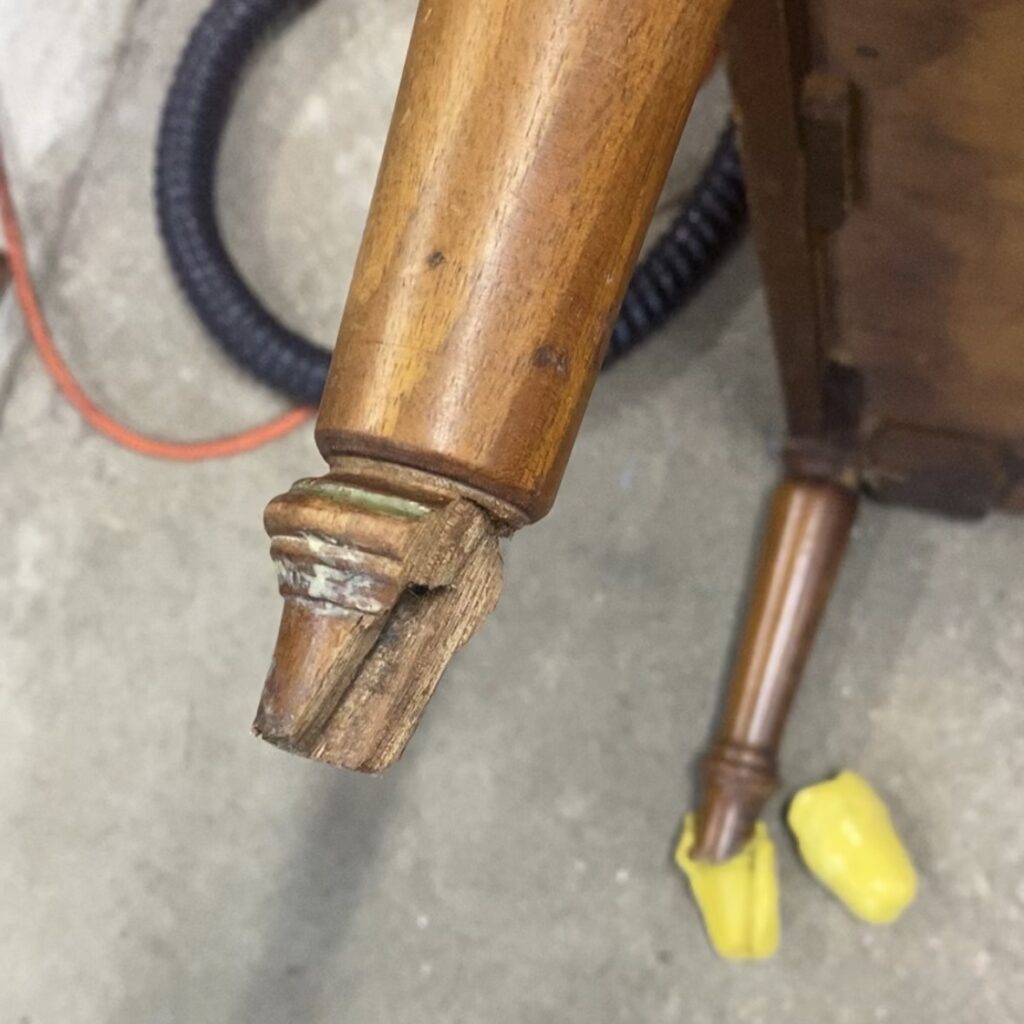
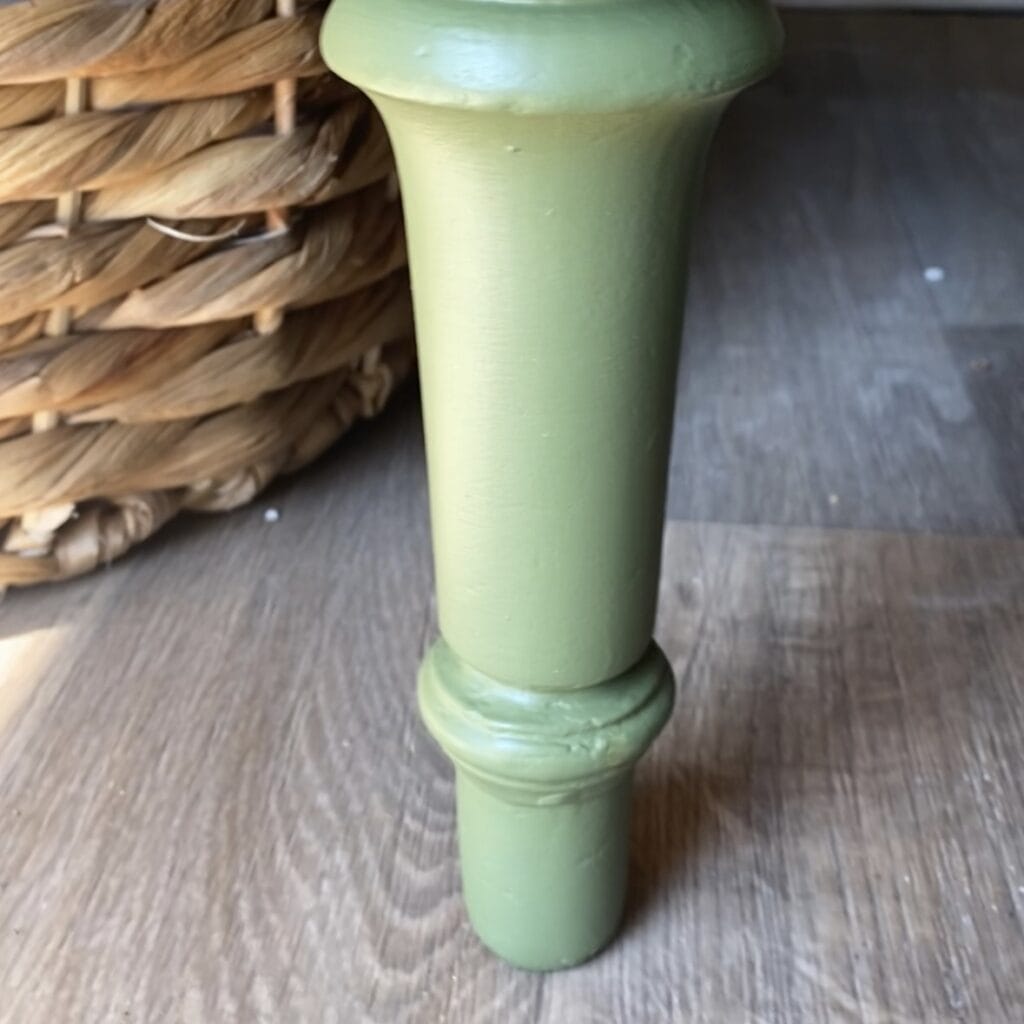
If you have a chunk of missing wood or trim, making a mold to replace the piece is a great option. And Bondo works really well as the filler for those molds. For more information, I have an entire post dedicated replacing a missing chunk of wood using a mold.
When NOT to Use Bondo
While Bondo is great, it isn’t ideal for every repair. Here are a few reasons why I will reach for another filler instead:
- It is not flexible, so avoid using it where the wood shifts or expands. For example, I’ll use silicone caulk on gaps around furniture joints.
- It doesn’t fill light superficial scratches well, consider using Bondo Glazing and Spot Putty on these areas.
- For smaller repairs where where you don’t feel like dealing with the mixing (it is more of a process!) or the toxicity, consider a waterbased traditional wood filler, my favorite is Famowood.
Summary
I hope after reading this I’ve convinced you to give Bondo a try. Bondo remains one of my favorite products for diy furniture repairs because it’s strong, and it gives the best result in the shortest amount of time. If you’ve been nervous about trying Bondo, start with a small project and work in small batches. Once you see how strong and seamless the results are, you’ll wonder how you ever refinished furniture without it!
Please reach out with any questions, and I’d love to hear how you’ve used Bondo on your own furniture repairs.
New to furniture painting?
Get my FREE Beginner’s Guide to Painting Furniture! This guide walks through the steps of a furniture painting makeover and includes a downloadable project planner and supply checklist.