Replacing Outdoor Cushion Filling: DIY Tutorial
This post may contain affiliate links, meaning I make a small commission on qualifying purchases.


Outdoor furniture cushions aren’t cheap, and if you’ve shopped for replacements recently, you know exactly what I mean. I wanted a more budget-friendly solution to my very worn-out patio dining chair cushions, so I decided to DIY it! If I were a competent sewist, making all new cushions would have been a great option. But I’m not, so replacing the cushion filling was the perfect solution (and a whole lot easier too). If your cushions look as bad as mine and you’re looking for an easy DIY fix, then keep reading. In this article, I will share exactly how I replaced the old outdoor cushion filling with brand new high-density foam to give the cushions a whole new life!
Summarize & Save This Content
The Project
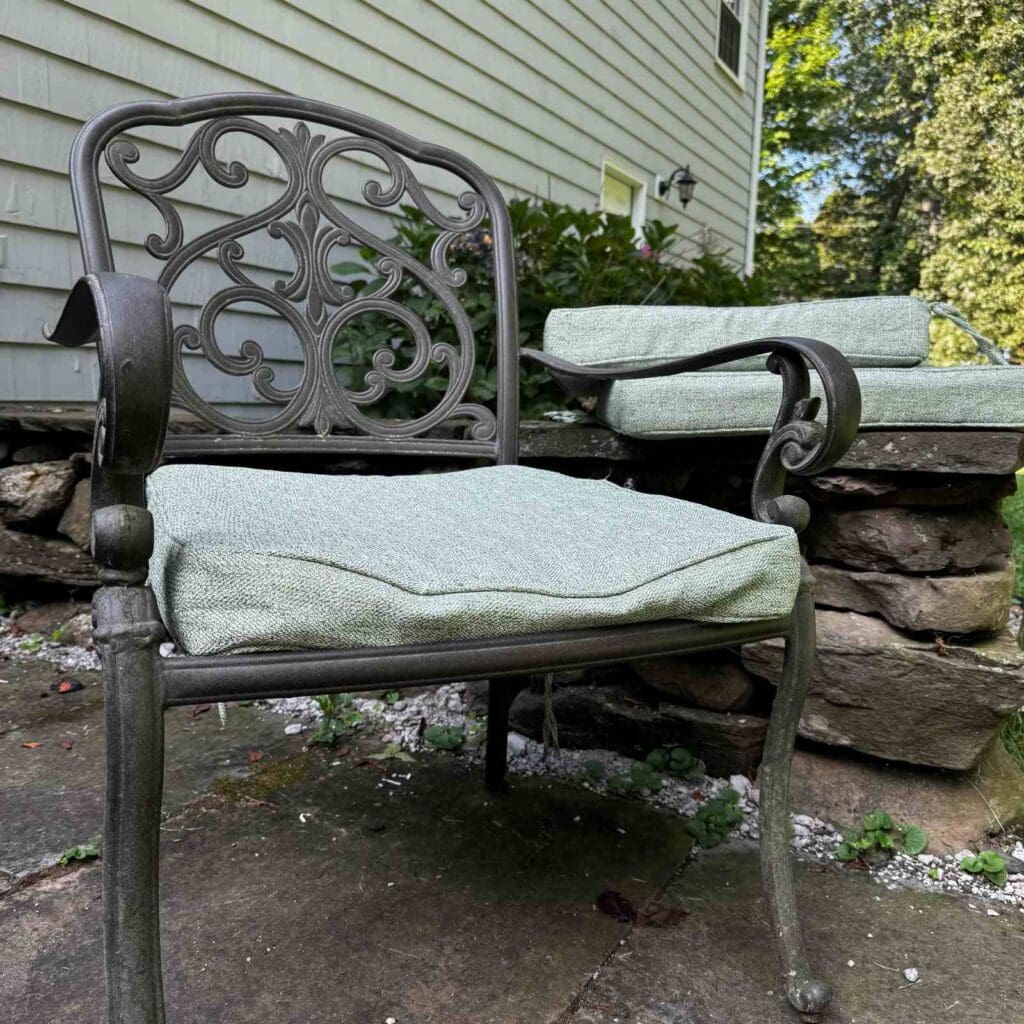
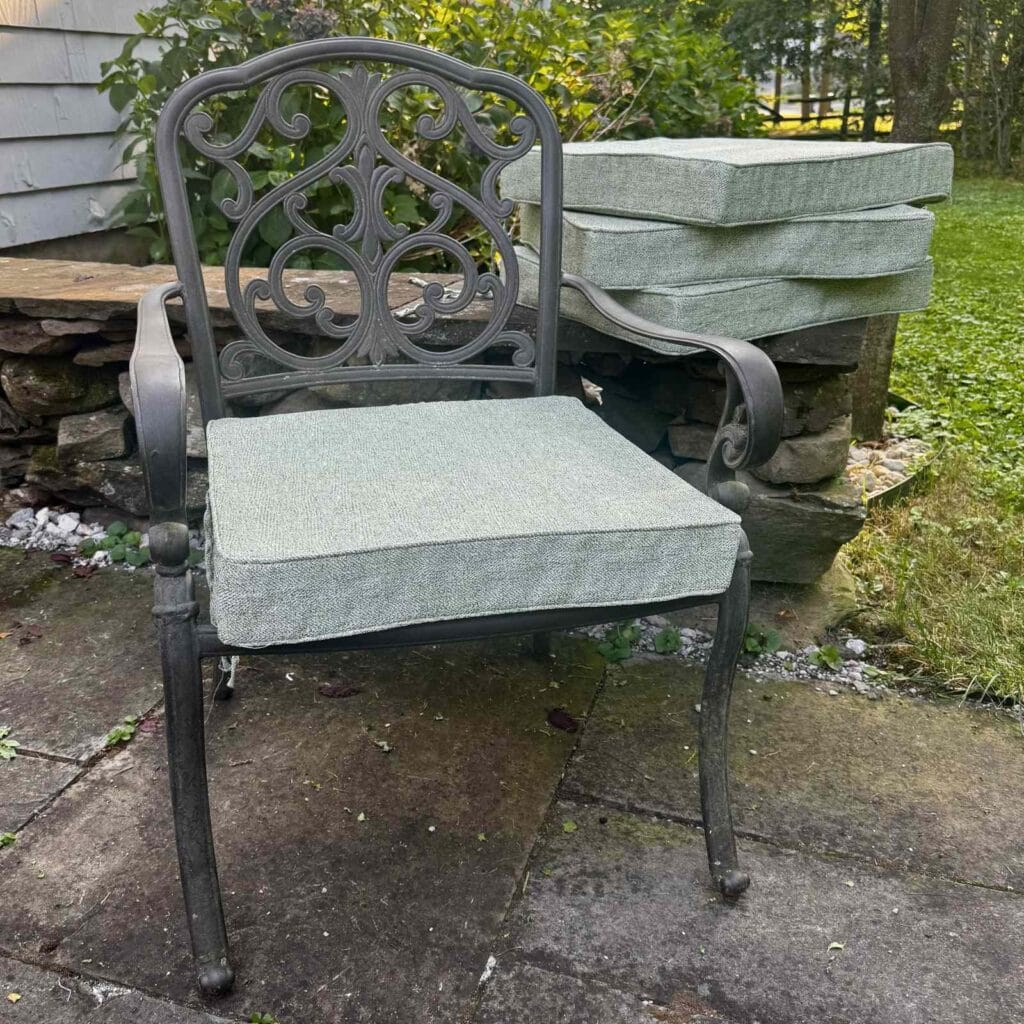
This project really started a few years back when I bought these replacement cushions (yes, these are already replacement cushions) for our outdoor dining set. The original set is about 10 years old and the original cushions were not worth saving – I had left them out in the rain too many times so both the filling and fabric were in bad shape.
I needed new ones, so I went to Amazon and purchased the cheapest ones I could find that fit and looked okay. Well, they were great for about a season, and then we started to feel the metal slats underneath every time we sat in them. They got incredibly uncomfortable. But I couldn’t bear the thought of buying another six cushions (and not buying the cheap ones). So I needed to find a DIY solution – and that solution was taking out the old cushion filling and replacing it with new high-density foam.
How to Replace Outdoor Cushion Filling
This project only took me an afternoon to complete. The most difficult part was taking apart the cushions and putting them back together again, becuase of course they didn’t have zippers. Everything was sewn together, which meant ripping out a seam and then re-sewing it at the end. I dusted off my sewing machine for this final step, although you could sew by hand if necessary.
Supplies Needed
Step 1: Remove the Old Cushion
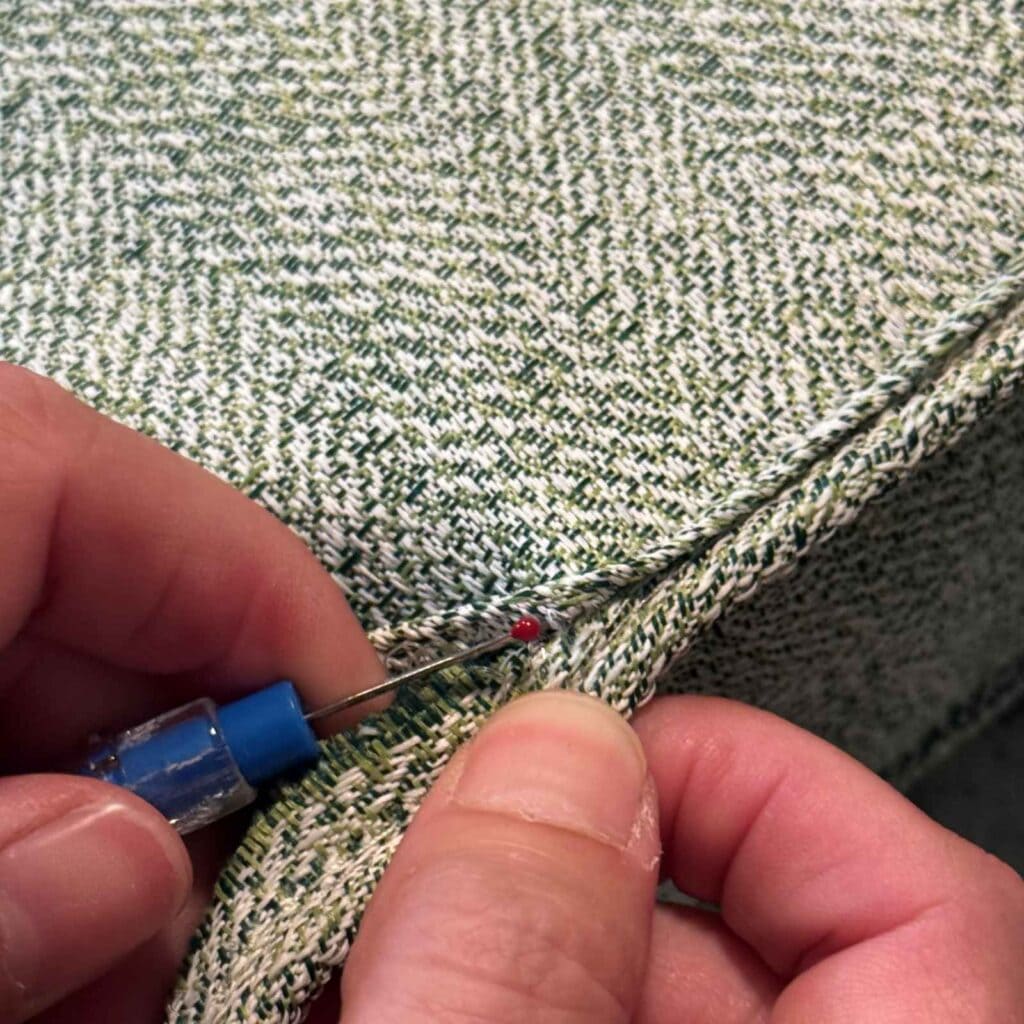
To start, I inspected the cushion to see which seam would be the easiest to remove for access to the cushion. This was the bottom back seam, which was great becuase then I didn’t have to really worry about how it would look once sewn back together.
Using a seam ripper, I removed the entire length of the cushion and pulled out the fill. I was surprised to discover that it was only batten inside, which explains why the cushions didn’t hold up all that well.
Step 2: Measure New Foam
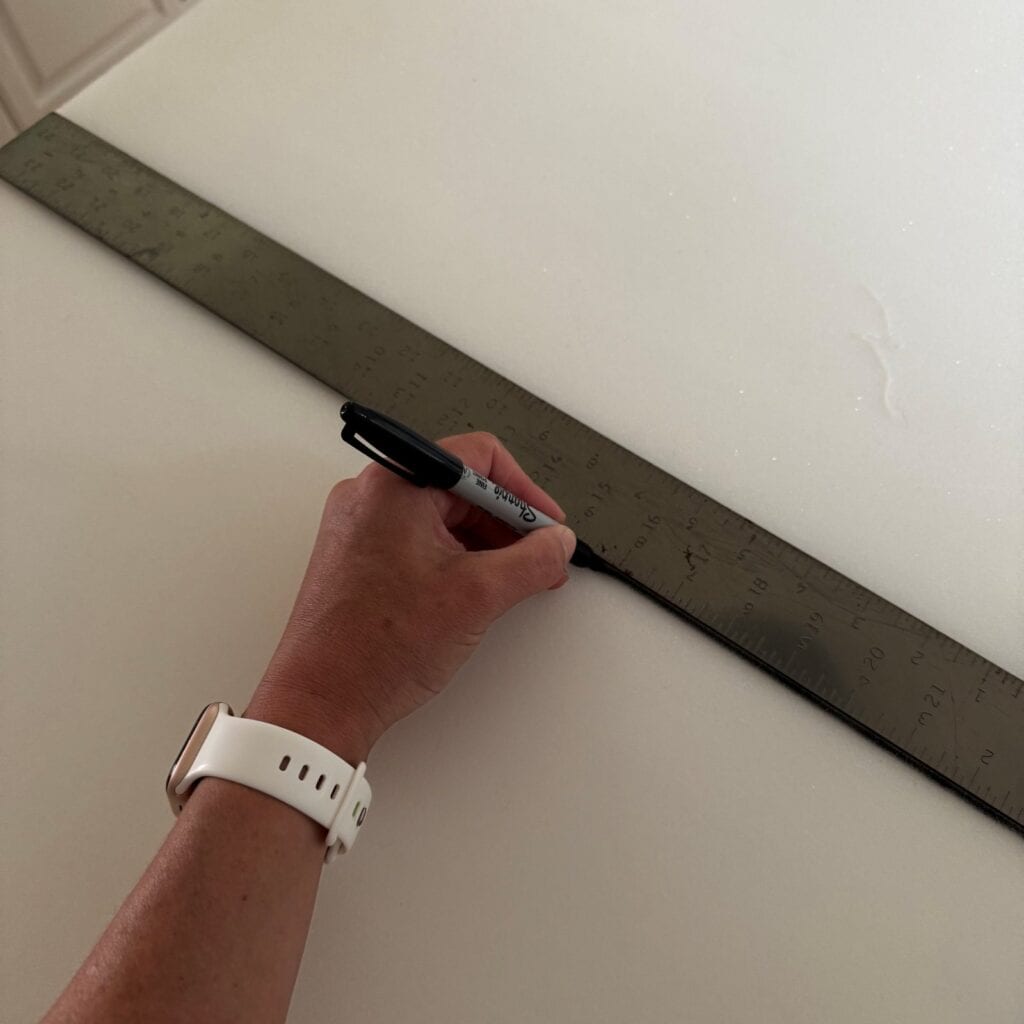
I ordered the high-density foam from Amazon after reading lots of reviews (I was nervous because of my previous Amazon cushion purchase experience) and measuring carefully. It was cheapest to buy one long piece and cut it into 6 cushion-sized pieces. Using my measuring square, I drew a straight line where I wanted to make my cut.
Would you like to save this?
Tip
If using one long piece of foam, make sure you measure for all cushions before cutting. If you’re a little short on foam, it’s better to take a small amount off of each cushion than have one cushion that is significantly shorter than the rest.
Step 3: Cut New Foam

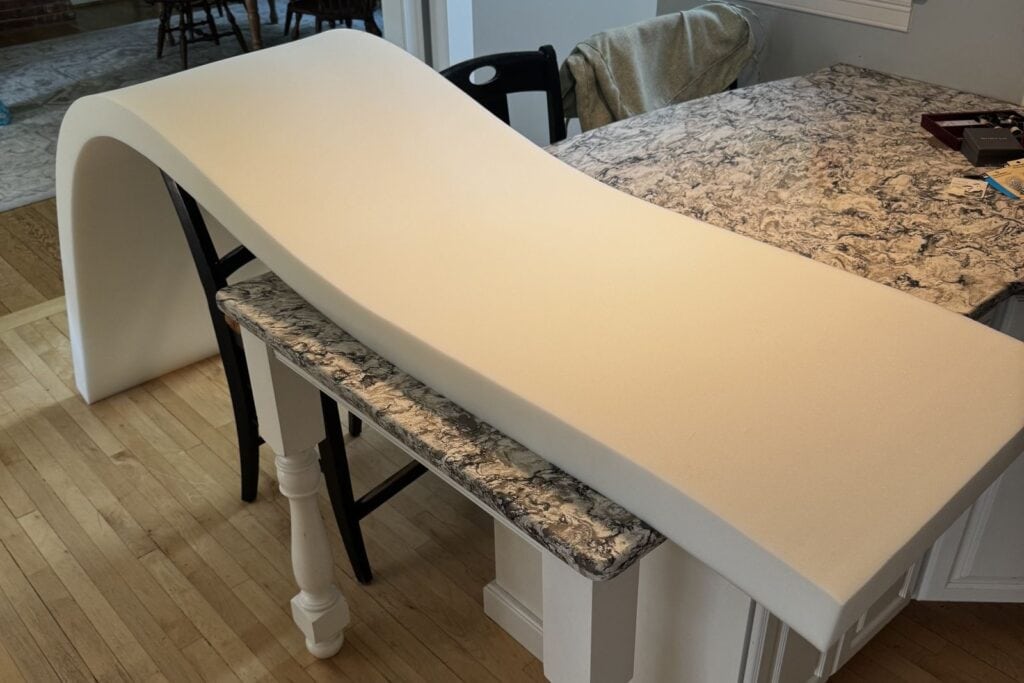
Using an electric carving knife, I cut the foam. I propped up the foam between my counter and one of my counter stools (you could also use sawhorses or something else of similar height).
Becuase you want a clean, straight line, I highly recommend using an electric knife like this. You can also try to purchase precut foam in the correct size; however, I found this to be much more expensive. Simply purchasing the knife (if you don’t already have one) was more cost-effective.
Step 4: Add New Foam to Cushion

Once the foam pieces were cut to size, I simply put them back into the fabric cushions and sewed the seam back up. The size of the cushion made using the sewing machine tricky, but I was able to get it done. And becuase it was the bottom and back of the cushion, I wasn’t overly concerned with how it looked.
And to be clear, I am not good at sewing. I do have a sewing machine (only becuase my mom gave it to me when she got a new one for herself), but I only use it once every few years. Every time I have to pull out the instructions and teach myself how it works. This was the longest part of the entire project for me!
Summary
Replacing outdoor cushion filling is such a simple and budget-friendly way to breathe new life into tired patio furniture. Instead of spending hundreds on new cushions, you can swap out the old, worn stuffing with high-density foam for comfort that lasts. Even if you’re not an experienced sewist (I’m certainly not!), this project is completely doable. Maybe the next time I will have the courage to sew new cushions from scratch!
Other DIY Furniture Fixes:
- How to Paint Wood Furniture: A Beginner’s Guide
- How to Fix Furniture: Common Repairs Before Painting
- How to Reupholster a Chair Seat With New Fabric
- Repairing Leather Furniture: How I Restored a Chair and Ottoman