

How to Fix a Missing Chunk of Wood on Furniture
This post may contain affiliate links, meaning I make a small commission on qualifying purchases.
There are so many reasons I love vintage furniture! Its uniqueness, character, and craftsmanship are just a few. And while these pieces have withstood the test of time, they sometimes come with damage, like a missing chunk of wood. Don’t let that scare you away! In this tutorial, I’ll show you exactly how to fix a missing chunk of wood on furniture using a mold and Bondo, so you can restore the shape and keep all the character you love.
Summarize & Save This Content
The Project Pieces
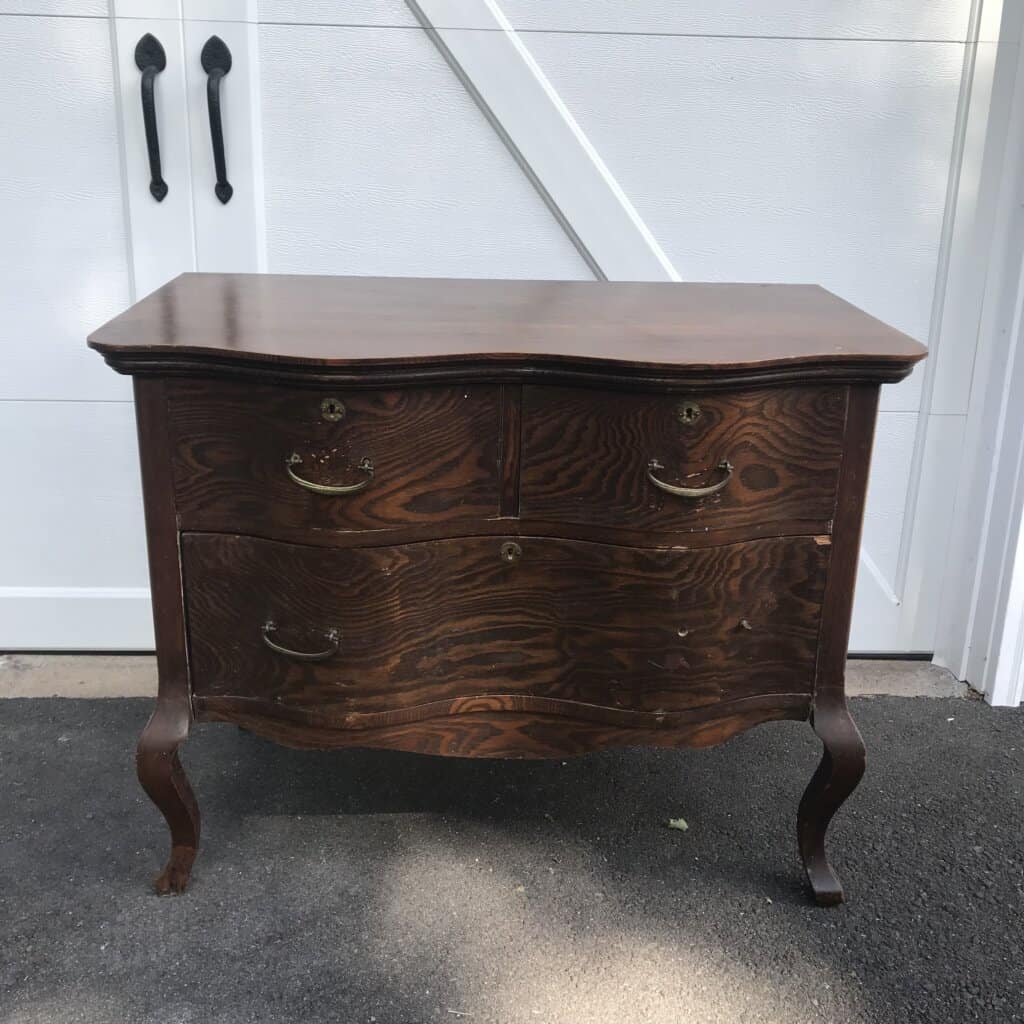
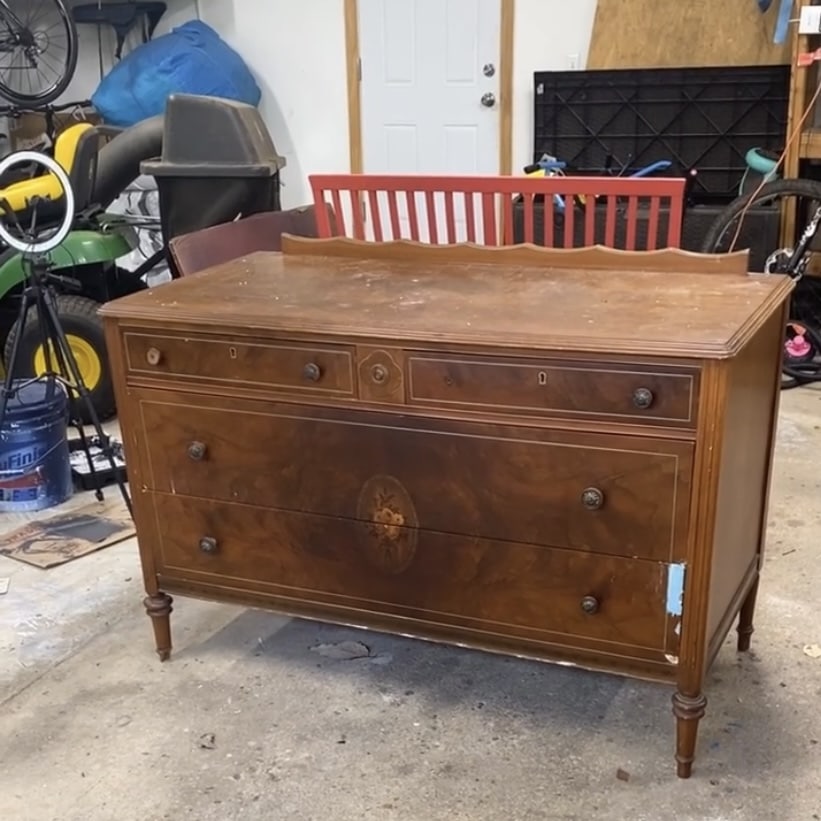
I’m going to share two examples here. For this to work, you will need an intact area to use as a mold template that matches the area with a missing wood chunk. For both, I used the opposite leg that was not broken as my mold template. The repair was similar for both; however, I used a slightly different process to make the mold for each one.
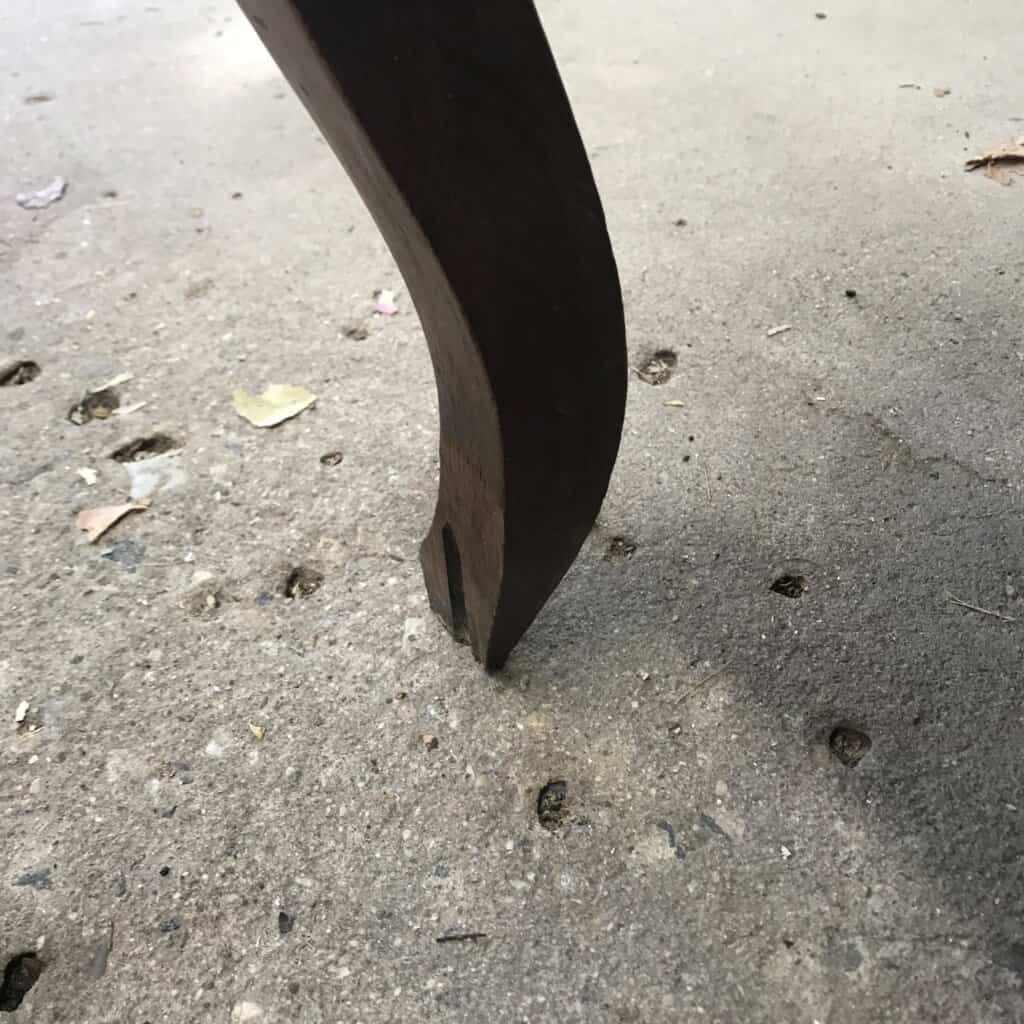
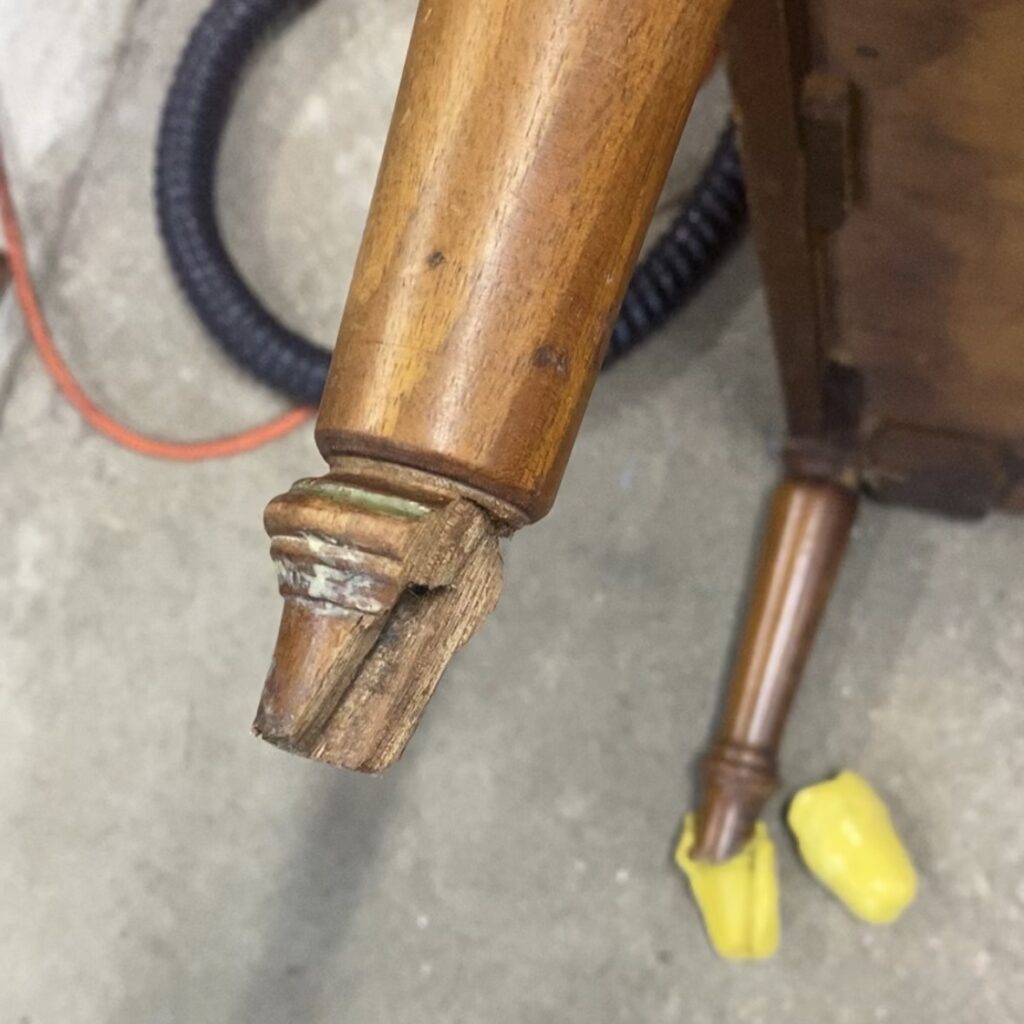
Below are photos of both pieces when I found them. Both beautiful, vintage pieces with lots of character, but also some damage. I decided each one would be painted, so creating a mold to fill and replace the missing wood was the perfect option. I will walk you through both repairs and share which I liked best. So let’s get started!
Supplies Needed
Step 1: Make the Mold
As I mentioned earlier, for each of these projects, I used two different techniques to make the mold. For The first was using a hot glue gun, and the second using a product intended for this purpose, moldable putty. For each, you’ll need an intact, non-damaged area of your piece that matches the damaged area. This is what you will use as a template to make your mold. I’ll refer to this as the “intact leg” in these examples.
Option 1: Using A Glue Gun
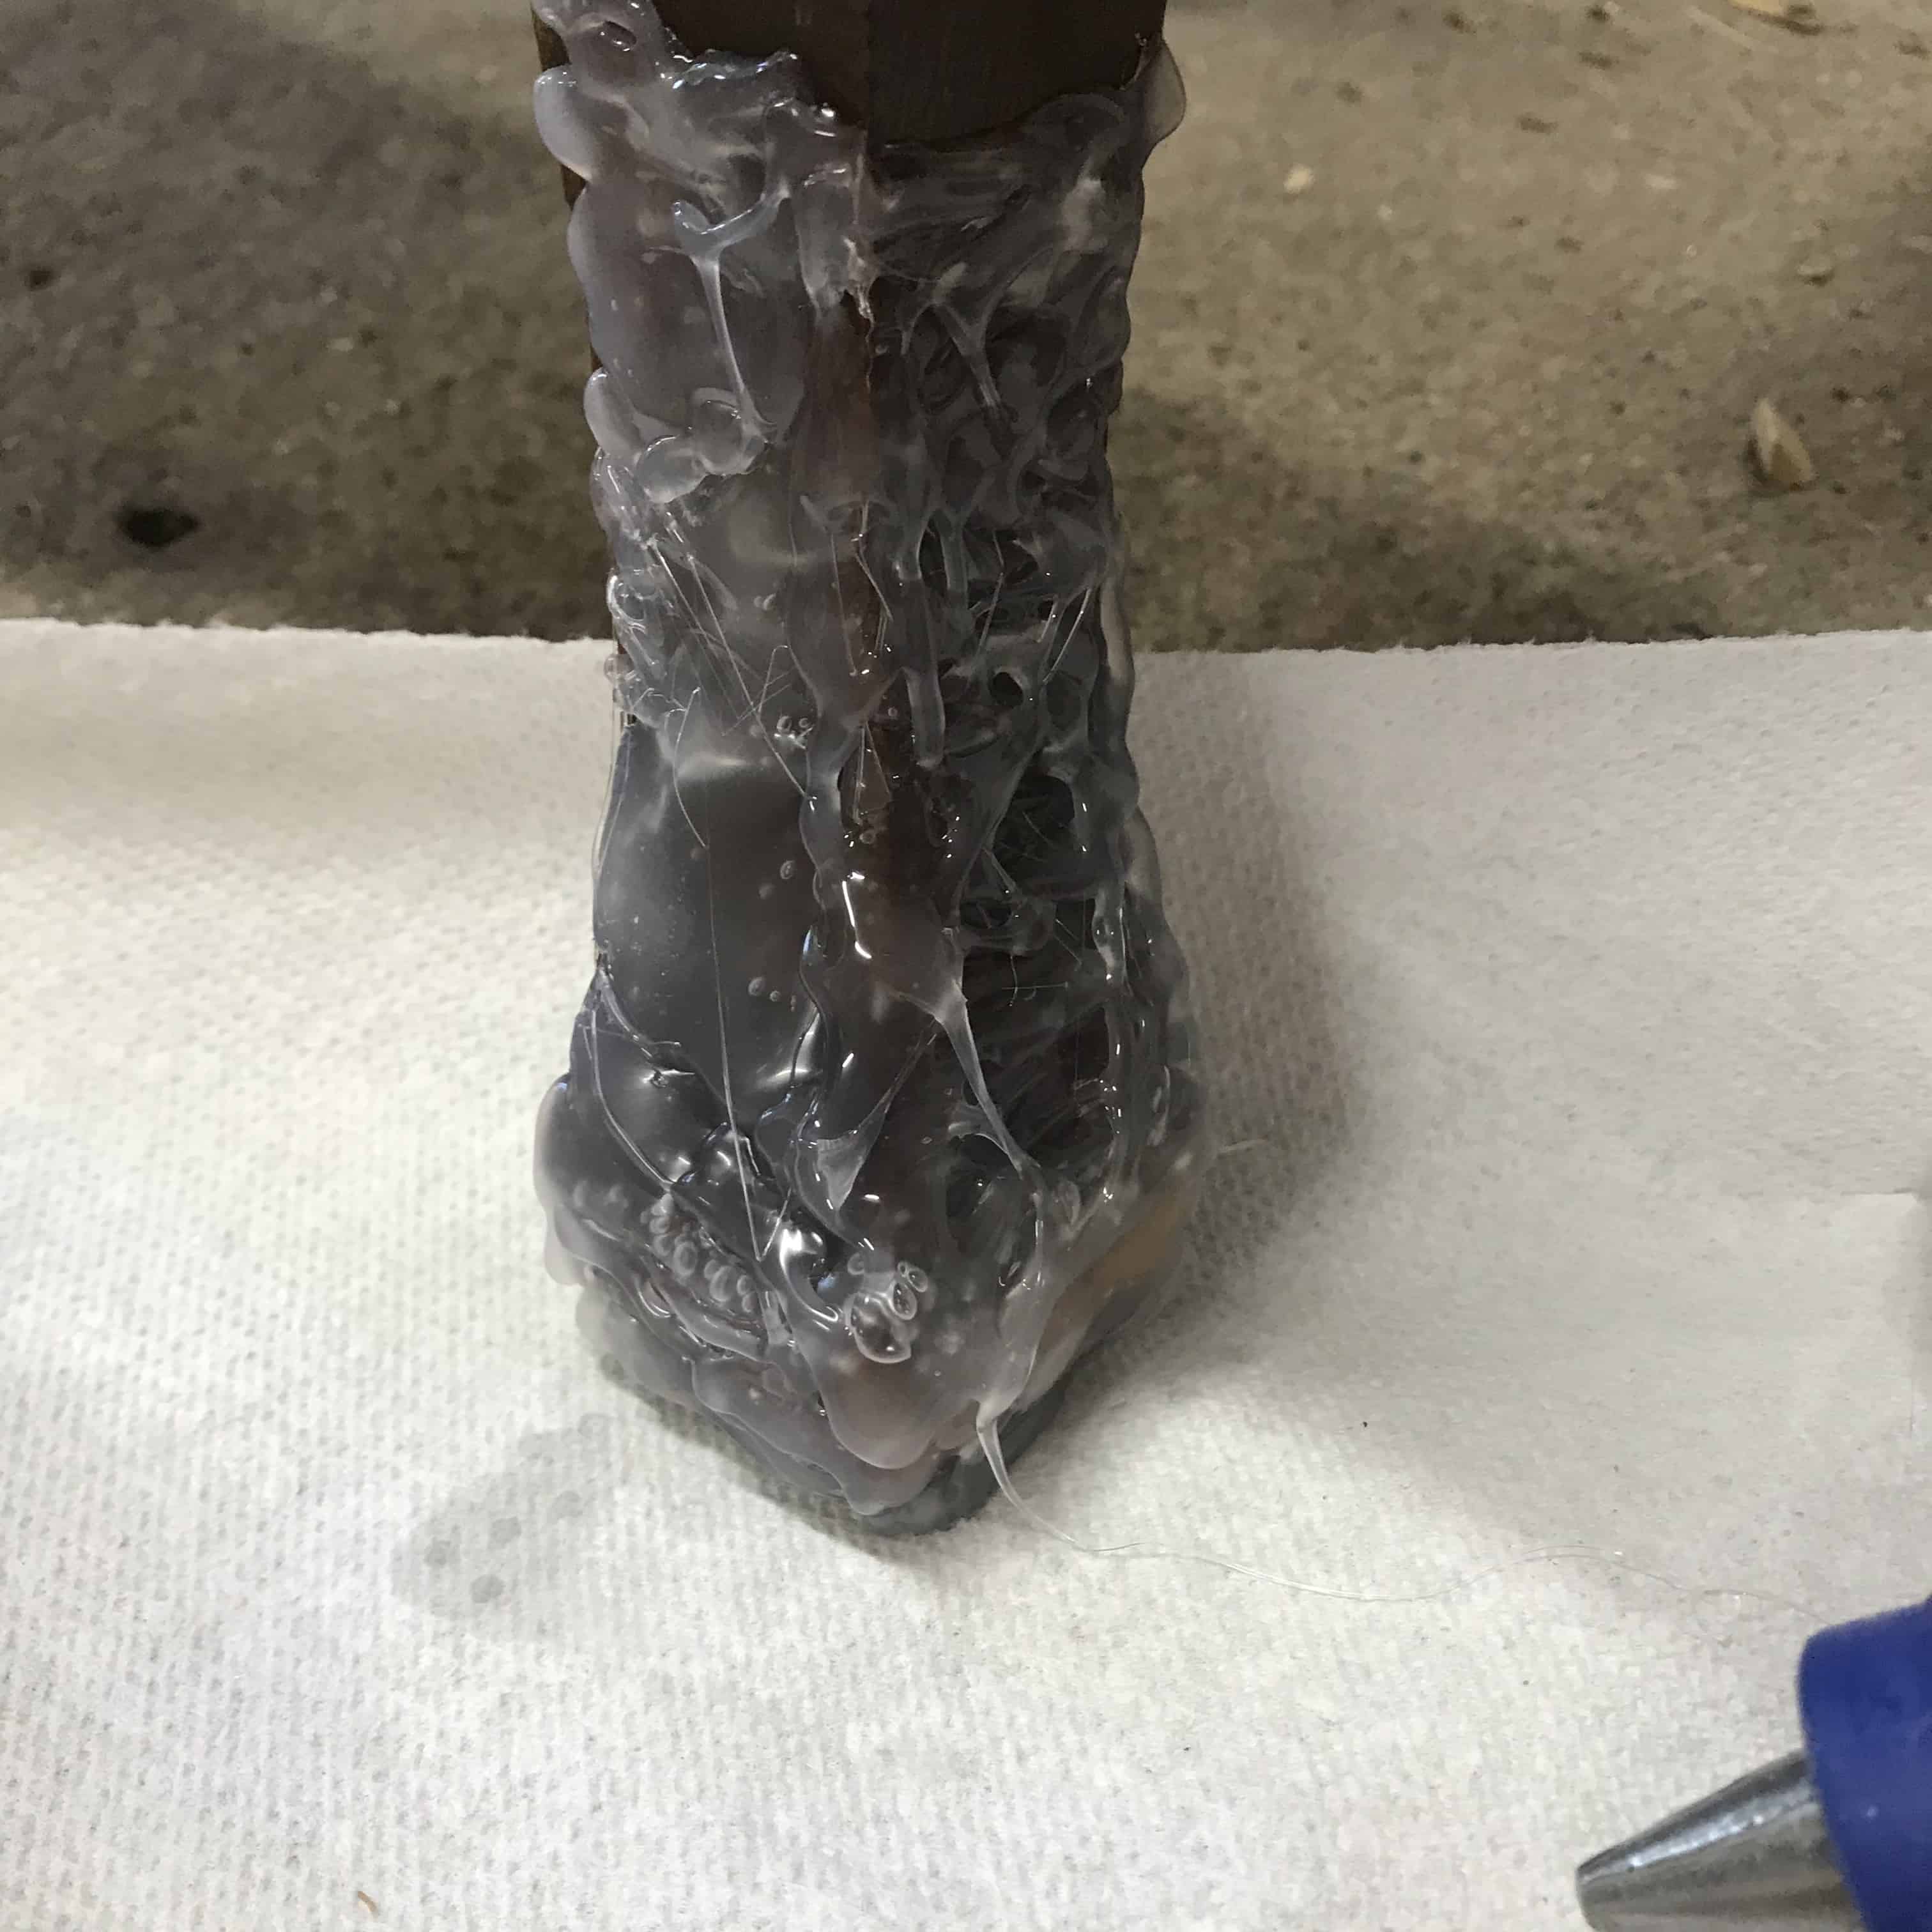
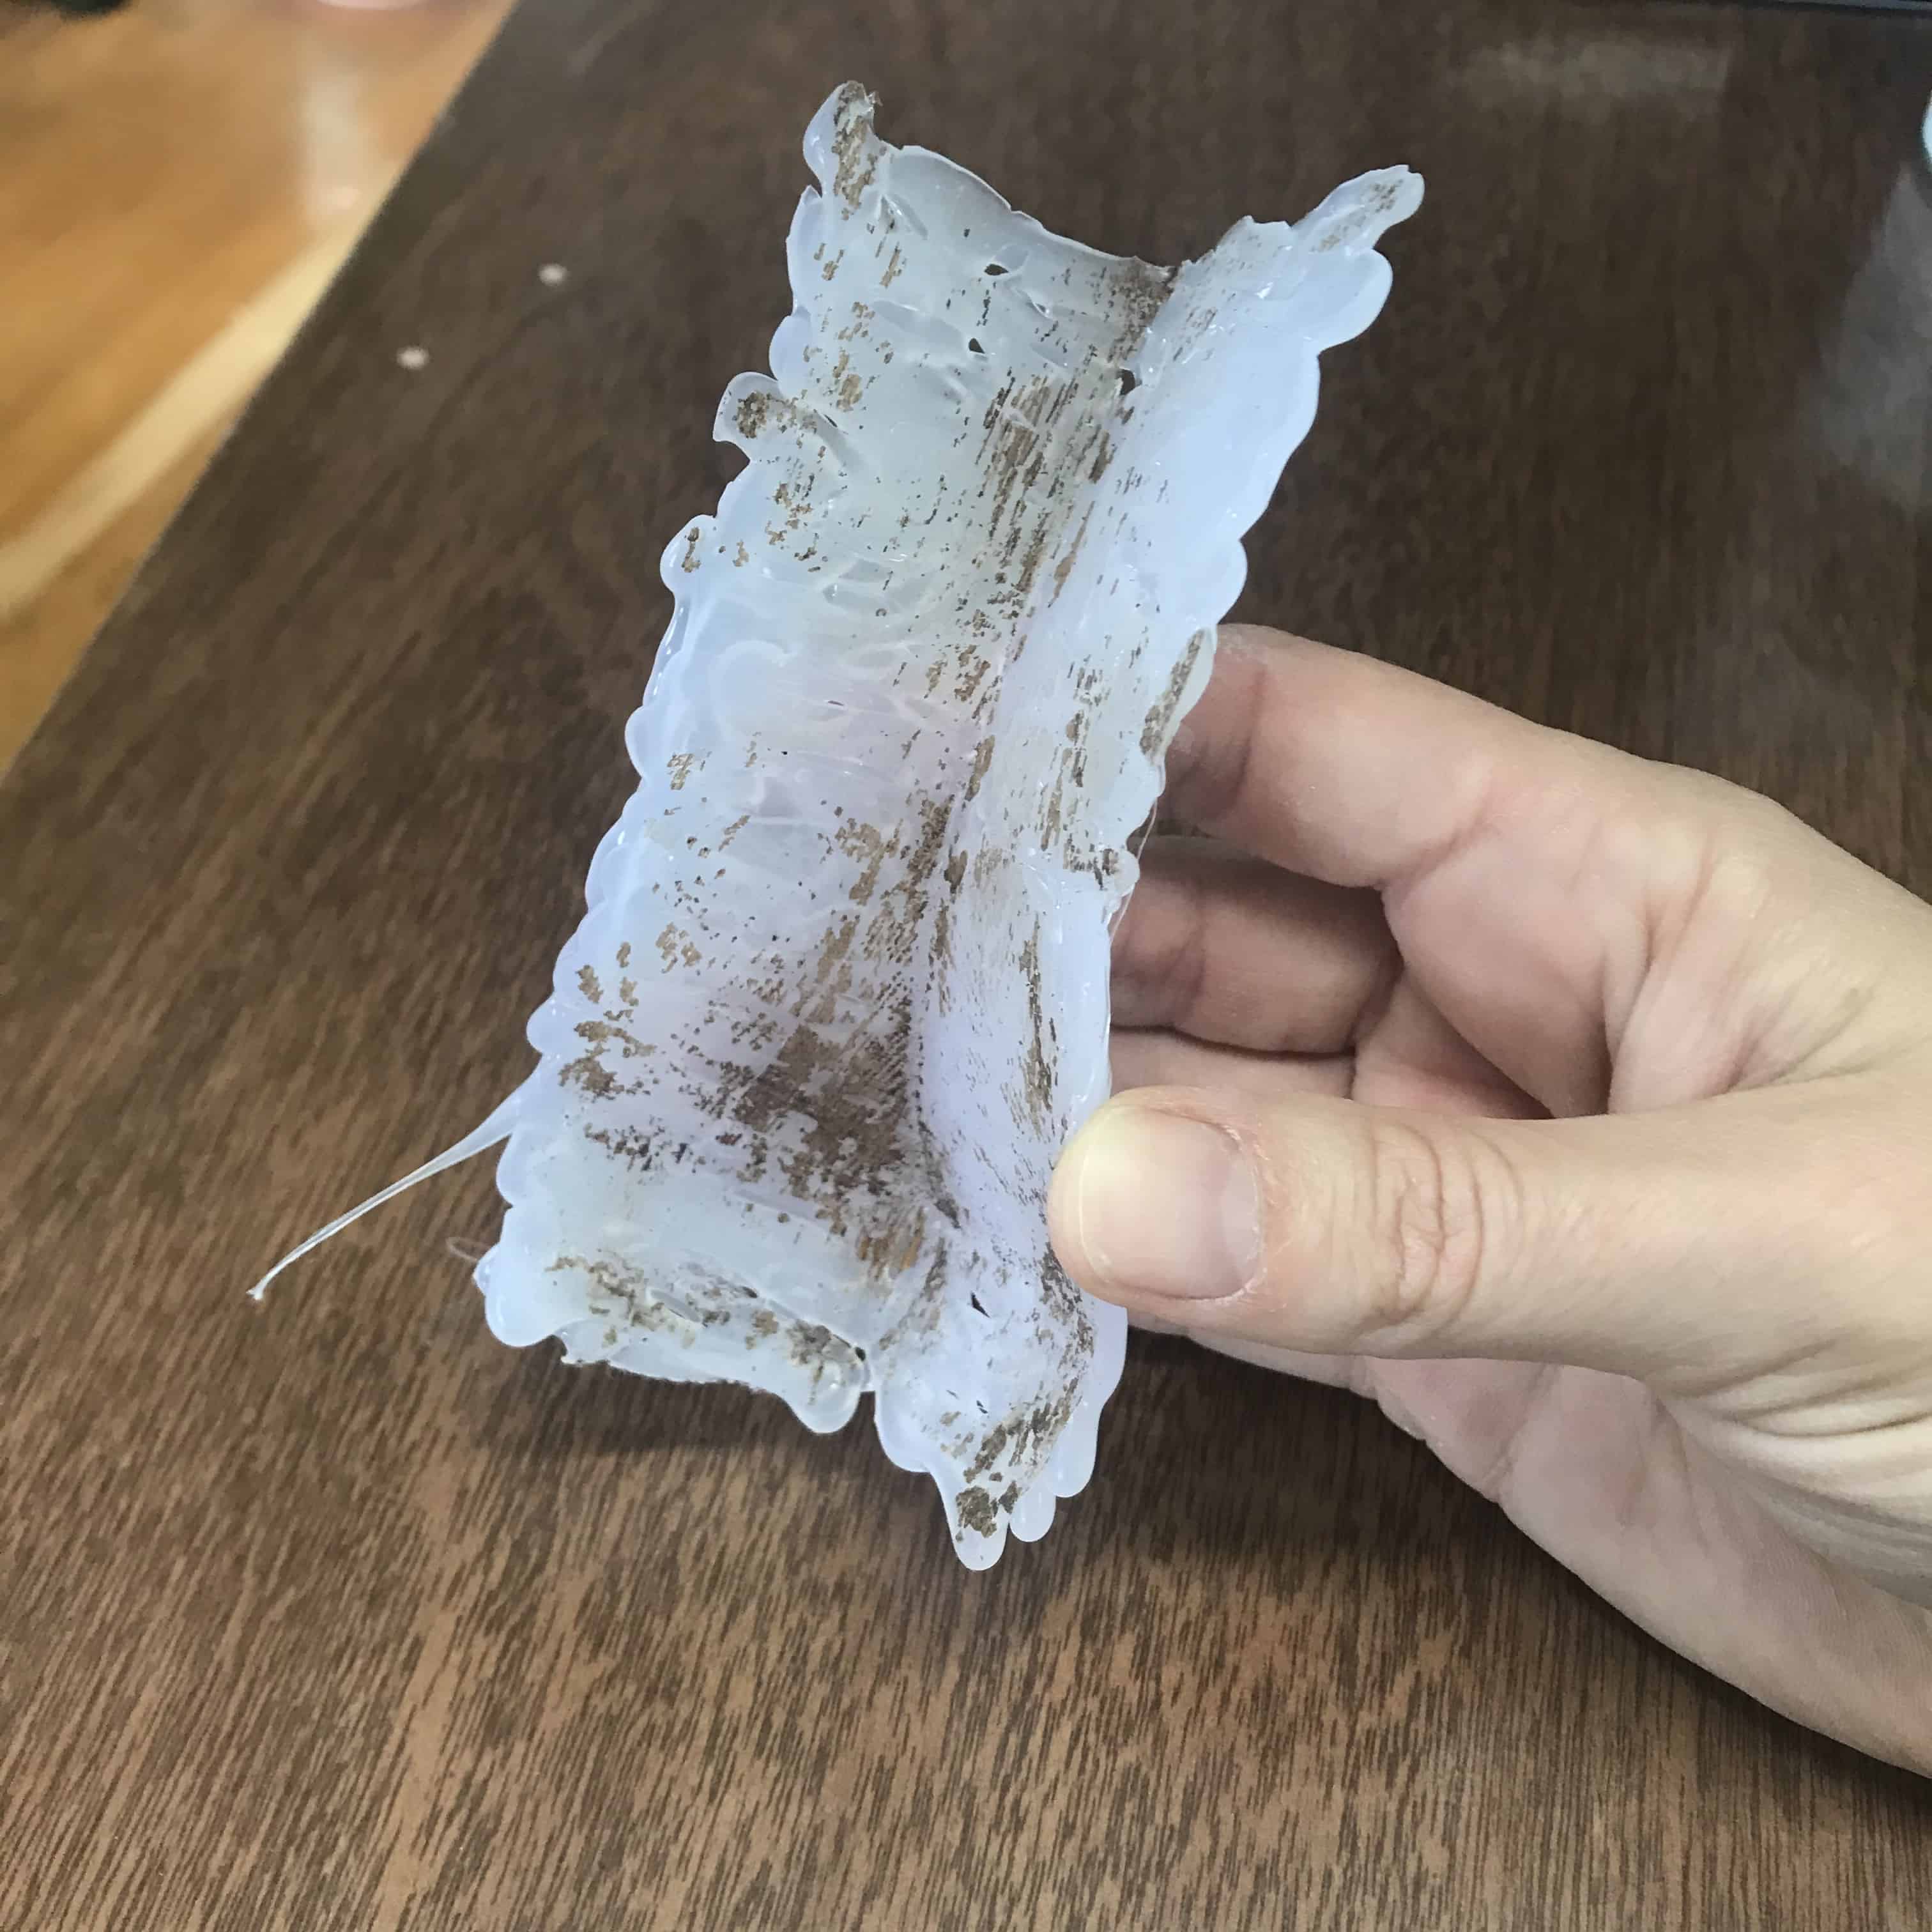
If you already have a glue gun on hand, this is a great option! You can get started without buying anything special. The first time I came across a repair like this, I made the mold using glue. Here’s how to do it:
- Lightly coat the intact leg with vegetable oil to keep the glue from sticking to the wood.
- Cover the intact leg with a generous amount of glue from the glue gun, make sure it covers the area you are trying to mimic with some overlap (better too big than not big enough).
- Let the glue cool completely and then peel away from the intact leg.
Option 2: Using Amazing Mold Putty
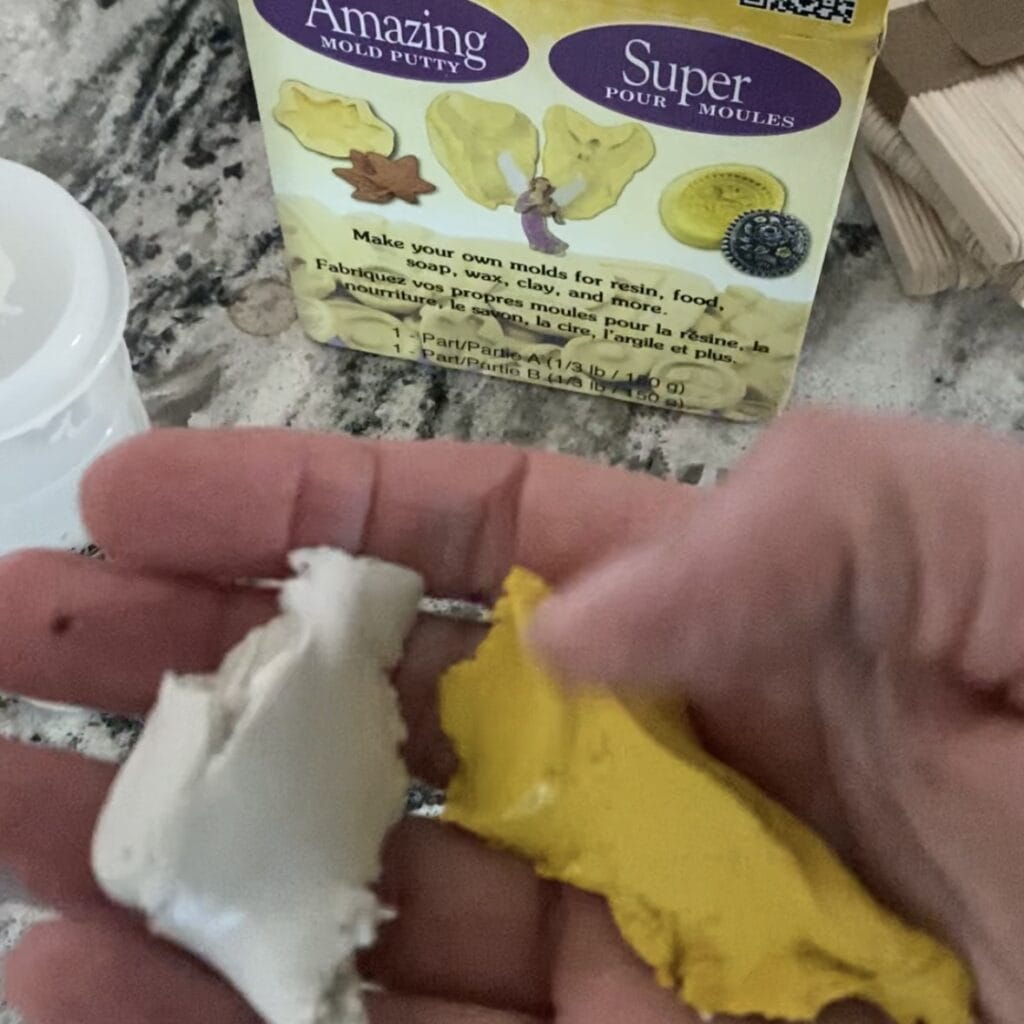
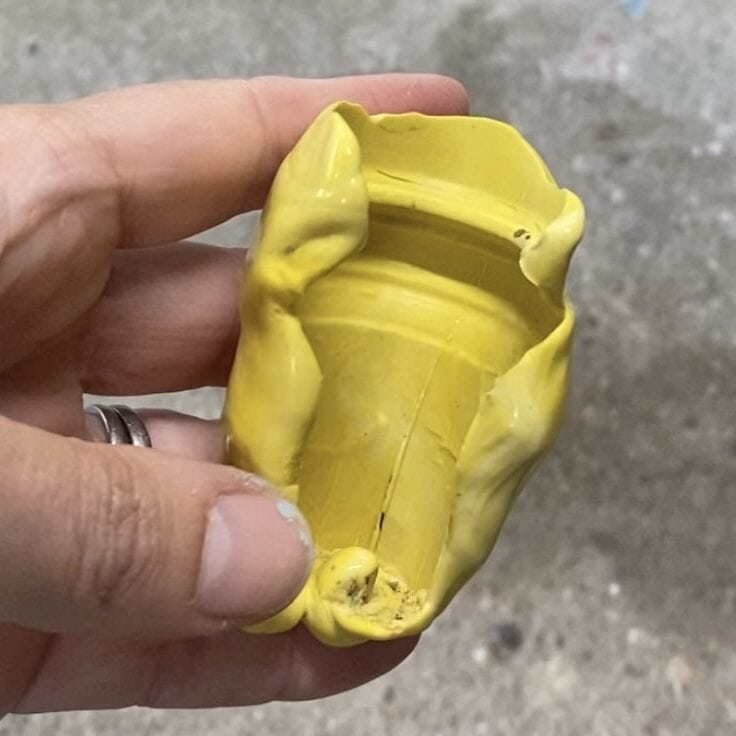
After using the glue gun method several times, I discovered Amazing Mold Putty that I wanted to try. It’s a two-part product that you mix together and then apply around an intact leg (similar to the glue except you don’t need to worry about the vegetable oil step). The instructions that come with the putty are great, but here’s a quick overview:
- Take equal amounts of the two parts of Amazing Mold Putty and mix until well blended. Try to remove any air pockets you may have created while mixing.
- Cover the intact leg with the putty (again being sure to make the mold bit enough to cover the area on the damaged leg).
- Let it cure for 20 minutes and remove the mold from the intact leg.
Would you like to save this?
Step 2: Prepare the Damaged Area
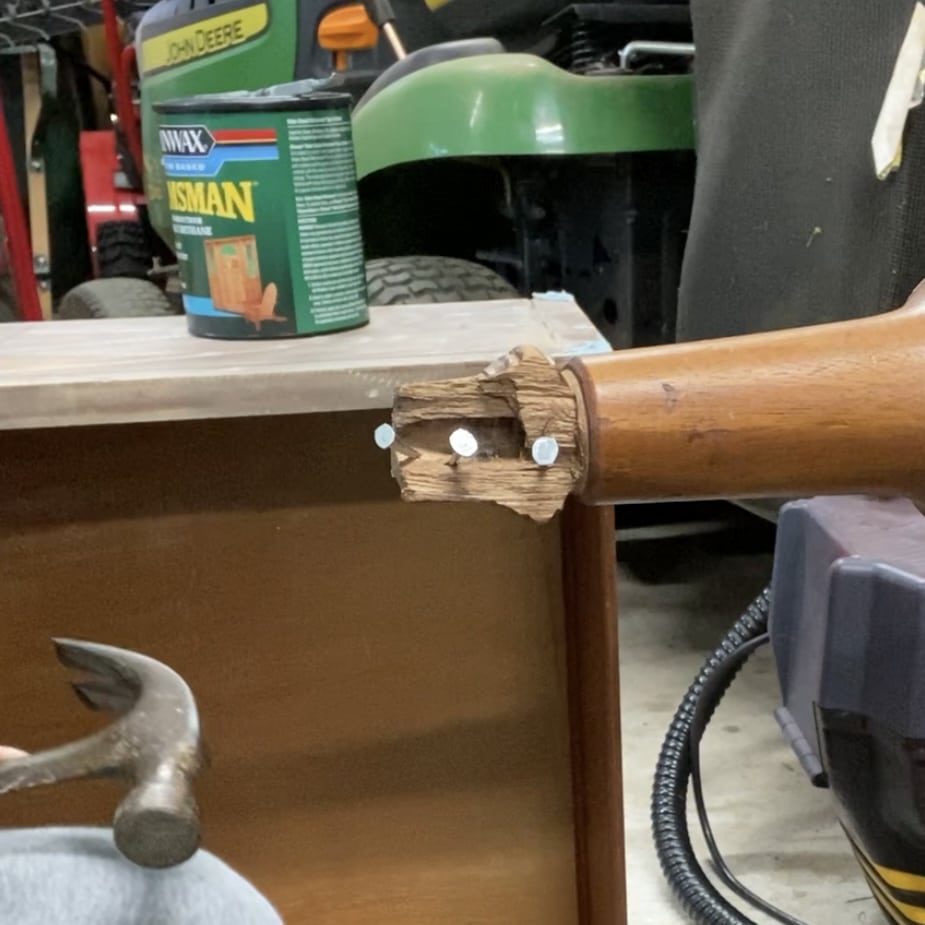
Before filling the mold, I wanted to prepare the damaged area so that the new molded material would hold firmly to the existing area. Bondo bonds very well to metal, so I added some nails into the wood to increase the strength of the repair. These act like rebar in concrete and give the filler something to grab onto. Just make sure the nails will not stick out beyond the molded area (you can test with your new mold to be sure).
Step 3: Filling the Mold with Bondo
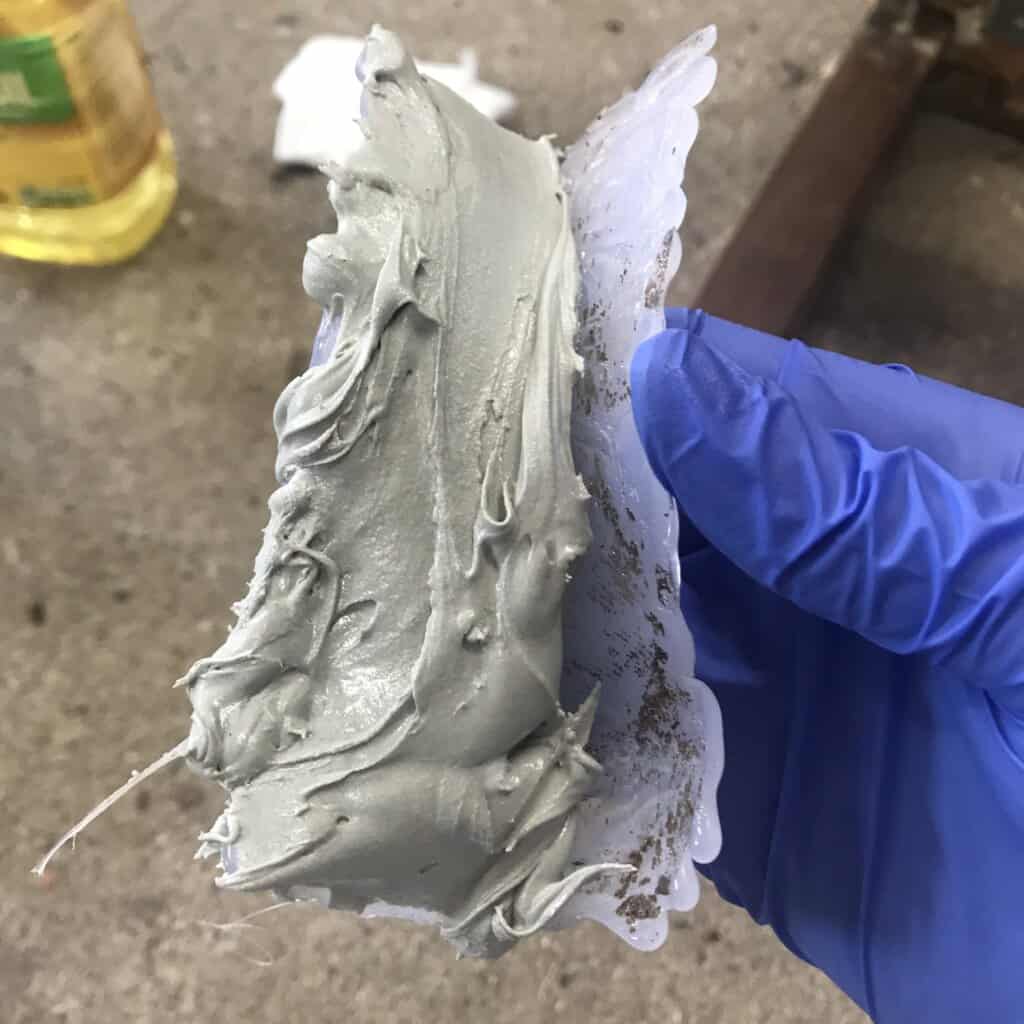
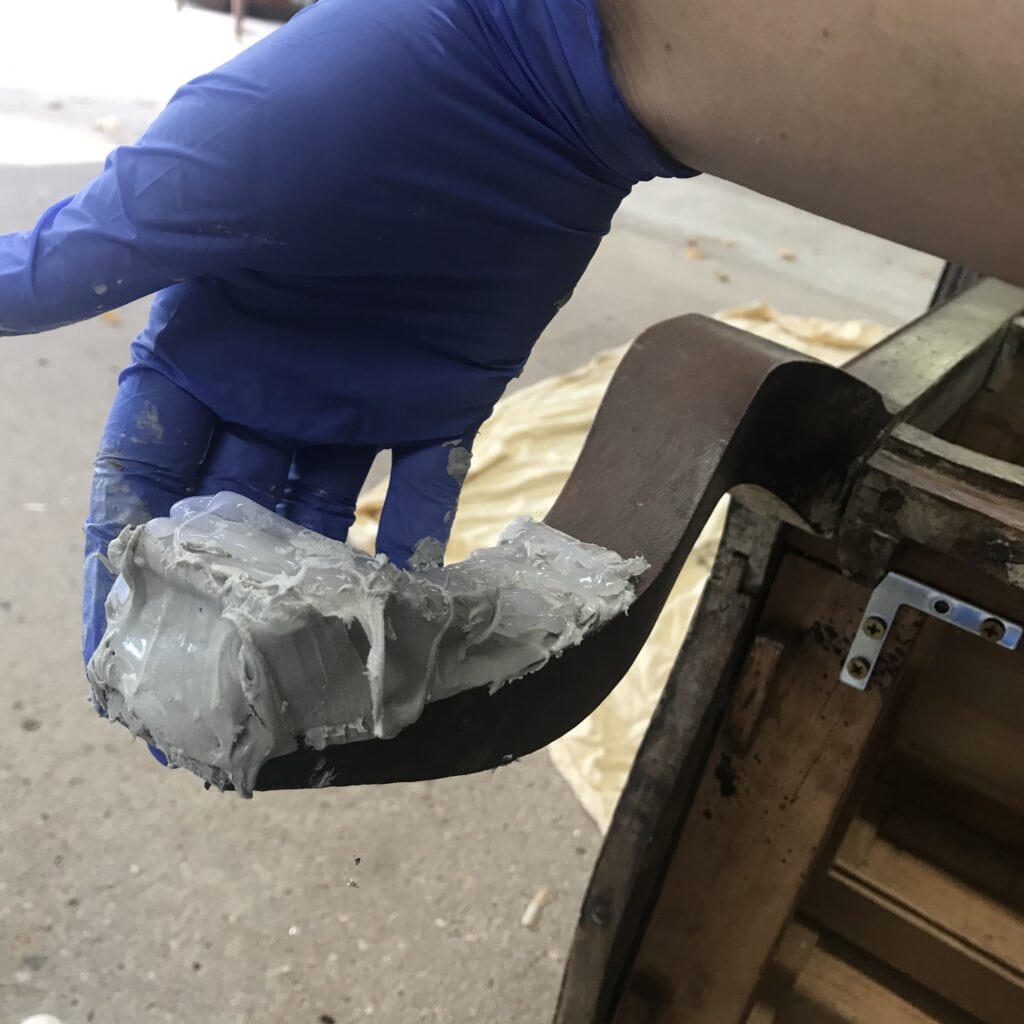
The magic ingredient in both fixes? Bondo! Each mold was ready to go and I decided to use Bondo as my filler because it doesn’t warp or shrink when it dries, it sands well, and will be solid and strong. Bondo is a two part filled, and detailed instructions on it’s use can be found here if needed. And remember, Bondo is toxic stuff, so be sure you are following the manufacturer’s instructions and protecting yourself with the right safety gear.
I mixed up the Bondo, and working quickly, filled the mold and then placed it on the leg. Once it was in place, I added some more Bondo to ensure the entire area was filled. I held the mold in place until firm to the touch (thankfully Bondo dries quickly) and then gently peeled it away. And voila, a repaired leg that matches exactly!
Step 4: Finishing touches
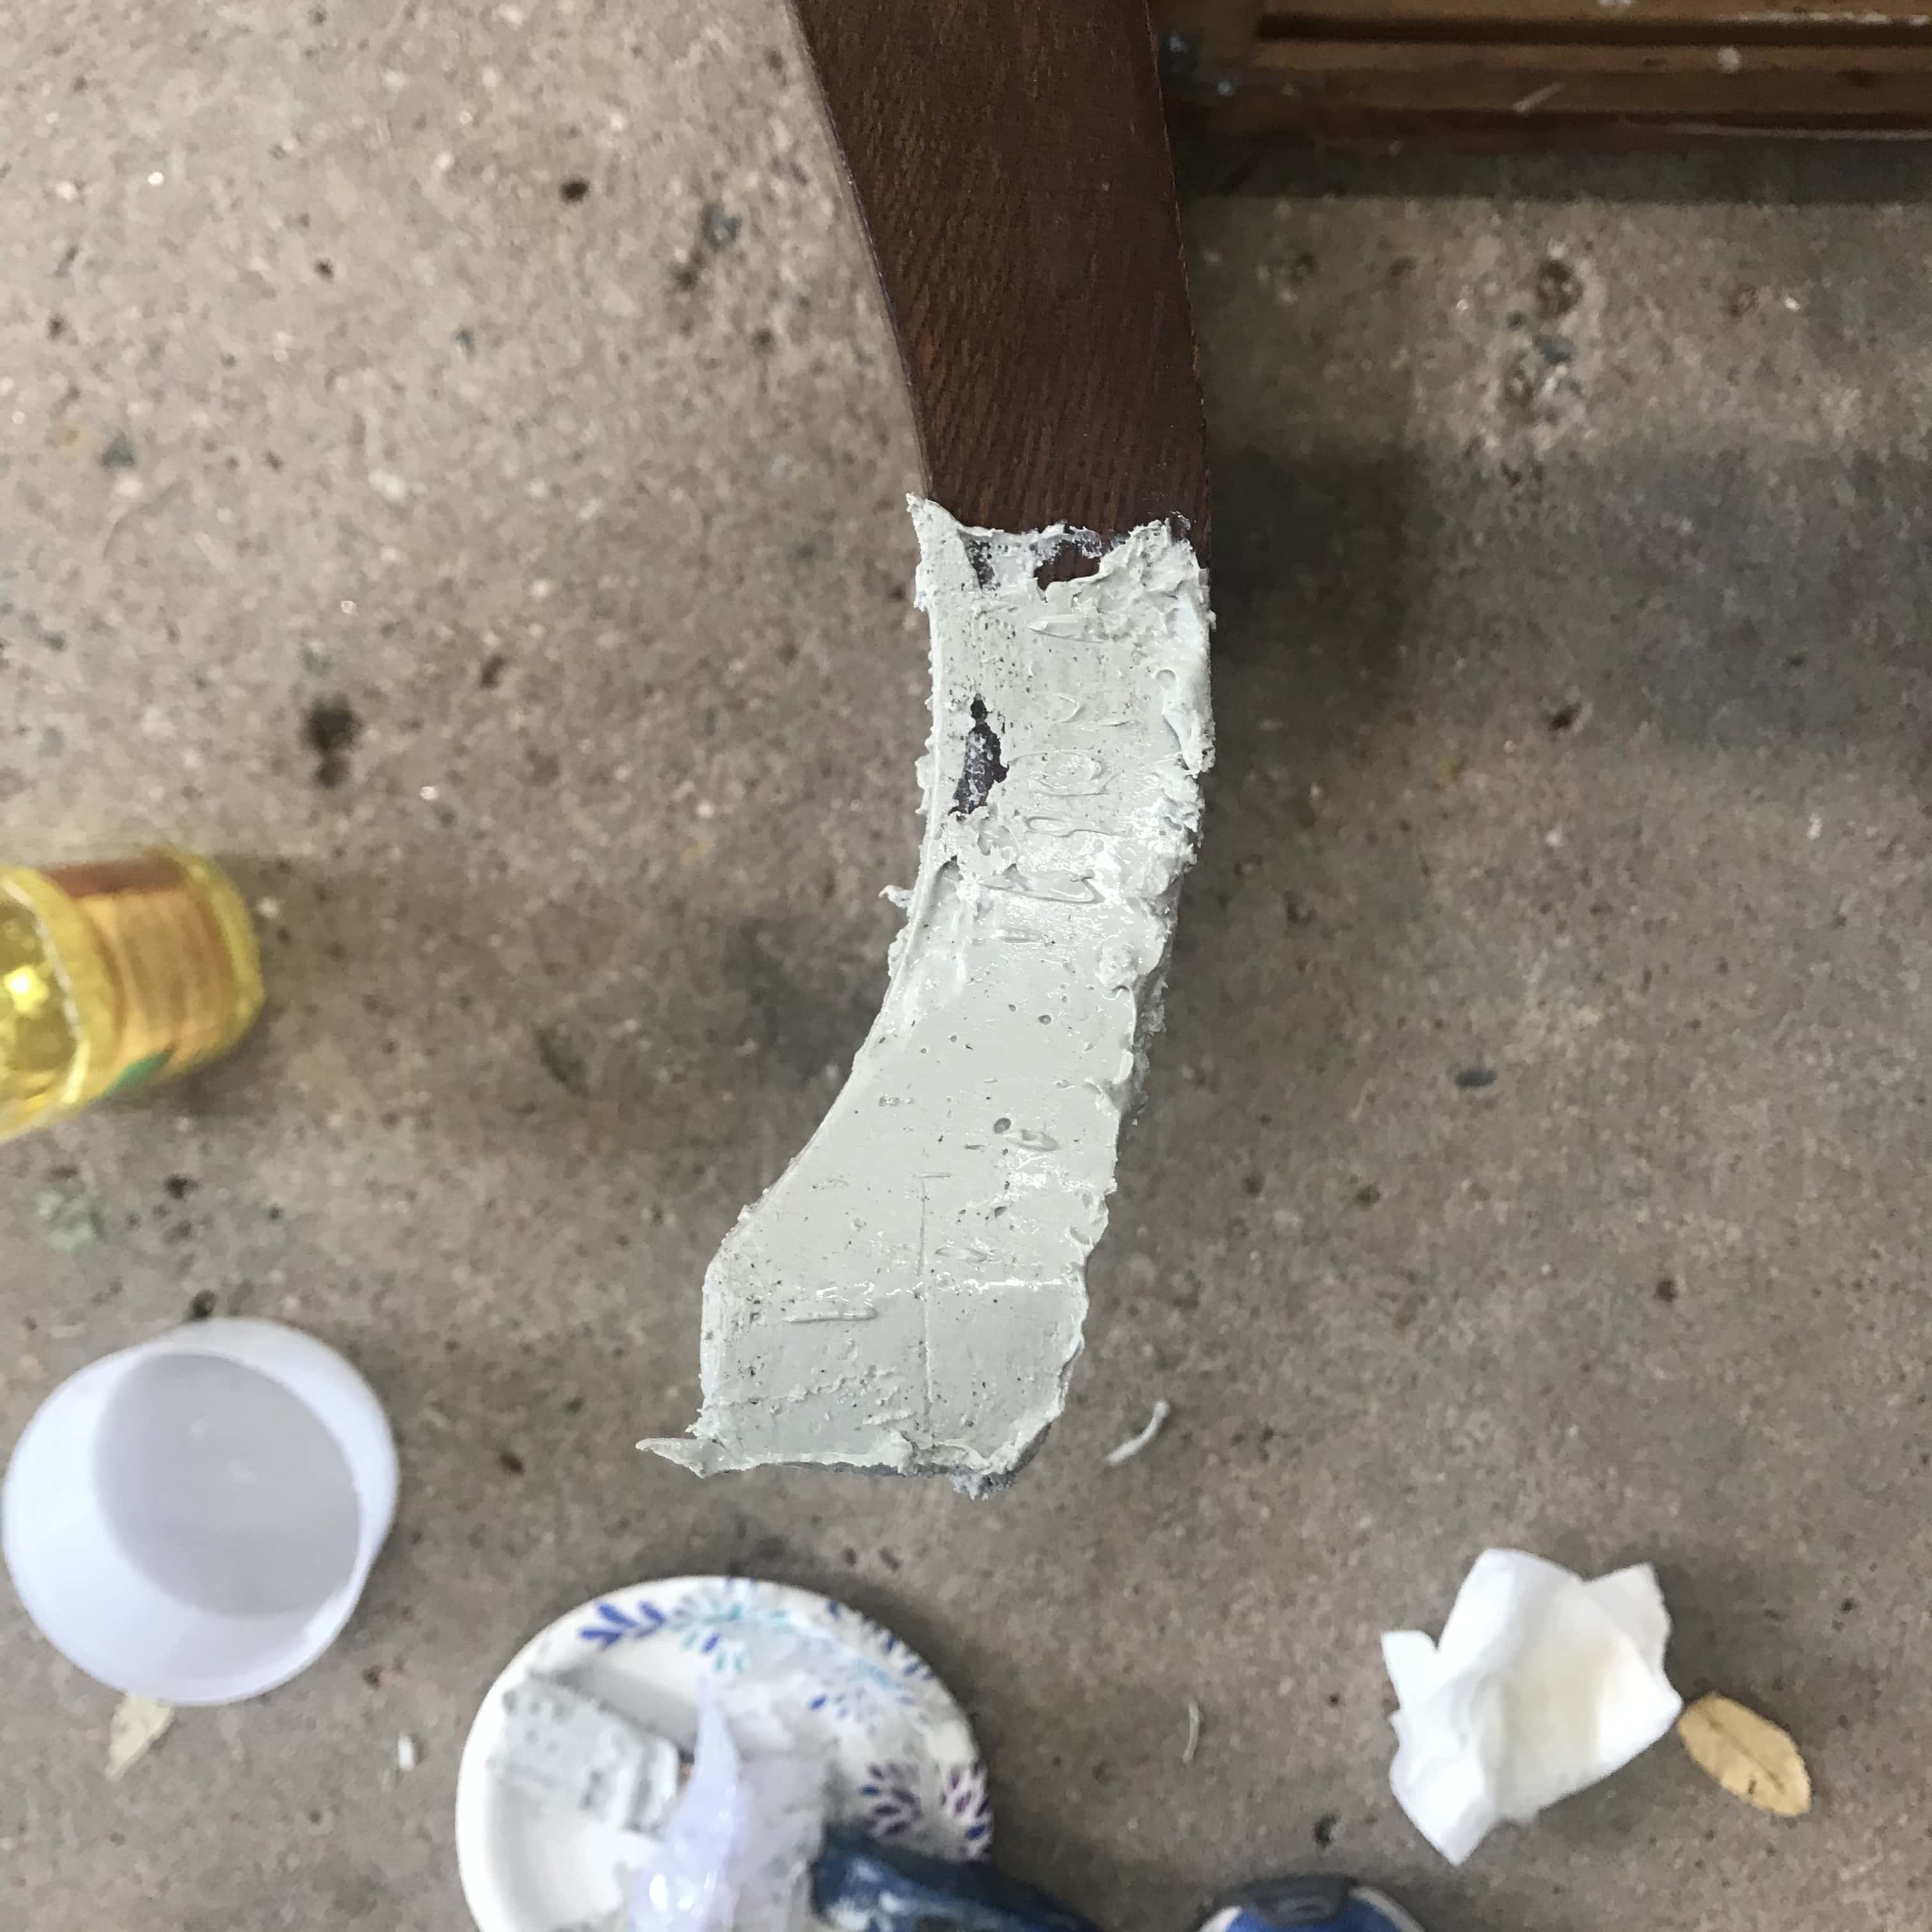
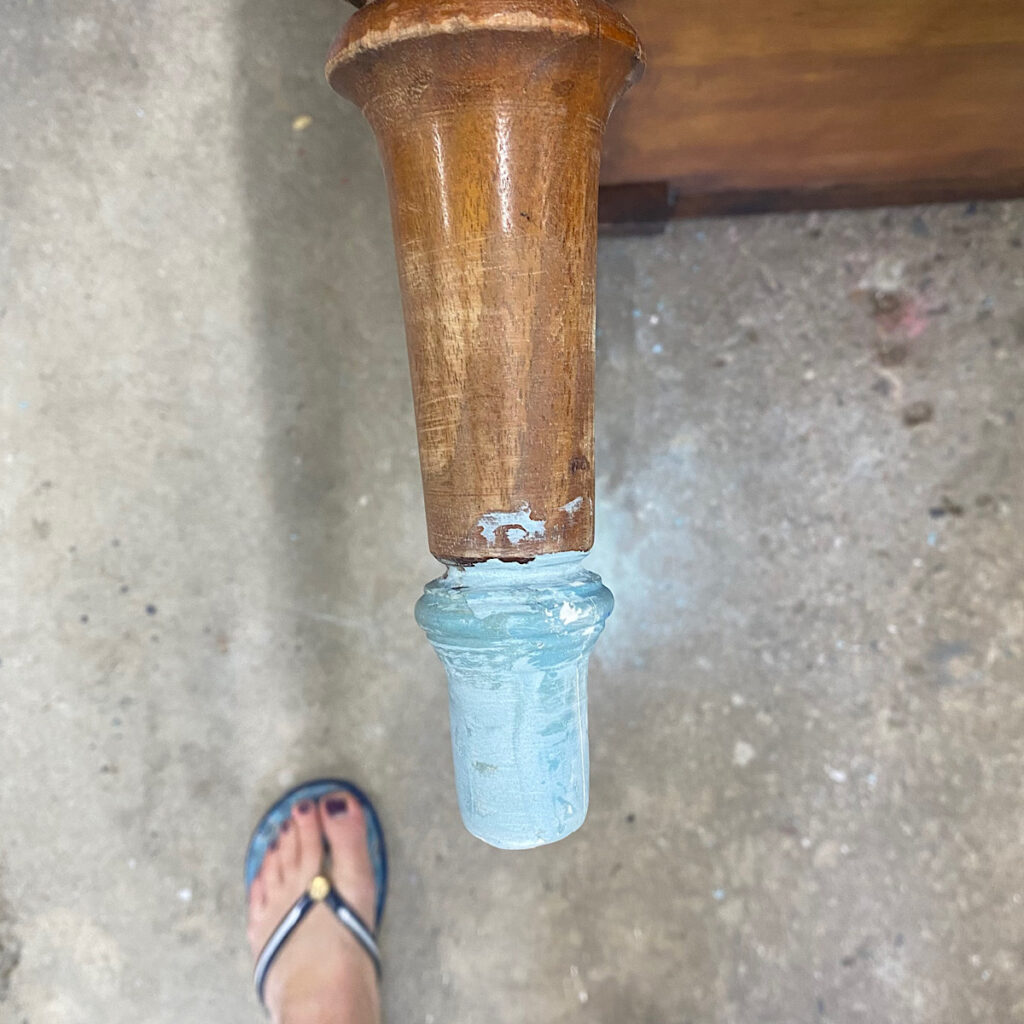
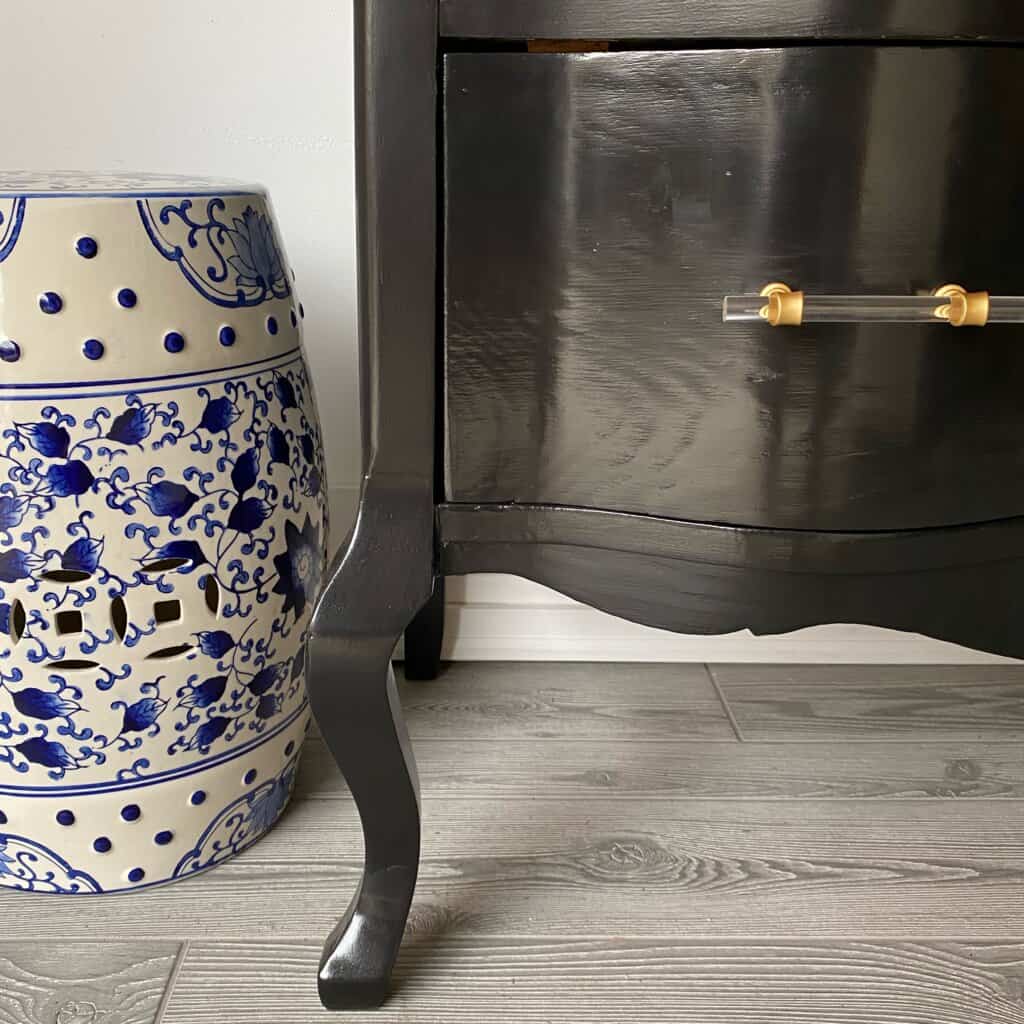
I let the repair dry overnight just to be sure the Bondo was totally hardened all the way through. Then I sanded it back, and it was ready to prime and paint with the rest of the piece, following my steps on how to paint furniture. Pretty cool, right? Once painted, I couldn’t see the repair at all!
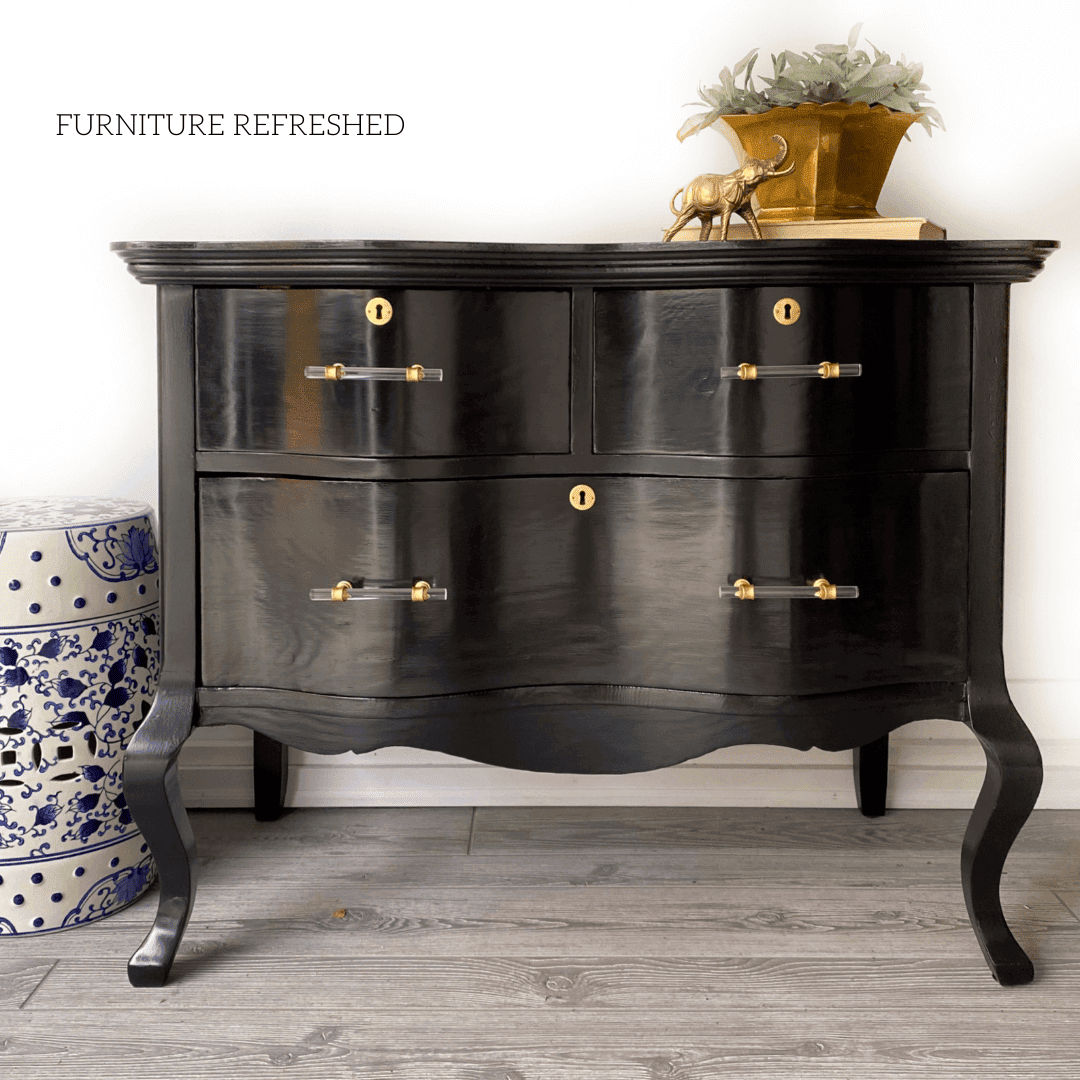
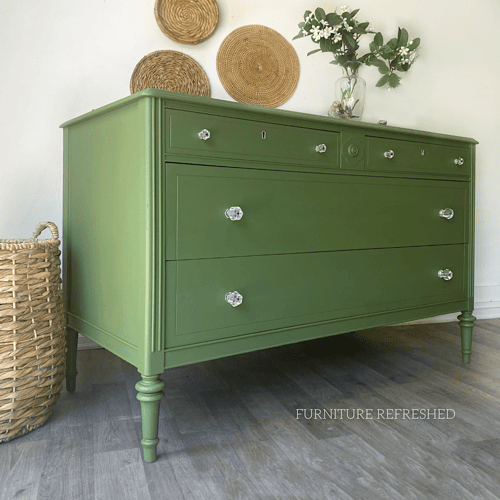
Summary: Which Mold Was Best?
Both methods can restore missing chunks of wood on furniture beautifully, but I personally prefer the Amazing Mold Putty for its smooth results and less prep work. That said, the hot glue gun method is a budget-friendly, quick option that works great in a pinch.
So the next time you spot a beautiful piece with some damage, don’t pass it by! Now you know how to fix a missing chunk of wood on furniture. With the right tools and a little patience, you can bring even the most beat-up pieces back to life.
Other Helpful Articles:
- How to Fix Furniture: Common Repairs Before Painting
- Using Bondo to Repair Wood Furniture
- Update a Dresser by Cutting the Base
New to furniture painting?
Get my FREE Beginner’s Guide to Painting Furniture! This guide walks through the steps of a furniture painting makeover and includes a downloadable project planner and supply checklist.
This was great information.
Thank you