

Replacing Furniture Hardware: Everything You Need to Know
This post may contain affiliate links, meaning I make a small commission on qualifying purchases.

Replacing the hardware on your furniture is a small change that can make a big impact! Whether you are refinishing the piece entirely or looking for an easy way to update what you already have, this change is worth considering. In this article, I will talk about when to consider changing it, some options on how to do it, and some of my favorite places to find new hardware.
Summarize & Save This Content
When To Replace Your Hardware
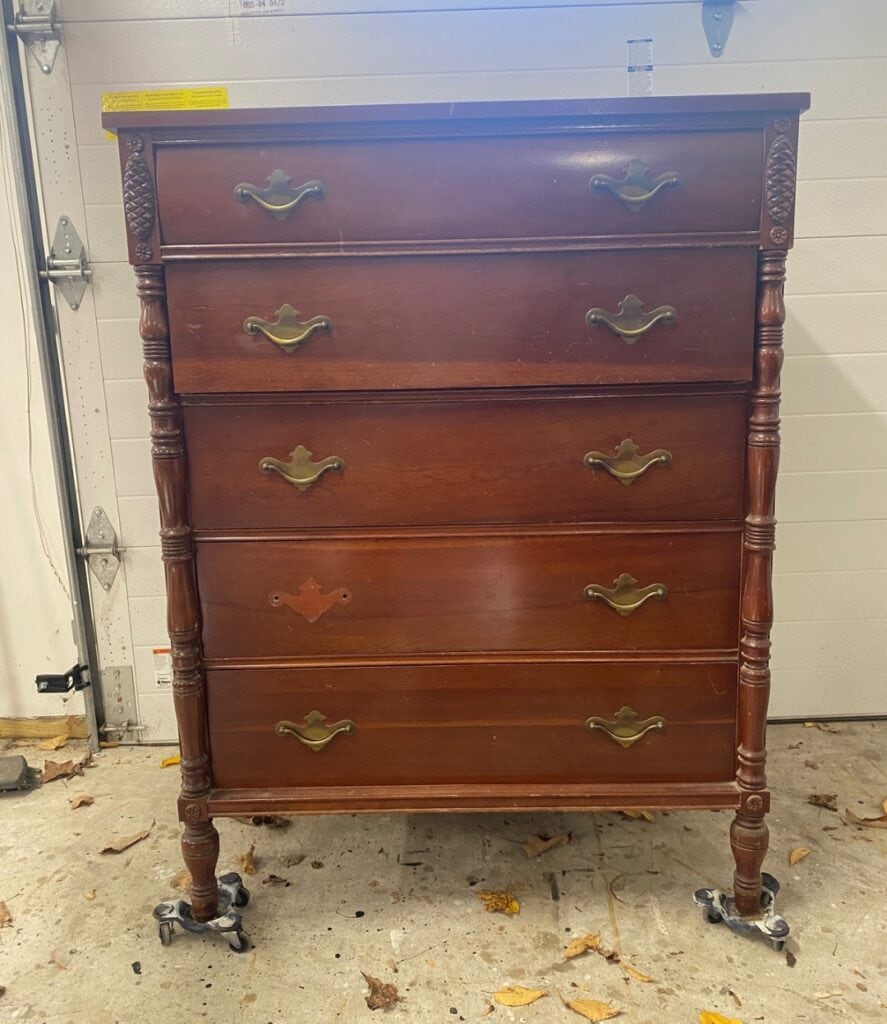
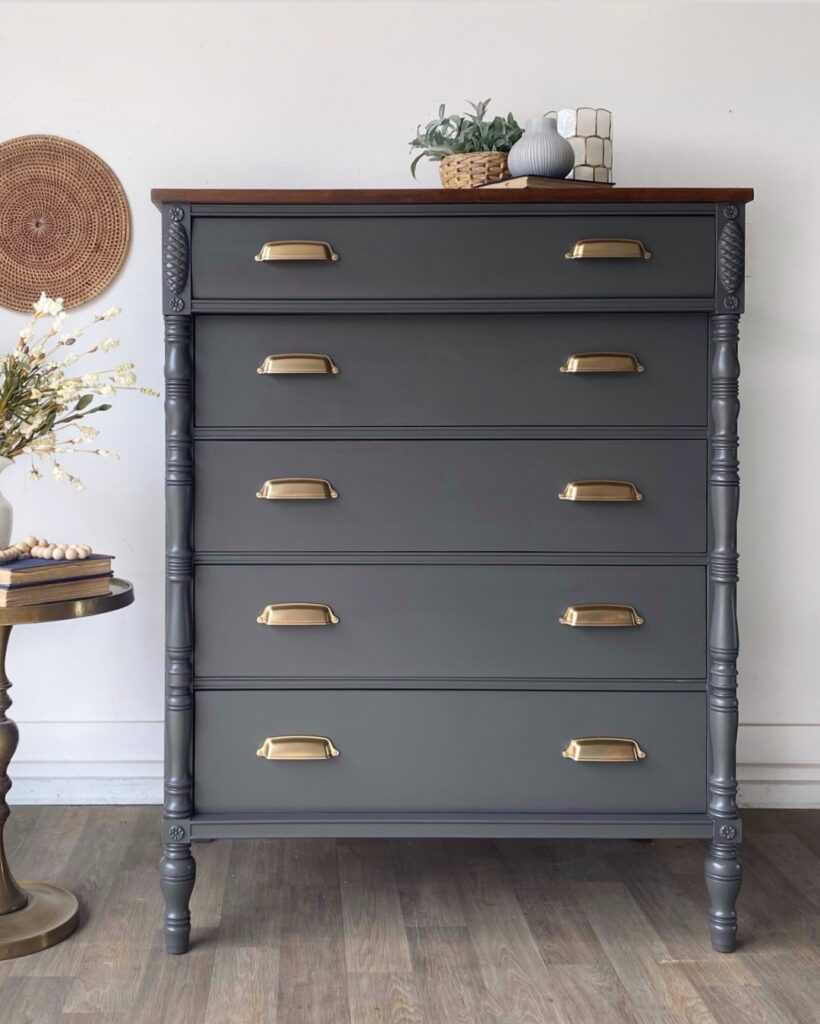
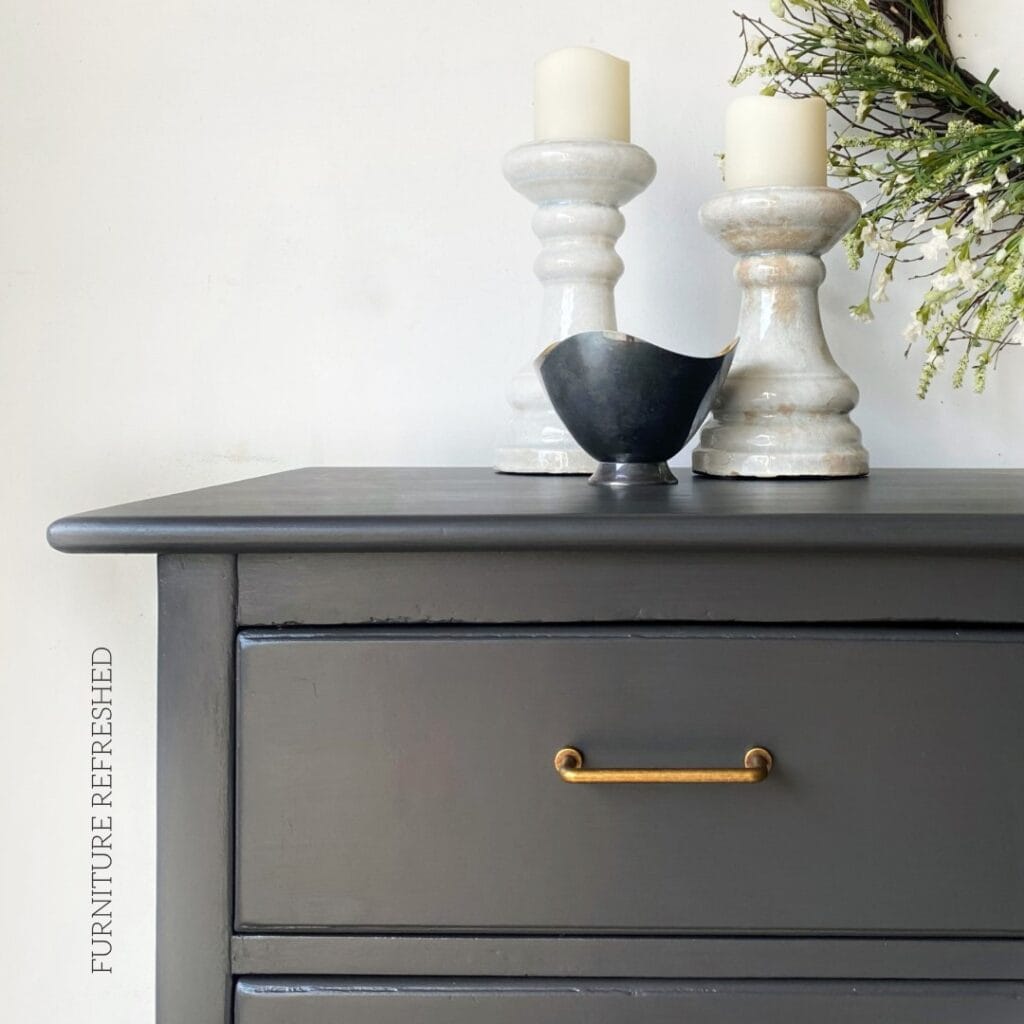
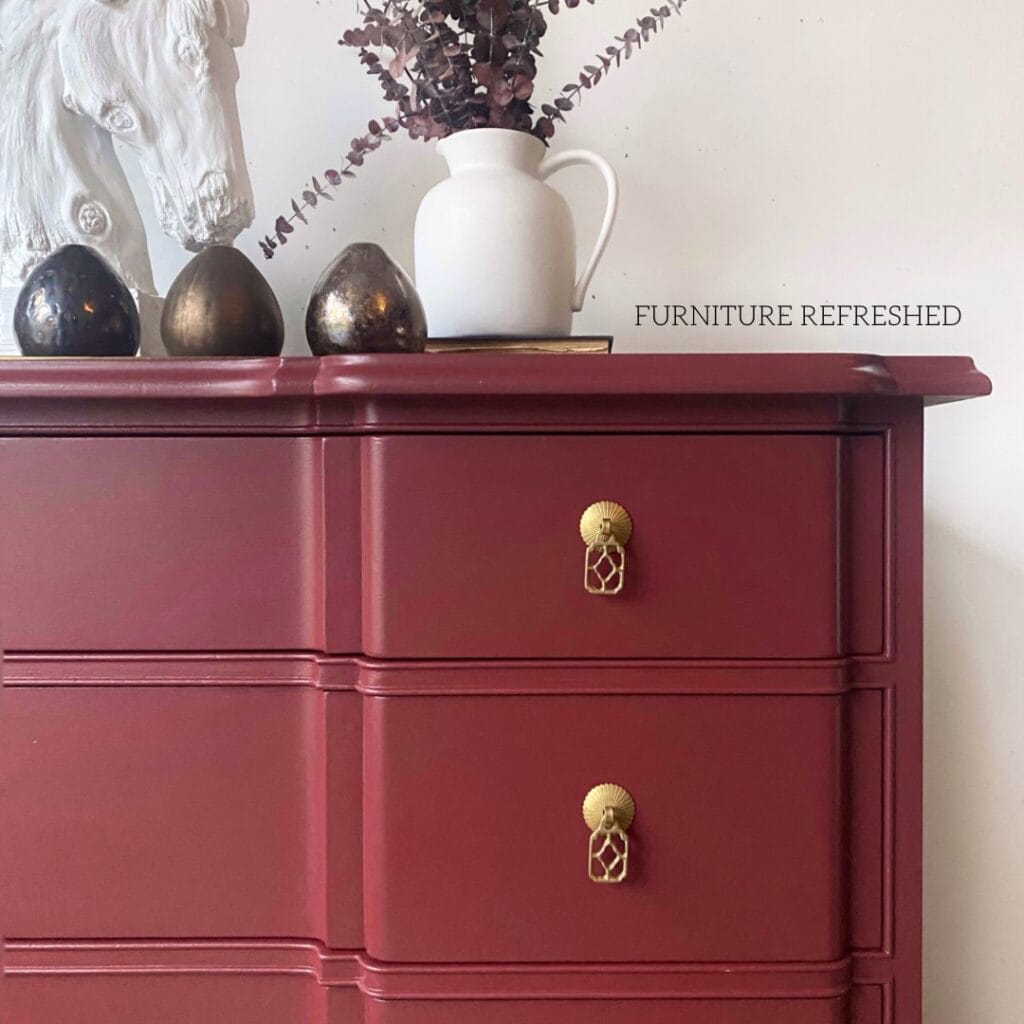
I am a big advocate of using the existing vintage hardware in many cases – much of it is solid brass and often very unique and beautiful. I love Hepplewhite and French Provincial style hardware. Just cleHowever, there are some styles that I don’t love and will usually replace – hello Chippendale “bat-wing” style! This is a personal preference, and when working with clients, I have replaced hardware that I loved (but I will hang onto it, more on that below). And sometimes you love the old hardware but are missing one or more pieces, so replacing is your only option.
Options For Replacing Furniture Hardware
Simple Swap Out
This is the easiest way to replace hardware! Just measure the existing holes and find some new hardware that is the same size. Unfortunately, many vintage pieces have unusual sizes (that are not common today), so you may not be able to find a replacement easily and may need to consider another option.
Refinish The Existing Hardware
Maybe you like the hardware style but not the finish. Or maybe the finish is damaged in places. Like the simple hardware swap out, keeping what you already have is an easy solution. You can refinish the existing hardware with spray paint or Rub N Buff (or a combination of the two) in any color/finish that you desire!
Move The Hardware Holes
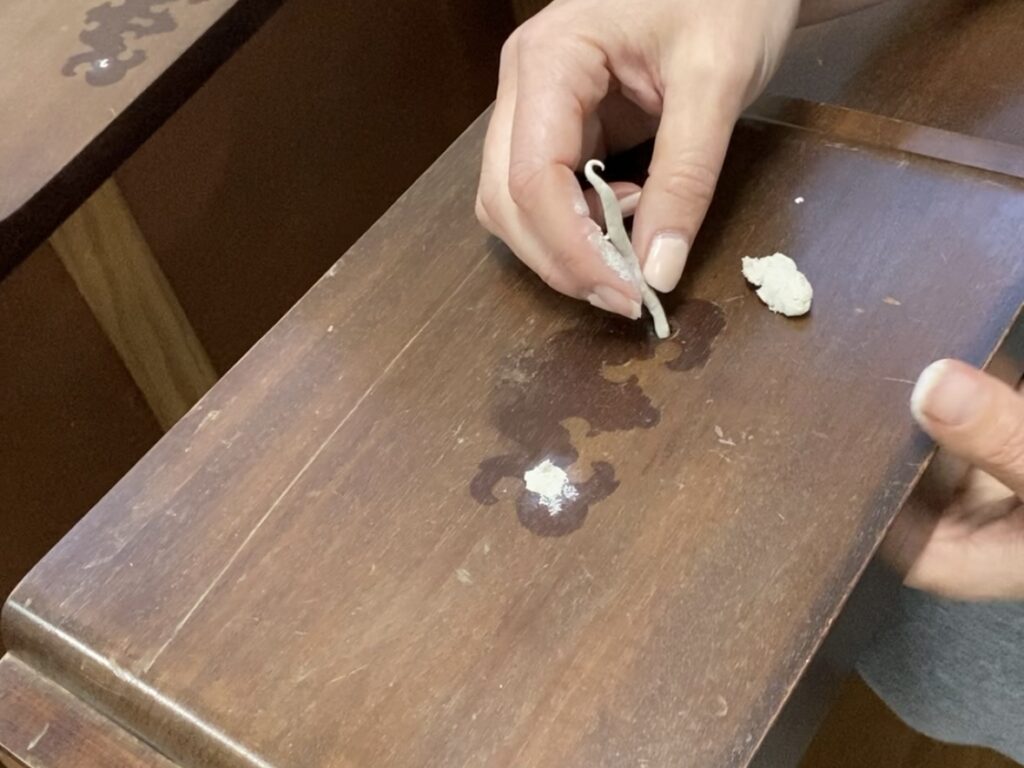
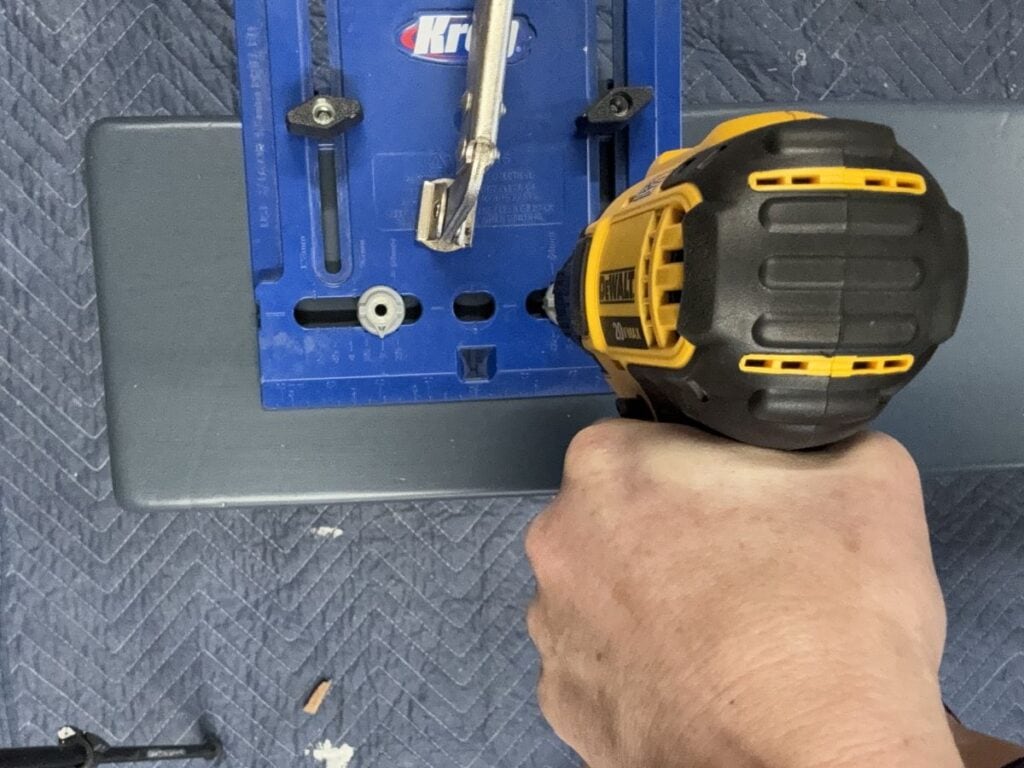
The third option is to fill the existing holes that you have and re-drill new ones. The possibilities are endless when you go this route! Change the size, go from knobs to handles, or handles to knobs, or whatever your creative side can come up with. It sounds harder than it is, I promise! Just keep in mind that this solution really only works if you plan on painting the drawers. There are some ways to mask the filler on a stained finish, but I haven’t had a lot of success doing it.
What’s the best Placement?
As a general rule, if a drawer is less than 24 inches, one pull/knob in the center is best. If it is greater than 24 inches, divide the length into 3 sections and place the pull/knob in the center of each of the outer thirds. Of course, hardware size and personal preference play a role, so use your best judgment to decide on final placement.
Would you like to save this?
Here are the steps to fill and re-drill your hardware holes:
- Fill the existing holes. For this step, I will generally use KwikWood (or Bondo if I have it out already for other repair work). KwikWood is a two-part filler that you knead together; it’s a lot like playdough. Roll it into a thin snake and insert that into the hole. Keep adding until you are satisfied the hole is slightly overfilled, and then let it dry.
- Sand and refill. Once the filler is dry, sand it flush with the drawer front. Often, there will be some spots where it isn’t totally smooth, so you can use Bondo Glazing and Spot putty to fill in these smaller imperfections. If the surface isn’t completely smooth, you will see “ghost holes” when you paint over these areas. I will generally prime the drawer (and maybe do a coat of paint) just to make sure the holes have truly disappeared.
- Drill new holes. Next up is drilling the new holes. To do this, I recommend using the Kreg Hardware Jig and a quality drill. It does a lot of the measuring for you and ensures that your holes are level (and the same from drawer to drawer). Just follow the directions that come with it. I highly recommend using some kind of hardware jig, it will save you time and lots of aggravation!
Use Adjustable Hardware
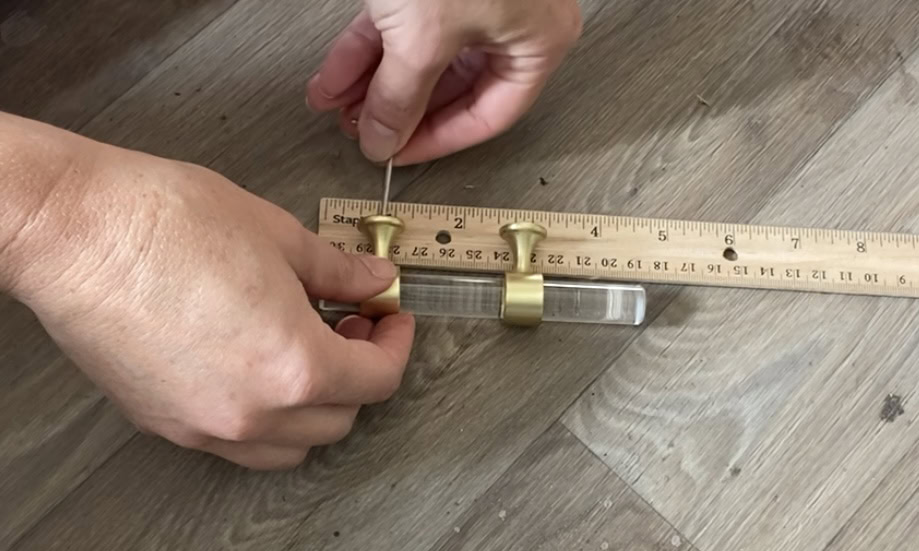
I discovered adjustable hardware a while back when I was refinishing a maple dresser with a paint wash. The existing hardware was of different sizes on different drawers, and I couldn’t find anything new that fit. But, I didn’t want to fill the existing holes becuase it was a wood finish, and you would see the filler.
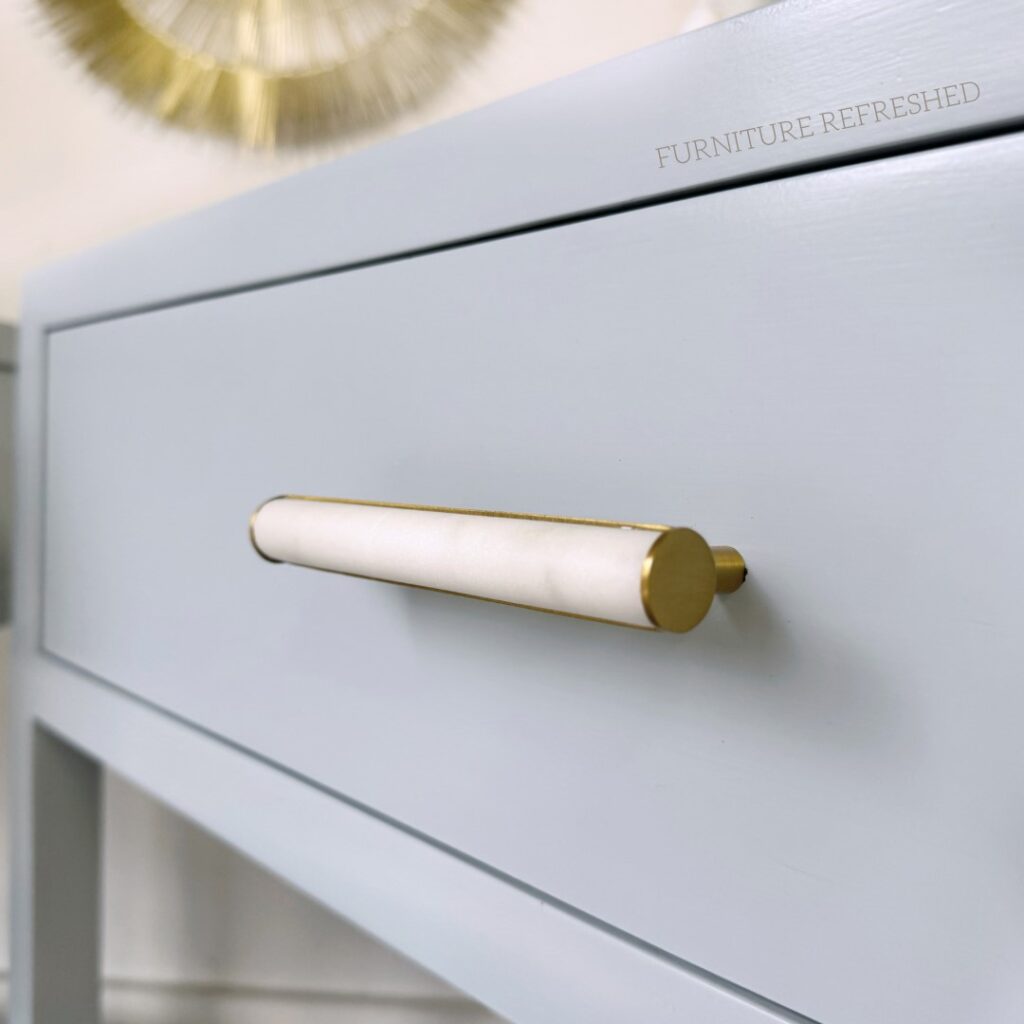
Enter adjustable hardware! It’s a great option if you have an unusual size but aren’t looking to paint the drawer. The only real downside is that the options are somewhat limited. Here are some of my favorites I’ve found on Amazon.
Where To Find New Hardware
So I’ve talked about all sorts of ways to add new hardware, but where is this hardware coming from? There are many options out there, and the range of prices can vary significantly. For most of my projects, I try to spend as little as $5 (or less) per piece; otherwise, the cost would add up very quickly! However, there are times when I will splurge on more expensive hardware. If there are only 1 or 2 pieces needed, those 2 pieces can make a statement. Or if I am doing a custom peice and the client is willing to spend more.
While a quick Google search will bring you many options, here are some of my favorite online sources:
- D. Lawless
- Amazon (my favorites are linked here)
- Signature Hardware (more expensive)
- Crate and Barrel, West Elm, CB2, Anthropologie (more expensive)
What To Do With The Old Hardware
I’ll admit, I have a bit of a hardware hoarding problem. If it’s a style I like, I will hang on to it. It’s great to have a stash on hand for other projects. I also list the extra hardware I have on hand on my Etsy site. Someone may be looking for just the thing I have. And while I haven’t done much of this, there are lots of DIY ideas out there, such as making trays or jewelry holders with extra handles or knobs.
Summary
There are lots of ways to replace furntiure hardware, and it’s generally an easy fix. I hope I’ve inspired you to look beyond the hardware on a piece of vintage furniture and instead see the potential! Think of it as jewelry for your furniture and have some fun with it. As always, I’m happy to answer any questions you have!