Furniture Paint Review: Amy Howard At Home Miracle Paint
This post may contain affiliate links, meaning I make a small commission on qualifying purchases.


Hello my furniture painting friends! Today I’m sharing my honest review of a new-to-me furniture paint: Amy Howard at Home Miracle Paint. Even though I have a good furniture painting routine, along with reliable products that I like to use, I still like to try new things! It keeps things interesting and it’s how I discover new favorites! For example, I recently tried a new wood filler instead of Bondo for some veneer repair and loved it! It’s now my favorite filler.
Summarize & Save This Content
Miracle Paint Overview
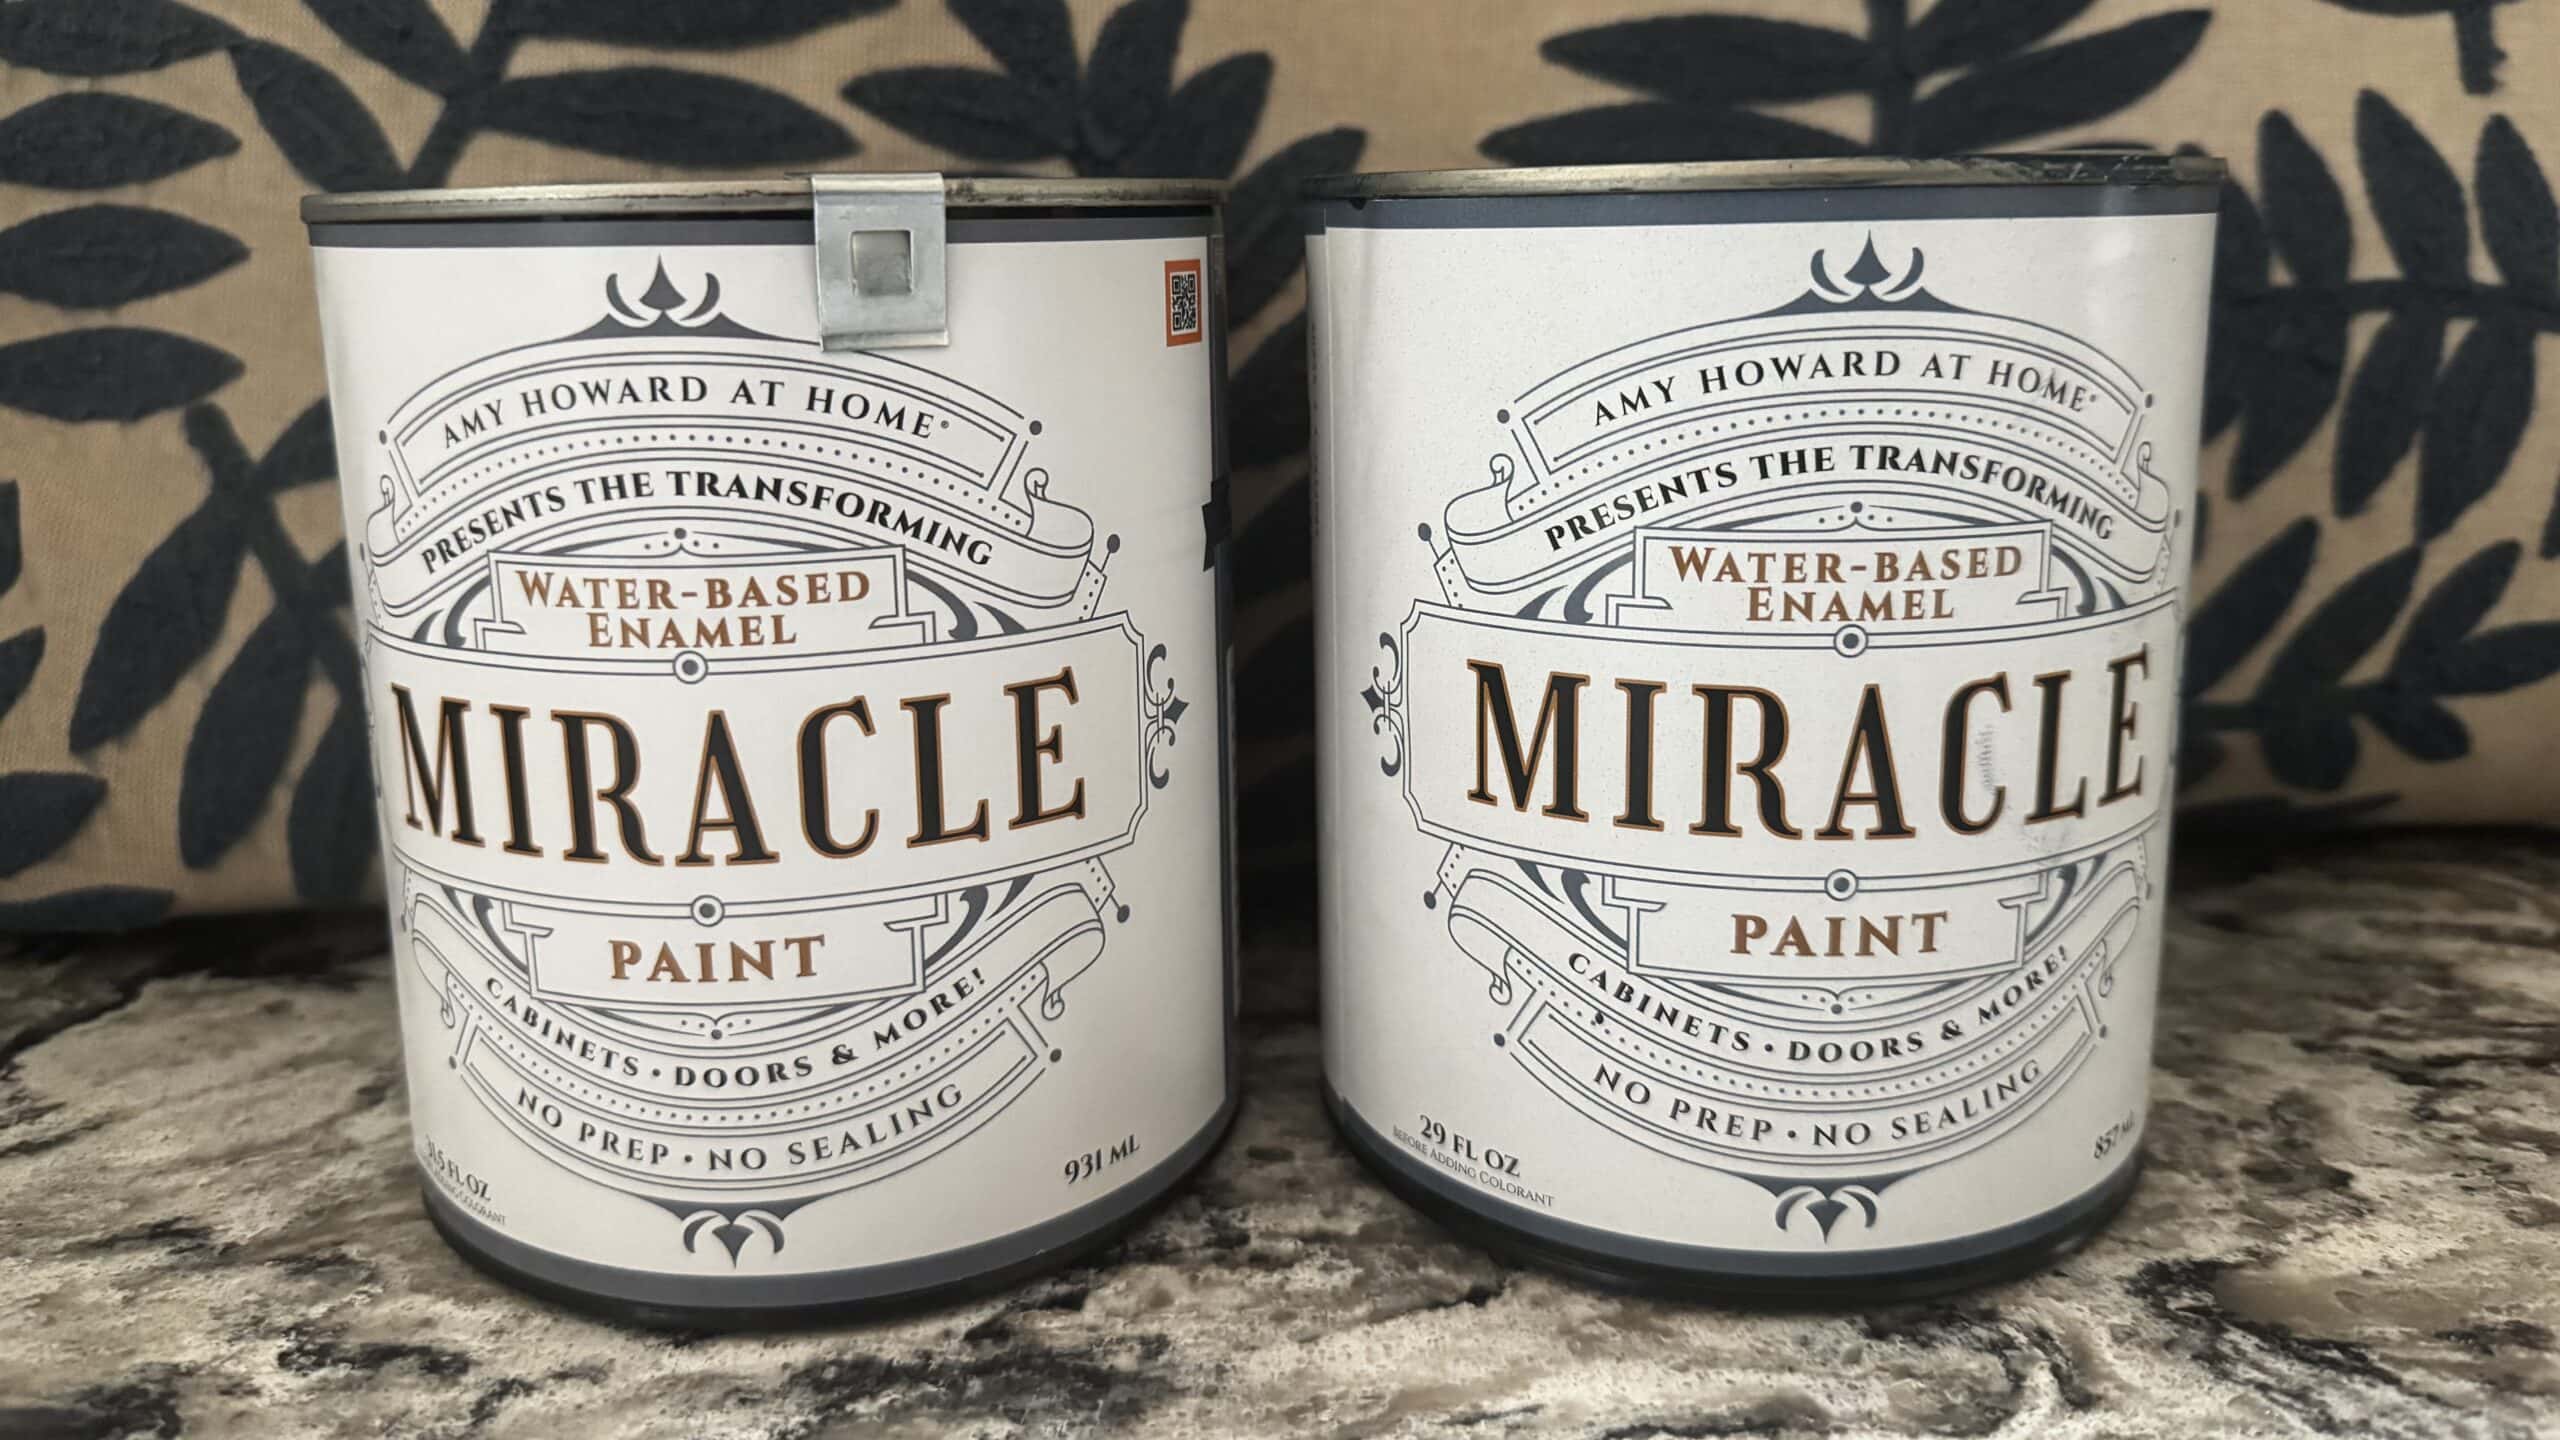
Let me start this review of Amy Howard at Home’s Miracle Paint by giving you the details on this product. It is a water-based enamel paint that is advertised as not needing any sanding, stripping, priming, or sealing. Water-based enamel paints are typically a blend of traditional water-based and oil-based paints. They give the durability of an oil-based finish but are easier to use, easier to clean up, and generally have lower VOC levels.
UPDATE: Since using this paint, the company has updated this product to One-Hour Miracle Paint, with a much faster dry time than the version I used.
The Project
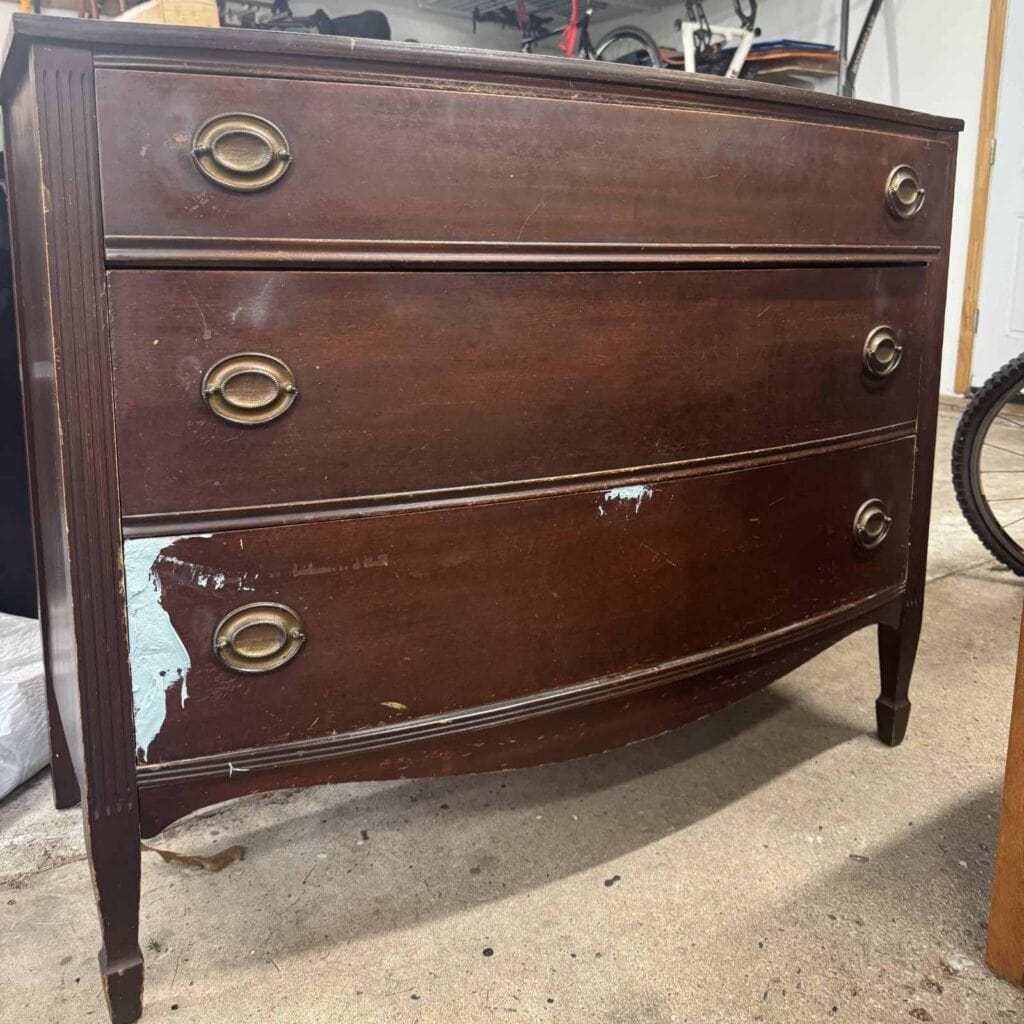
I’ve had this vintage Hepplewhite-style dresser in my stash for a while and thought it would be the perfect piece for trying this paint.
Step 1: Prep Work
While this paint says that almost no prep work is required, I still had some work to do unfortunately. There was a lot of furniture repair work to be done – veneer damage to the top that needed to be filled with wood filler, the drawer slides needed repair, and one of the drawers needed to be glued back together.
Once the repairs were completed, I thoroughly cleaned the dresser, did a quick scuff sand, and decided to prime. While this paint says it doesn’t need any sanding, I always at least scuff sand and couldn’t let that step go (it takes less than 10 minutes and gives me peace of mind). As far as priming goes, there were two reasons why I felt it was necessary. First, because I did so much filling, the filled surface would have taken paint differently than the wood finish. And second, this dresser was mahogany veneer, a wood that is prone to bleedthrough and needs to be sealed up with a stain-blocking primer.
Step 2: Painting
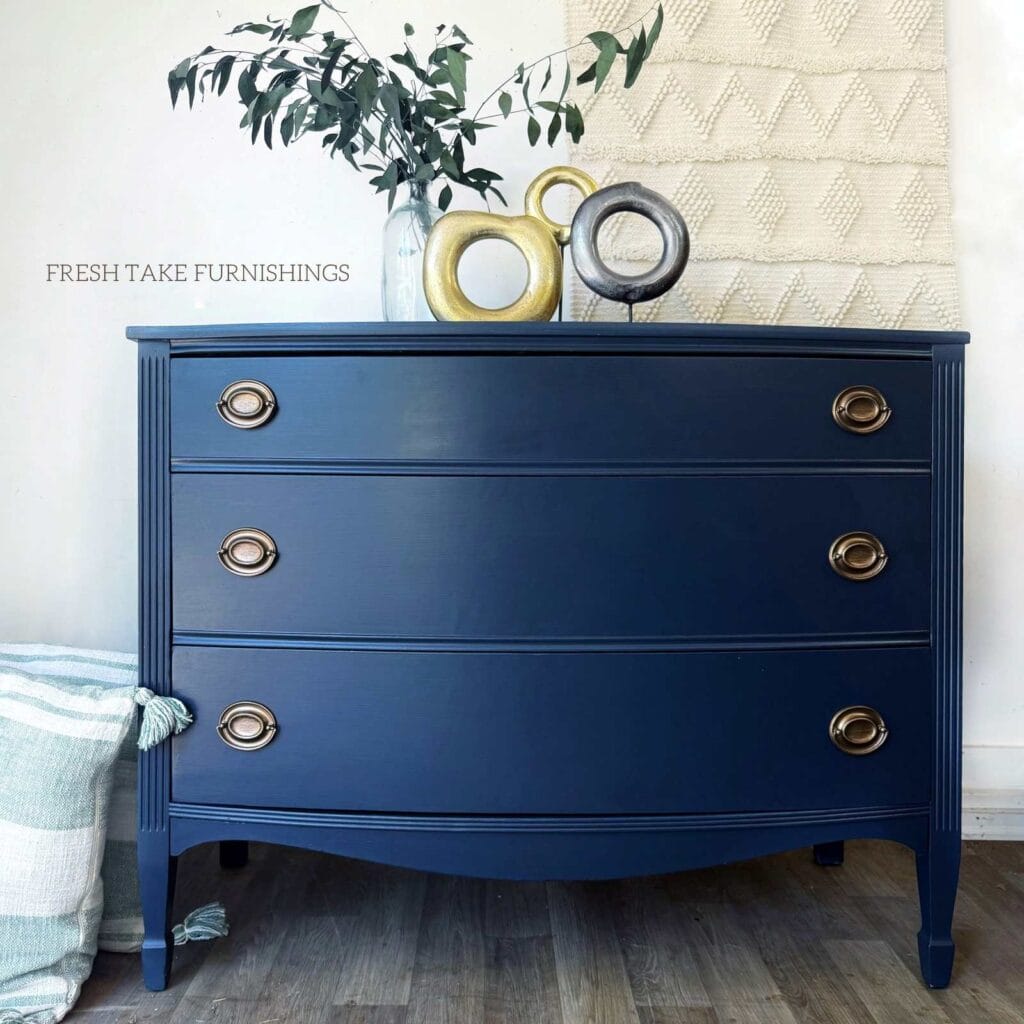
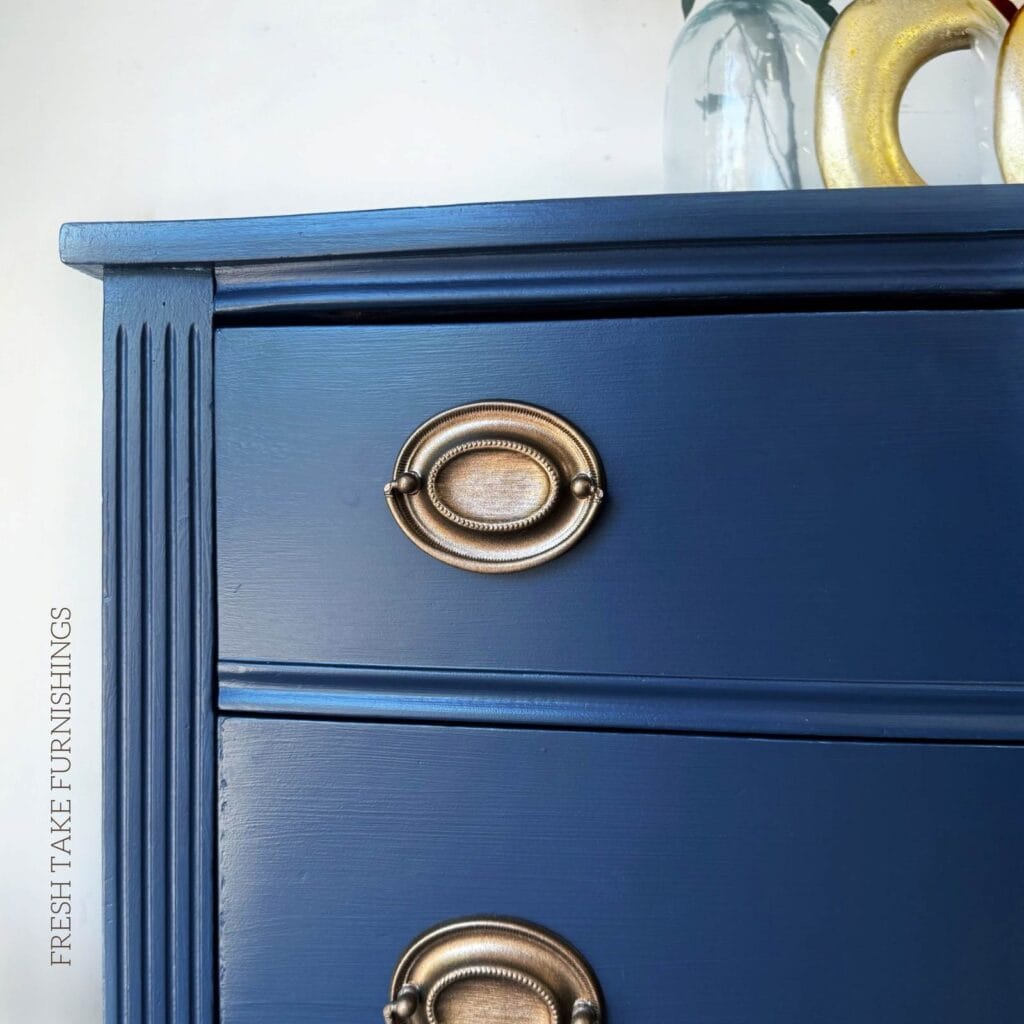
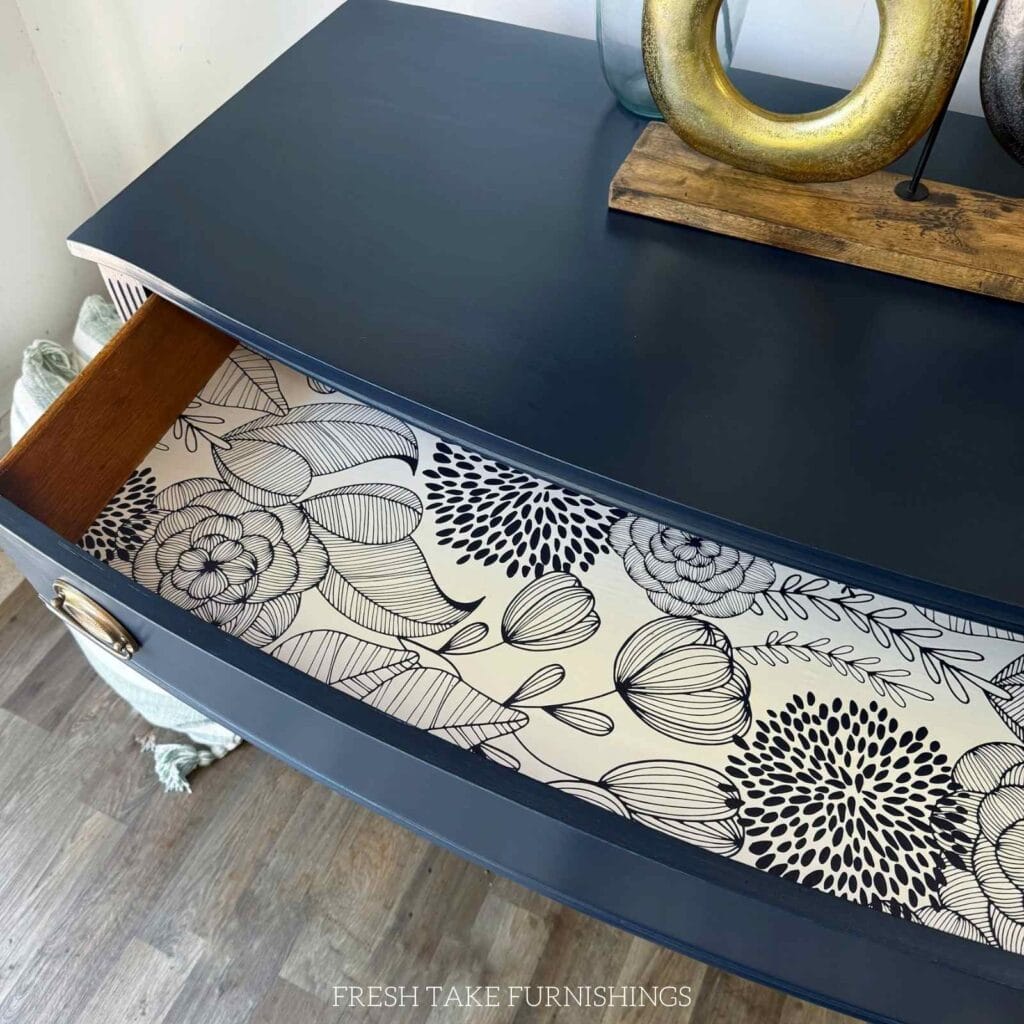
Now onto the fun part – paint! I used the color Midnight Dreams. You know me, I love a good dark blue and this one did not disappoint! A dark navy with just a hint of a teal undertone, it’s easily one of my favorite blues I’ve tried. It is a highly pigmented color and took 4 coats for complete coverage over my gray primer. The recoat time was 8 hours, so it took me a few days to get all of the coats on. But it was worth the wait for this beautiful color!
Step 3: Finishing Touches
Once the paint had dried overnight, it was time for the finishing touches. I cleaned and spray-painted the original hardware in Metallic Antique Brass. Finally, I lined the drawers with one of my favorite peel-and-stick wallpapers.
Would you like to save this?
Pros: What I Liked
- No topcoat needed: This is one of the biggest perks of Miracle Paint. Like other alkyd/enamel formulas, it cures to a hard, durable finish that doesn’t require to be sealed with a topcoat.
- Durability: This is an extension of my first point, but I felt like it needed to be said again. I was extremely pleased with how durable this paint seemed. I had it in my workshop for a few weeks and even bumped it a few times. It held up great!
- The color: This was such a beautiful color! Hands down, one of my favorite navy blues I have ever used!
- Minimal prep work: While I didn’t do a great test of this, I like that the sanding and priming aren’t totally necessary. I had no adhesion issues. Many of these alkyd/enamel paints do recommend primer, so the fact that Miracle Paint does not gives it a leg up in the adhesion department.
Cons: What I Didn’t Like
- Dry time: This was the biggest downside of using this paint. Having to wait 8 hours to recoat meant that I had time for one (or maybe two) coats in a day.
- Coverage: The instructions on the can say two coats are necessary, but it took me four coats to get complete coverage. This is likely because the color was highly pigmented and will require more coats, regardless of brand.
- Leveling: In general, I’ve found that alkyd/enamel paints don’t level quite as well as acrylic all-in-one furniture paints. Meaning, you have to be careful with brush strokes. This was the case with Miracle Paint, but with my mister bottle (and other general tips for getting a brushstroke-free finish), I was still very happy with the result.
Summary
All in all, my review of Amy Howard at Home Miracle Paint was a good one! It impressed me with its durability and gorgeous color. While the dry time was longer than I’d prefer, and it took more coats than expected, I still found the finish to be worth the extra effort. If you’re looking for a paint that doesn’t need a topcoat and can hold up to everyday use, this is a great option.
I’m definitely planning to try the updated One-Hour Miracle Paint soon to see if the faster dry time makes the process even smoother. And I’d love to test it on a project where I can skip primer and sanding completely, just to see how well it performs under the no-prep promise.
If you’ve tried Miracle Paint (or the newer version), I’d love to hear your experience! Let me know in the comments what you thought, or if you have another go-to furniture paint you’d recommend.
New to furniture painting?
Get my FREE Beginner’s Guide to Painting Furniture! This guide walks through the steps of a furniture painting makeover and includes a downloadable project planner and supply checklist.