

DIY Mahjong Table Makeover
This post may contain affiliate links, meaning I make a small commission on qualifying purchases.
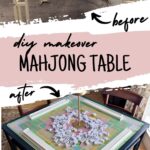

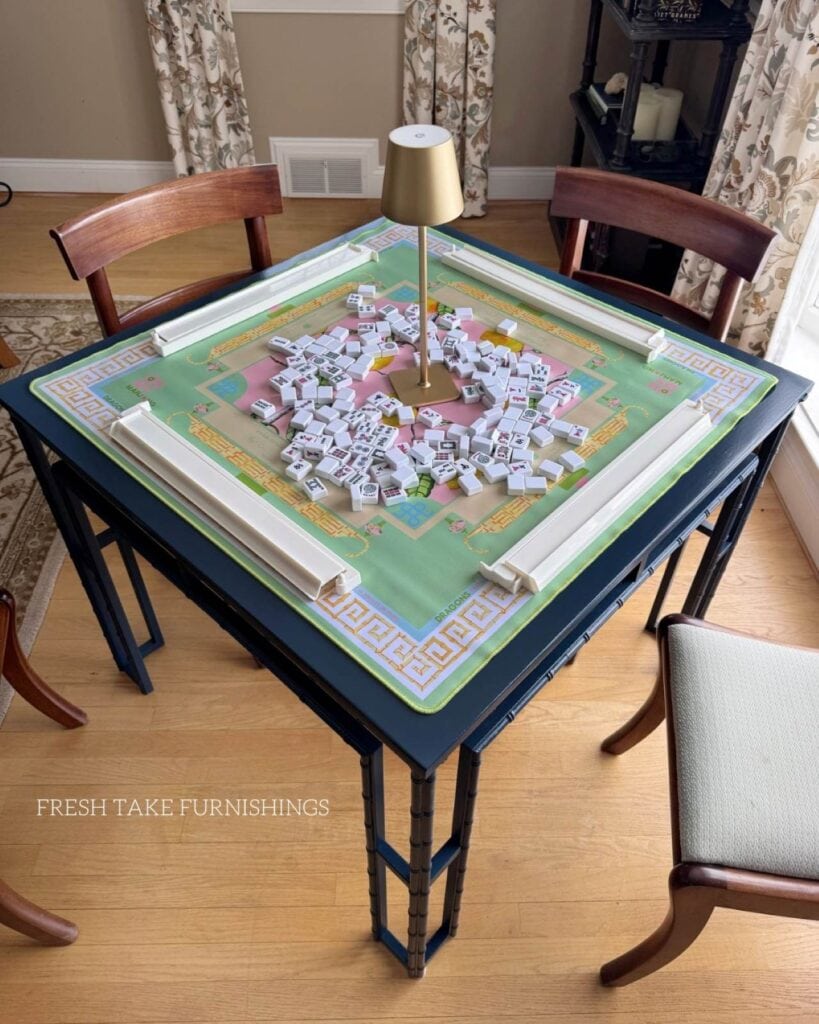
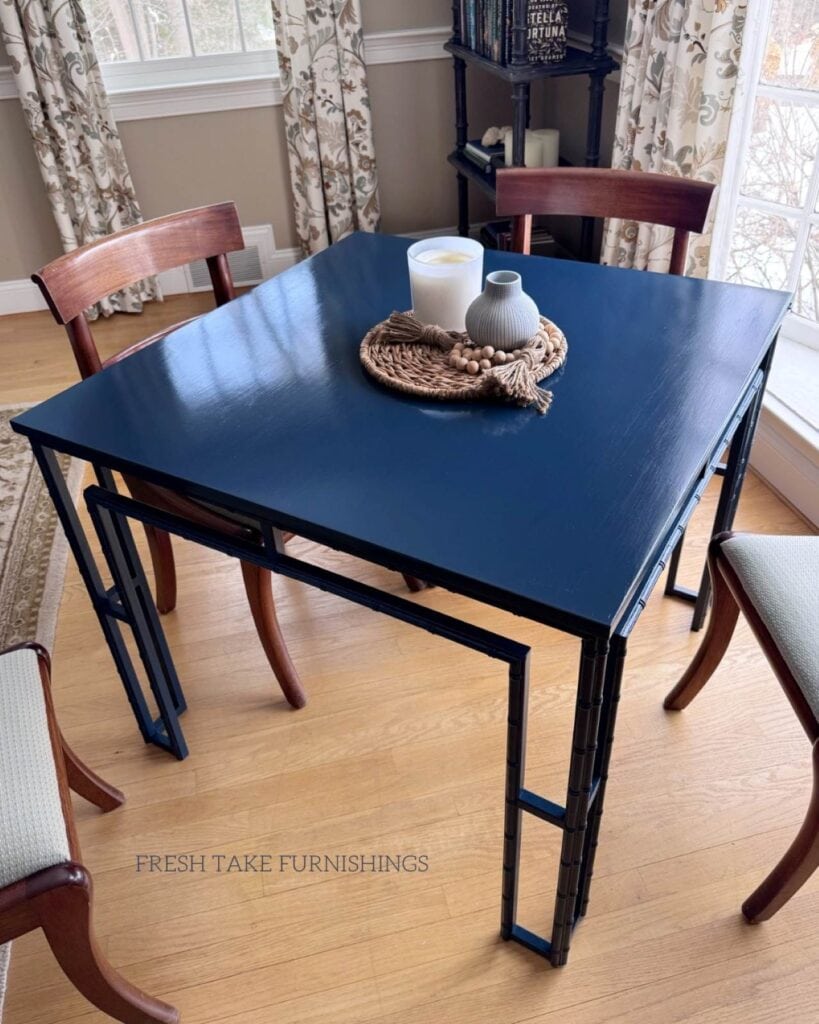
Anyone else caught the recent Majhong bug? I’ll be the first to admit that I have, and am currently obsessed with everything Mahjong! So when I came across a table at the thrift store that was just the right size, I pounced! This tutorial shares my DIY Mahjong table makeover that transformed this thrift store find into a table that is now a feature in my living room, with new bamboo trim and all!
Summarize & Save This Content
Let’s be real. Mahjong can be expensive. I was totally shocked by the prices of tiles, racks, and mats. I’ve purchased an inexpensive set of tiles, and a reasonably priced mat and racks (and maybe I’ll treat myself to some fancy tiles one day – there are some absolutely gorgeous options). I am lucky enough to have space in our living room for a permanent table setup, but when I looked at the prices of those, I almost fainted. If you want something more than a folding card table (and trust me, there is nothing wrong with that), a quick search shows that stylish Mahjong tables run in the hundreds (if not thousands) of dollars, which is way more than I was willing to spend.
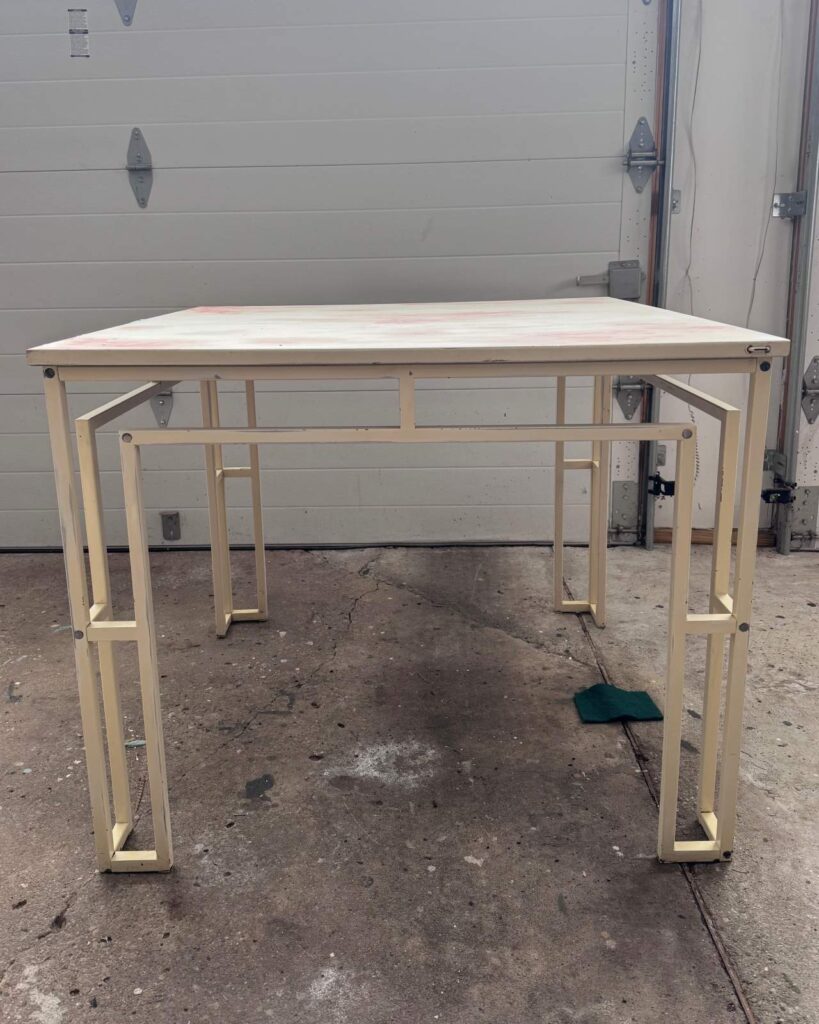
So long story short, I’ve been on the hunt for the right table to transform. And a few weeks ago I was in the thrift store and came across this white table with metal legs for only $5!! I pulled out my measuring tape (yes, I have one stashed in my handbag), and it measurements were 36 x 36 inches – the prefect size for a Mahjong table!
Mahjong Table Makeover Steps:
Step 1: Prep Table For Paint
I started this makeover as I do all of my painted furniture makeovers, with a good cleaning! I used Krud Kutter, and then wiped off the residue with water and a microfiber cloth.
Next, I scuff sanded the entire piece. For the metal legs, I used a 150-grit because they were so smooth (this is what I do for glossy or laminate surfaces). For the top, I started with 150, then 180, then 220. There were some areas where the old finish was flaked off – I sanded to the wood grain in those areas. Then I used Bondo glazing and spot putty on the exposed grain, and sanded again with 220 for a smooth and uniform surface.
Step 2: Add Bamboo Trim
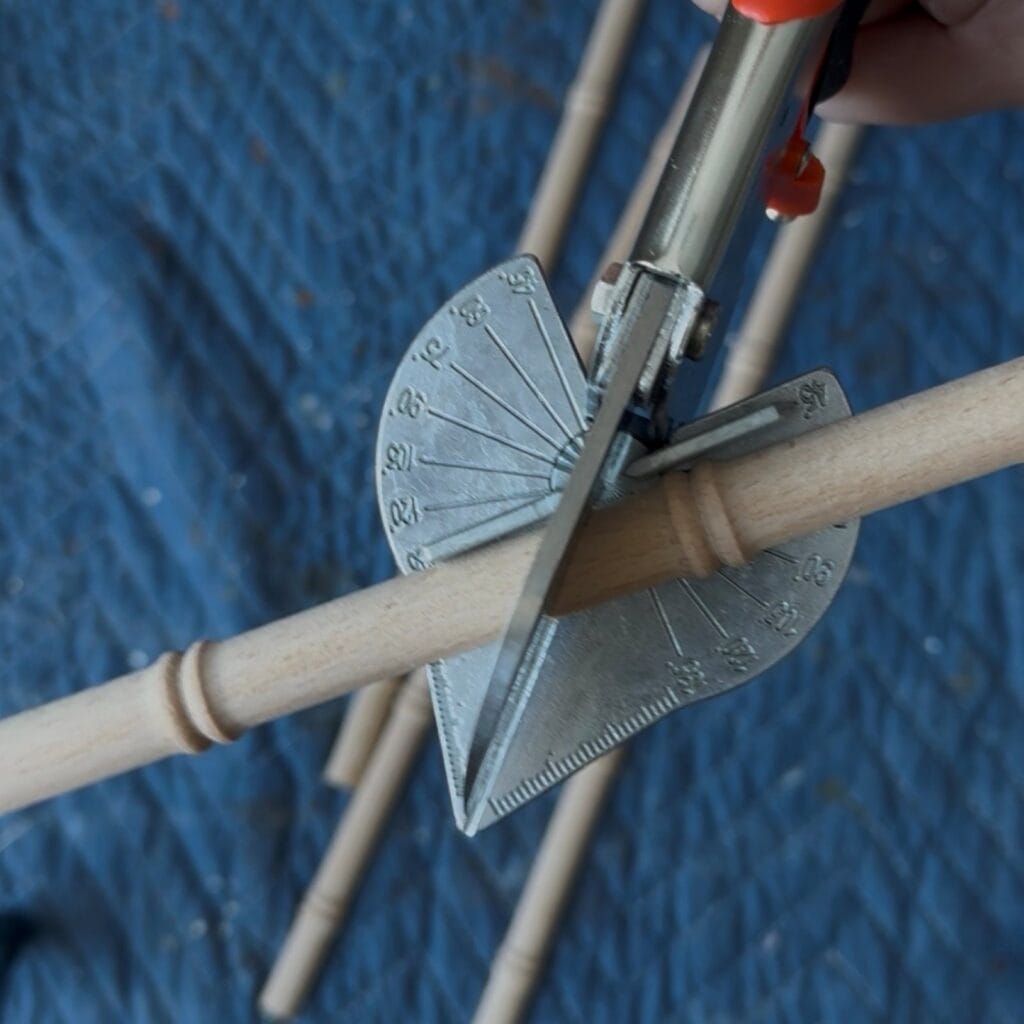
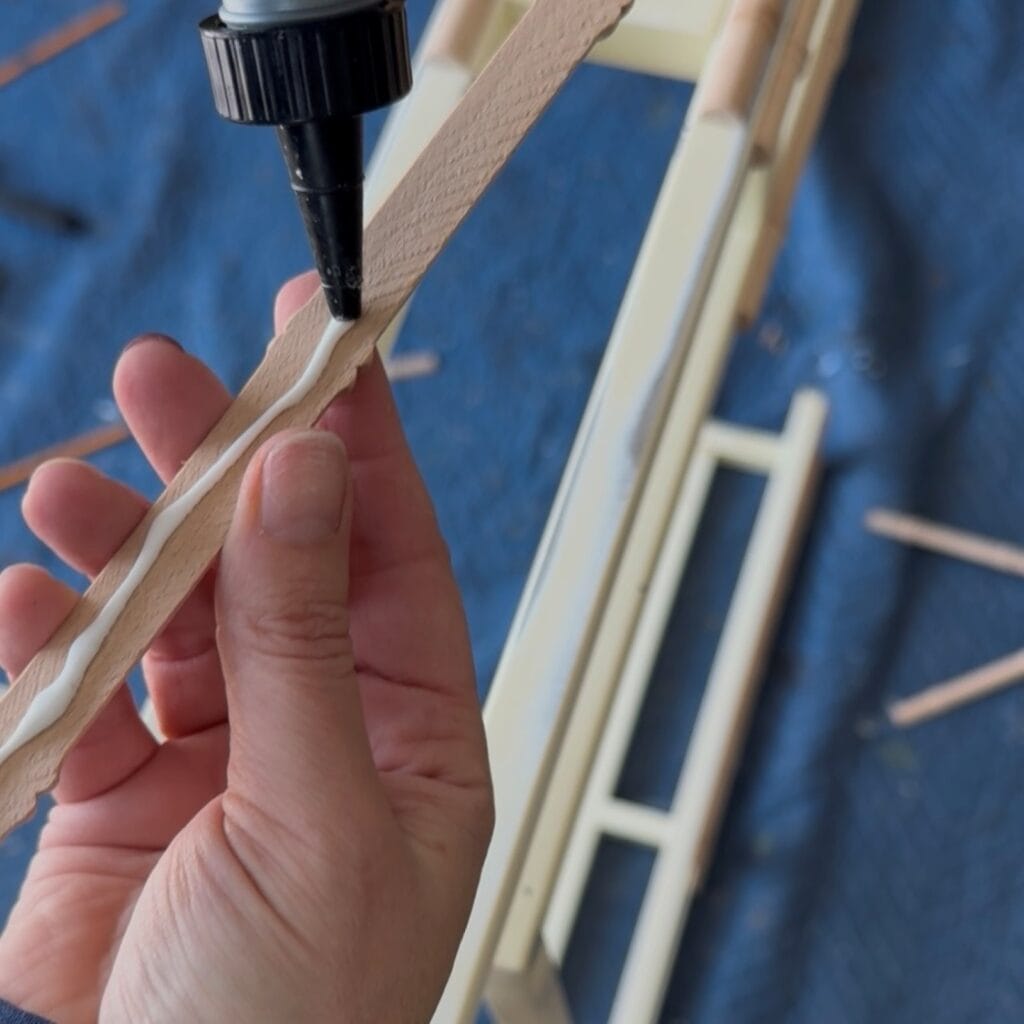
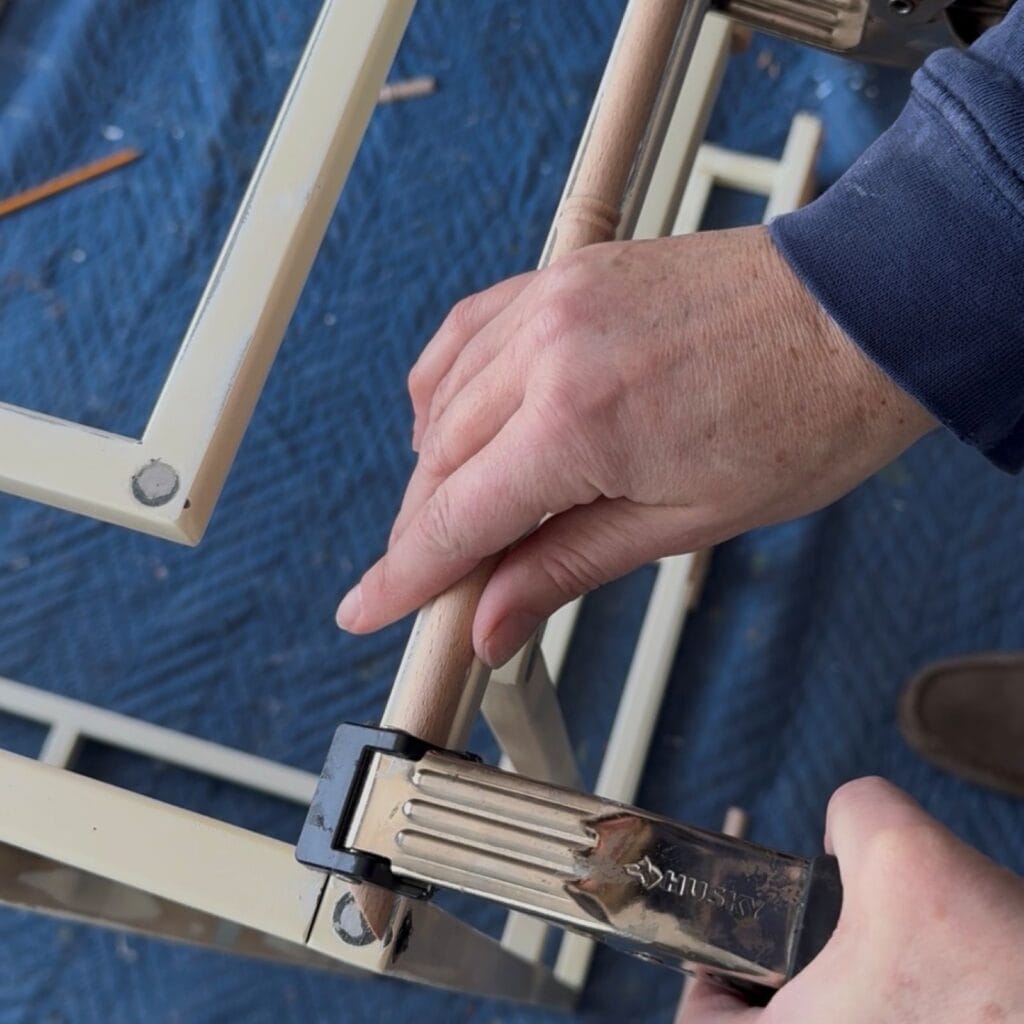
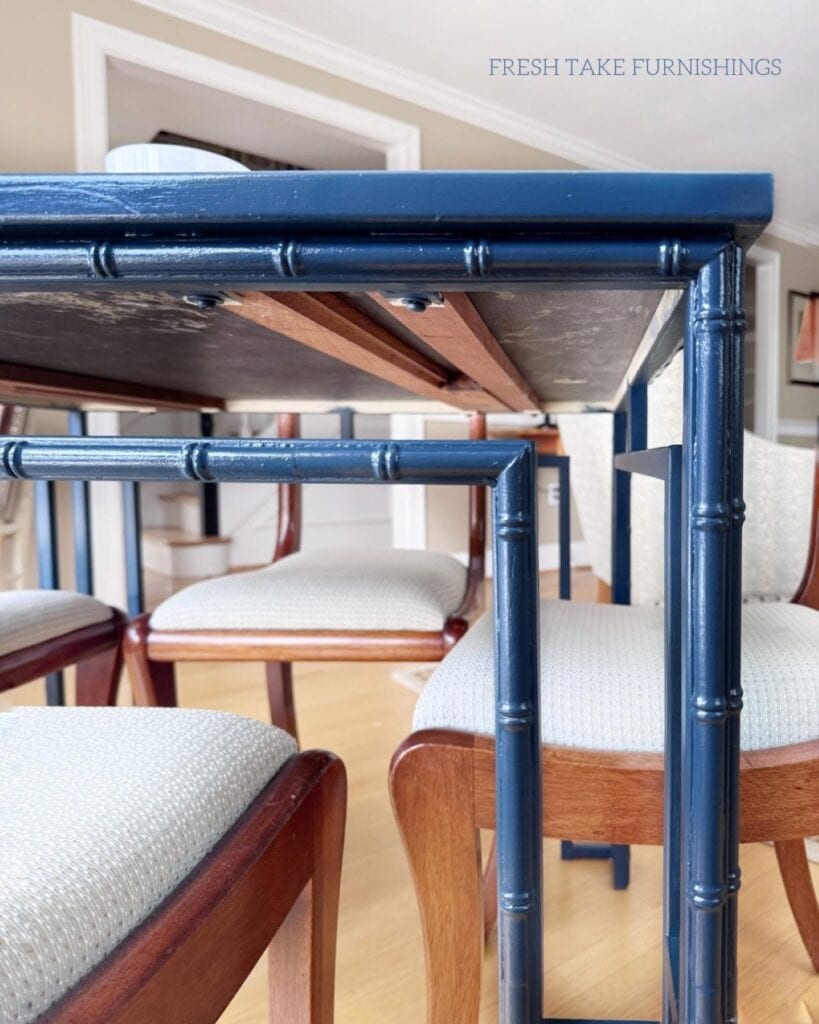
After the table had been cleaned and scuff sanded, it was time to add the bamboo trim. I searched around online and found this bamboo trim that was the perfect width for the metal table legs. And while I loved the table on its own, this extra detail adds so much character!
I measured the trim pieces and used small trim cutters to make my cuts. These are great because you can cut on an angle for the corner (as well as straight cuts). It was a bit of a puzzle to get everything together since the trim came in 15-inch pieces. Once I had the pieces cut, I glued them to the metal frame using Titebond multi-surface glue and clamps, spacing the clamps a few inches apart. I had to work in sections because I only have so many clamps! I let the glue dry for about an hour and then moved on to the next section.
Would you like to save this?
Step 3: Paint Table
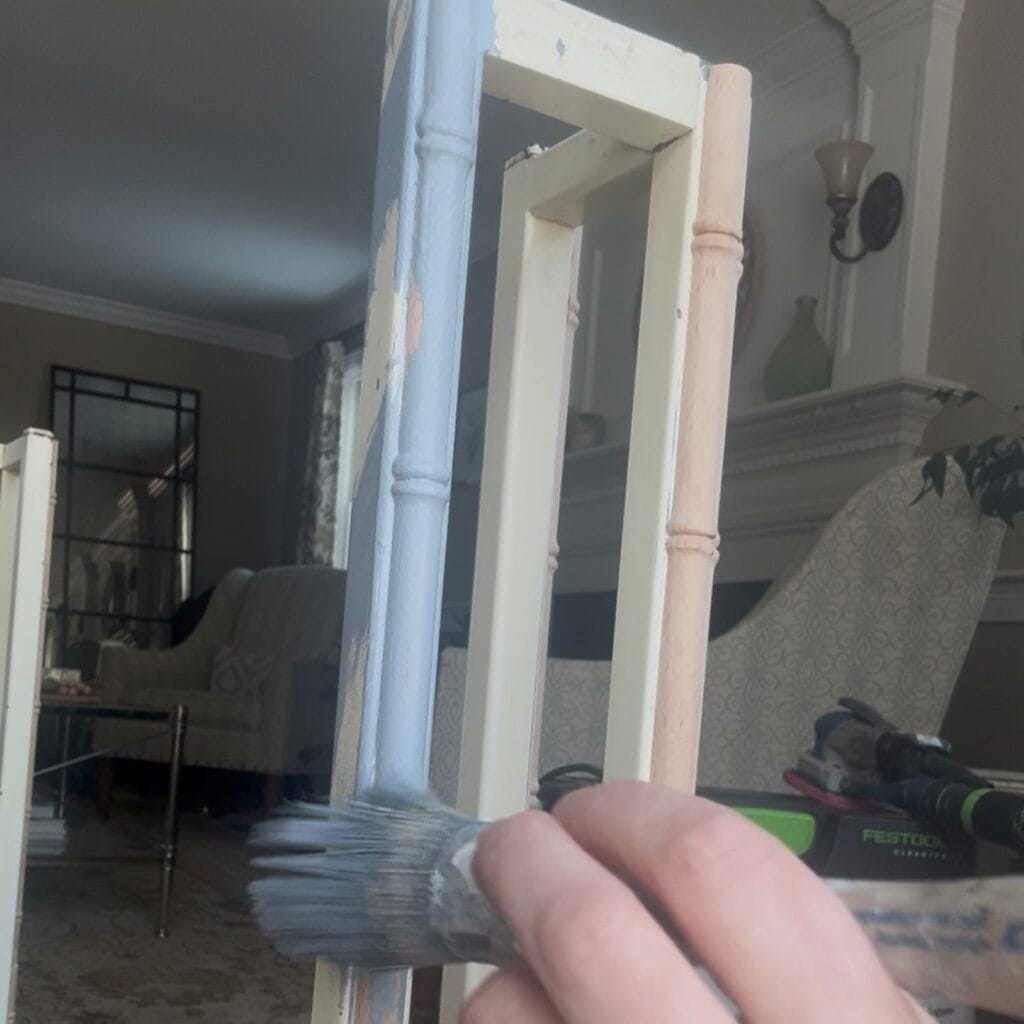
Once the bamboo trim was complete, it was time for primer. It’s important to choose the right primer, and I decided on Melange Paints stain blocking primer in gray because it has good bonding properties (for the metal), and using gray under a dark paint color helps with coverage of that color. I did one coat of primer and let it dry overnight.
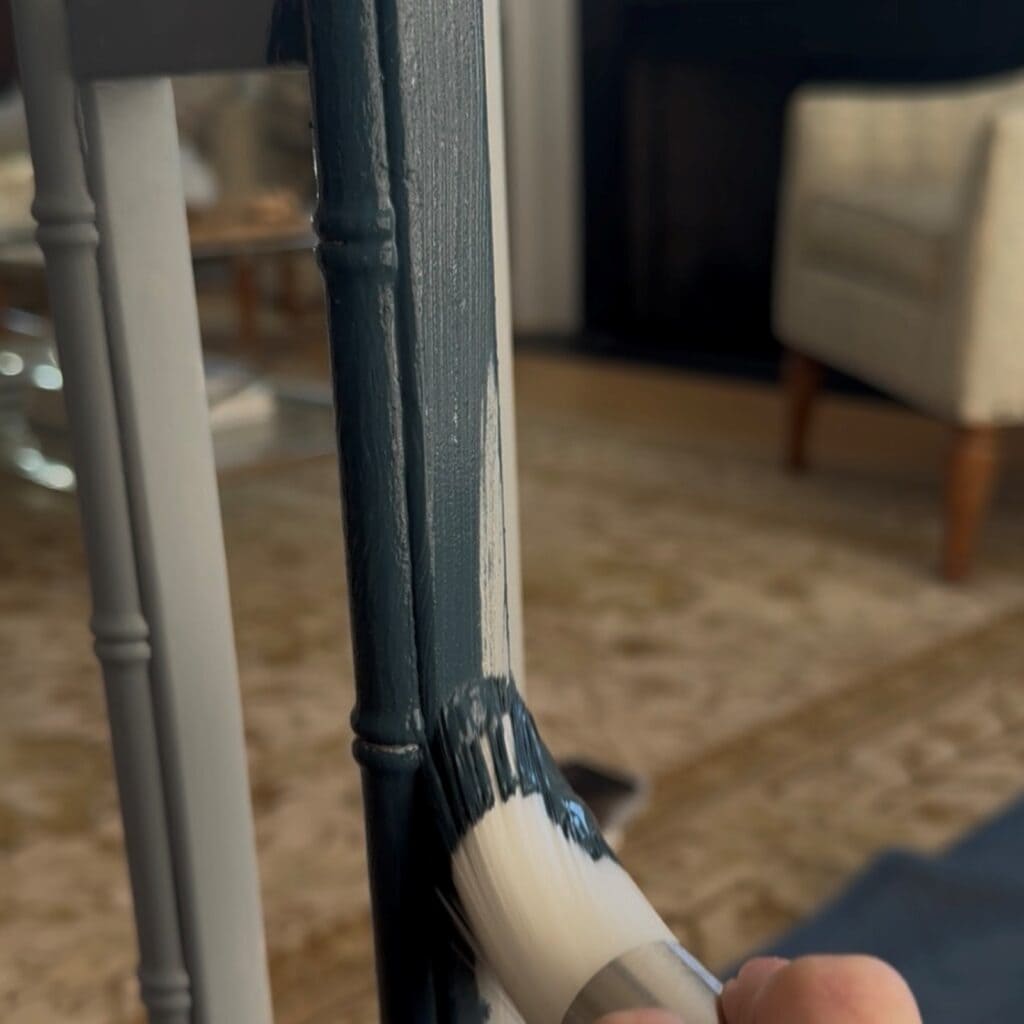
Next, it was time to paint the table! I used one of my favorite colors, One Headlight Blue by Melange Paints. It is a dark blue/navy with just a hint of a green undertone (very similar to Hague Blue by Farrow and Ball). I did three coats overall and the coverage was great.
Step 4: Topcoat Table
Finally, it was time to topcoat. I wanted a glossy look to this table so I used my go-to top coat, General Finishes High Performance Top Coat in Gloss. This was honestly the most challenging step because gloss finishes are very unforgiving. You see every imperfection in the finish, including brushstrokes. I added some extender, which helped a lot, but it still isn’t perfect. And be sure to check out these additional tips on sealing painted furniture for more information
Usually, when I do a gloss finish I spray it, but because it’s the middle of winter, that isn’t an option. And I’m way too impatient to wait until spring to use the table. Who knows, maybe I’ll pull it out sometime and re-do the topcoat with a sprayer. But for now I’m happy with it!
Summary
I hope this DIY Majhong table makeover inspires you to find and design that special piece that fits your needs! You don’t have to spend a fortune to get something functional and stylish. You just need some patience (and maybe a bit of luck) to find the right piece, and then some creativity to design it to fit your space.
New to furniture painting?
Get my FREE Beginner’s Guide to Painting Furniture! This guide walks through the steps of a furniture painting makeover and includes a downloadable project planner and supply checklist.