Washstand Makeover With A Raw Wood Finish
This post may contain affiliate links, meaning I make a small commission on qualifying purchases.
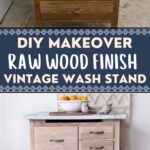
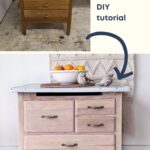
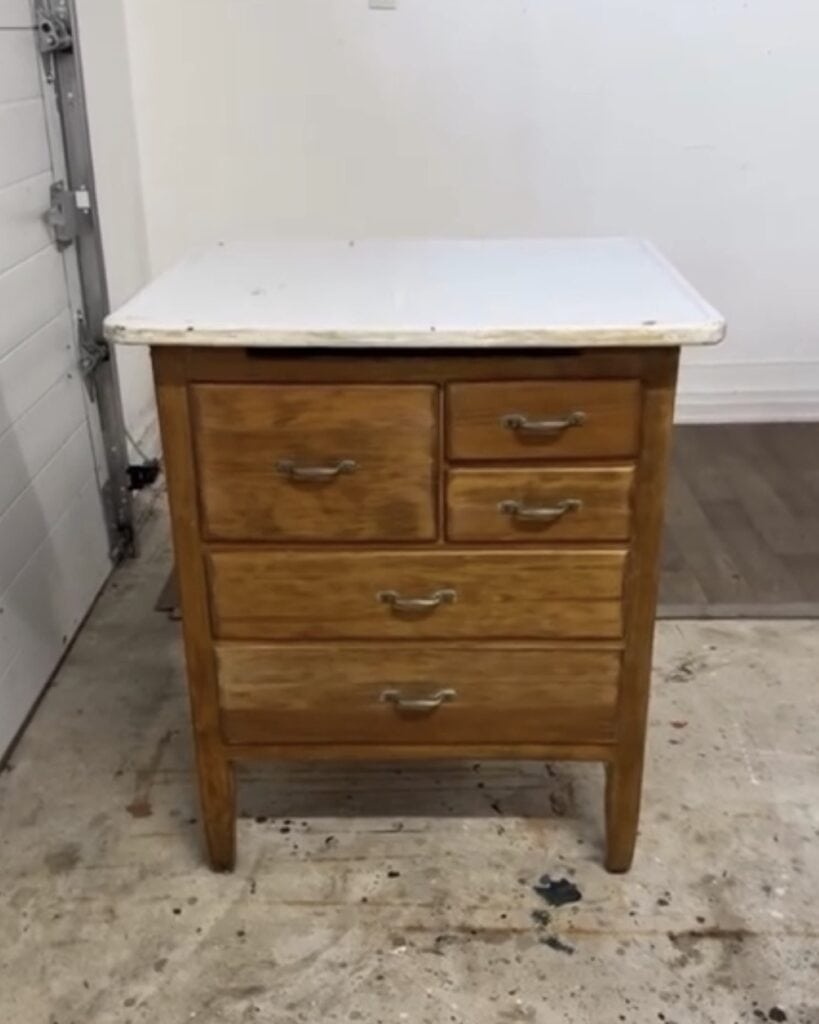
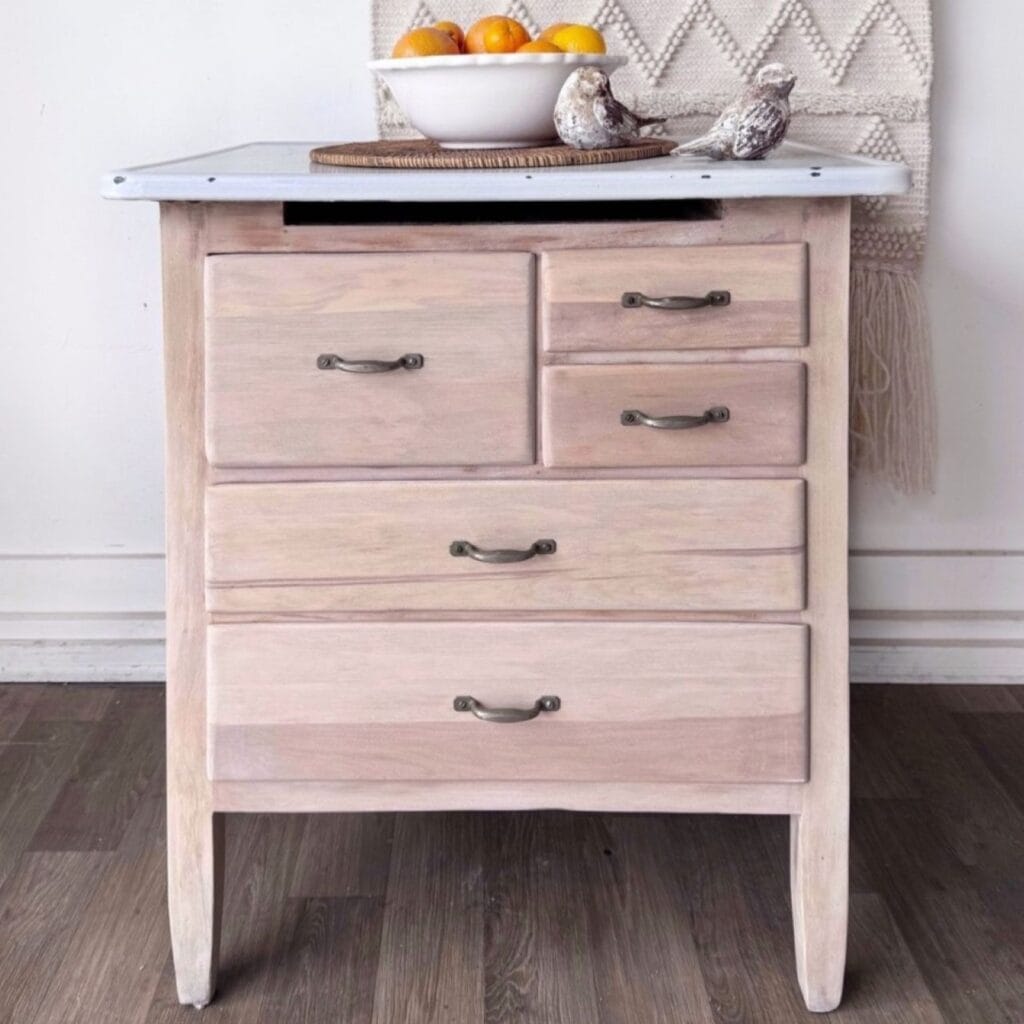
This vintage washstand came to me in pieces. Literally! Each drawer fell completely apart when I pulled it out. But my client was excited about giving it an update, and so was I. We decided on keeping it wood, but getting rid of the stain and highlighting the natural raw wood finish. Is it imperfect, yes, but that’s the beauty of vintage furniture – it tells a story and is totally unique.
In these quick guides, I walk through the steps and products I used for a particular makeover. Interested in learning more about a step or process? Please refer to the links at the bottom of this post, where I provide detailed tutorials on these steps.
Makeover Steps:
- As always, I started this project by giving the inside and out a thorough cleaning with a degreaser and rinsing with water.
- Next, it was time to glue all of the drawers back together with wood glue and (lots of) clamps.
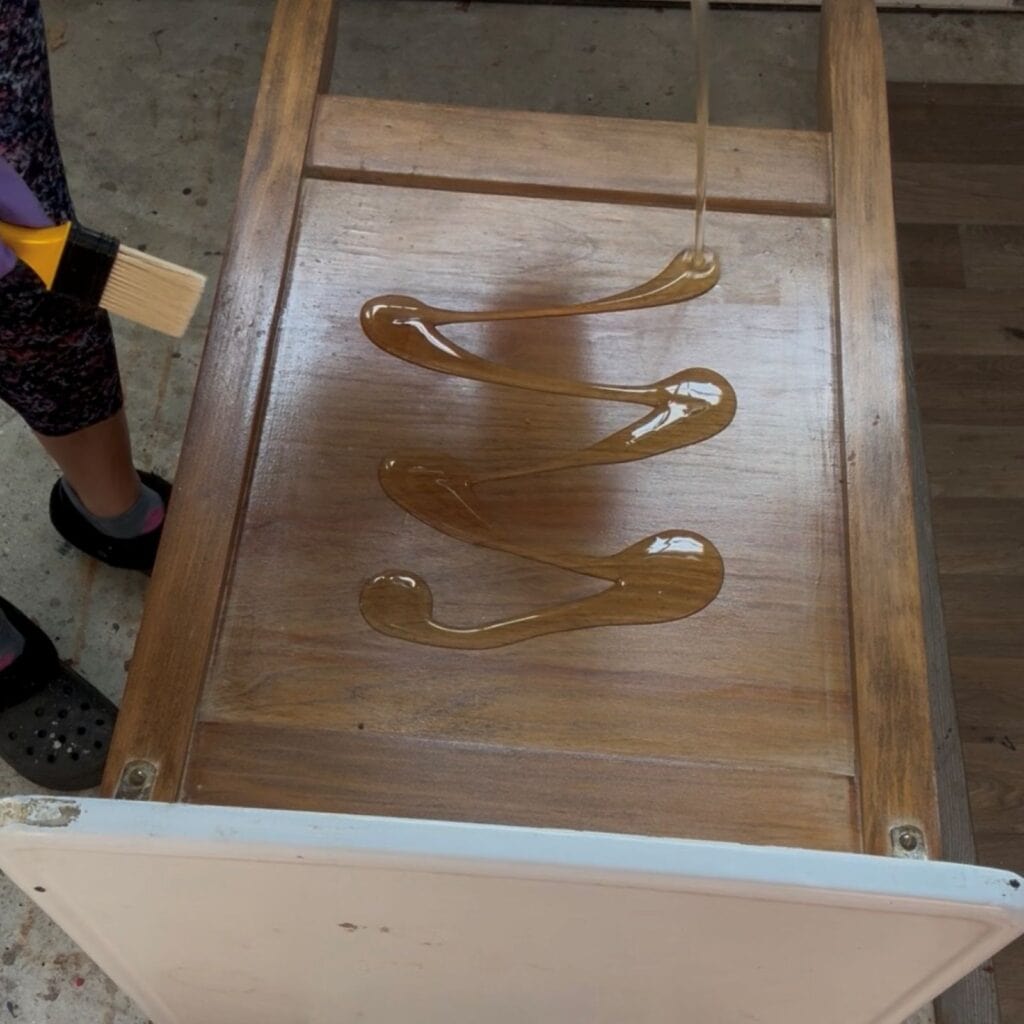
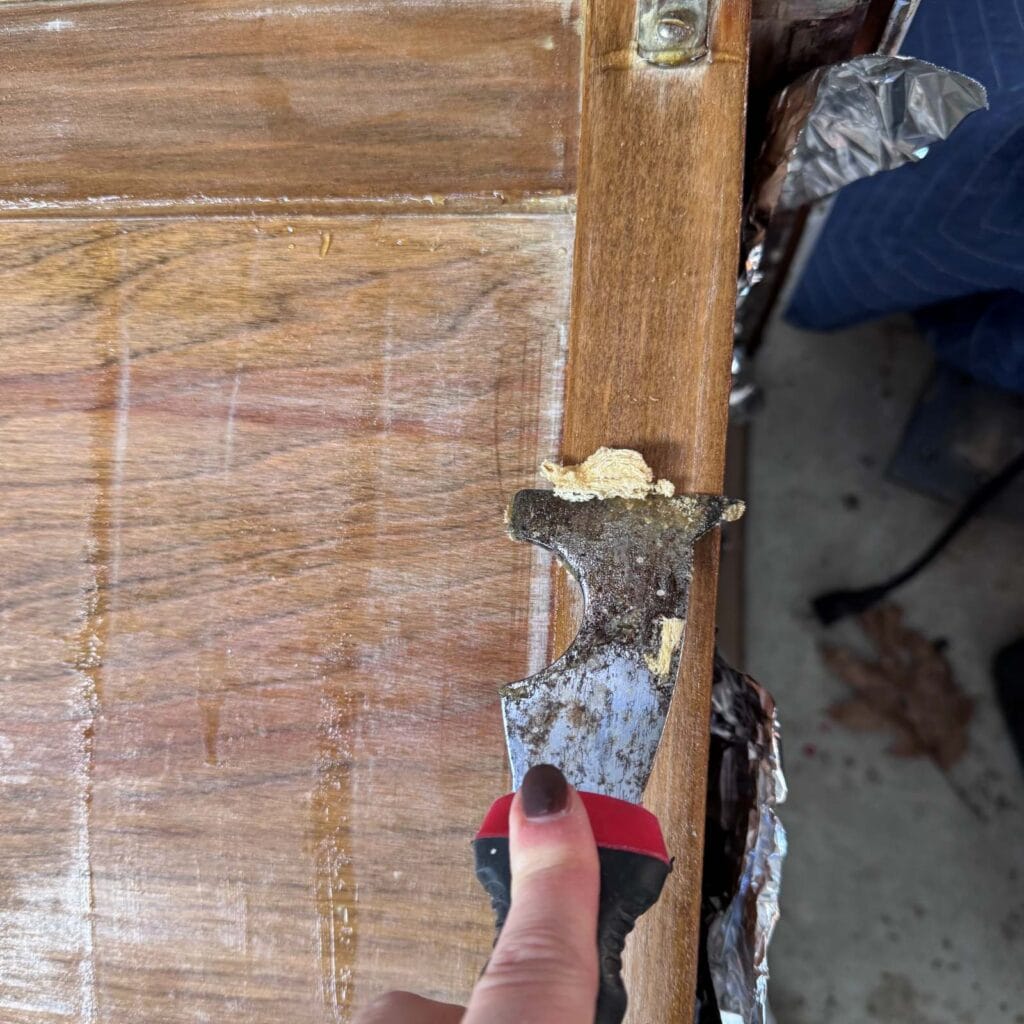
- Once everything was back in one piece, it was time to remove the existing finish. I started with a stripper. Even though I didn’t have my favorite non-toxic stripper, I wanted to use up what I had on hand. I applied Green EZ to remove the existing finish. However, because I was doing this in the middle of winter in my garage, the stripper didn’t work all that well (a good reminder that stripping works best in warm temperatures). It did remove some of the finish, but it definitely wasn’t my best stripping project I’ve done.
- Because this was a relatively small piece, I decided to abandon stripping and sand off the rest of the finish. I used my SurfPrep sander, starting with 100-grit, followed by 180 and 220.
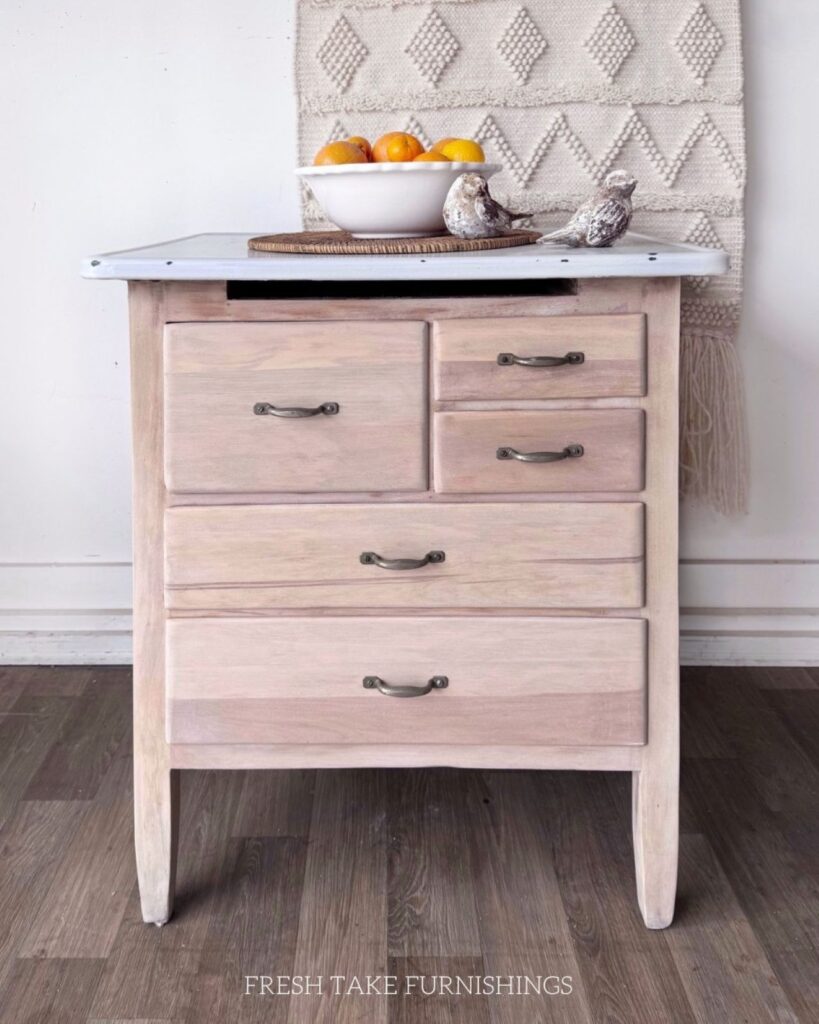
- To keep the light, raw wood look, I did a paint wash using the color Saturday White by Melange Paints.
- Sealed with General Finishes High Performance Top Coat and my favorite top coating brush.
- After sealing, it was still a little darker wood tone than we wanted, so I used some liming wax to lighten it up a bit.
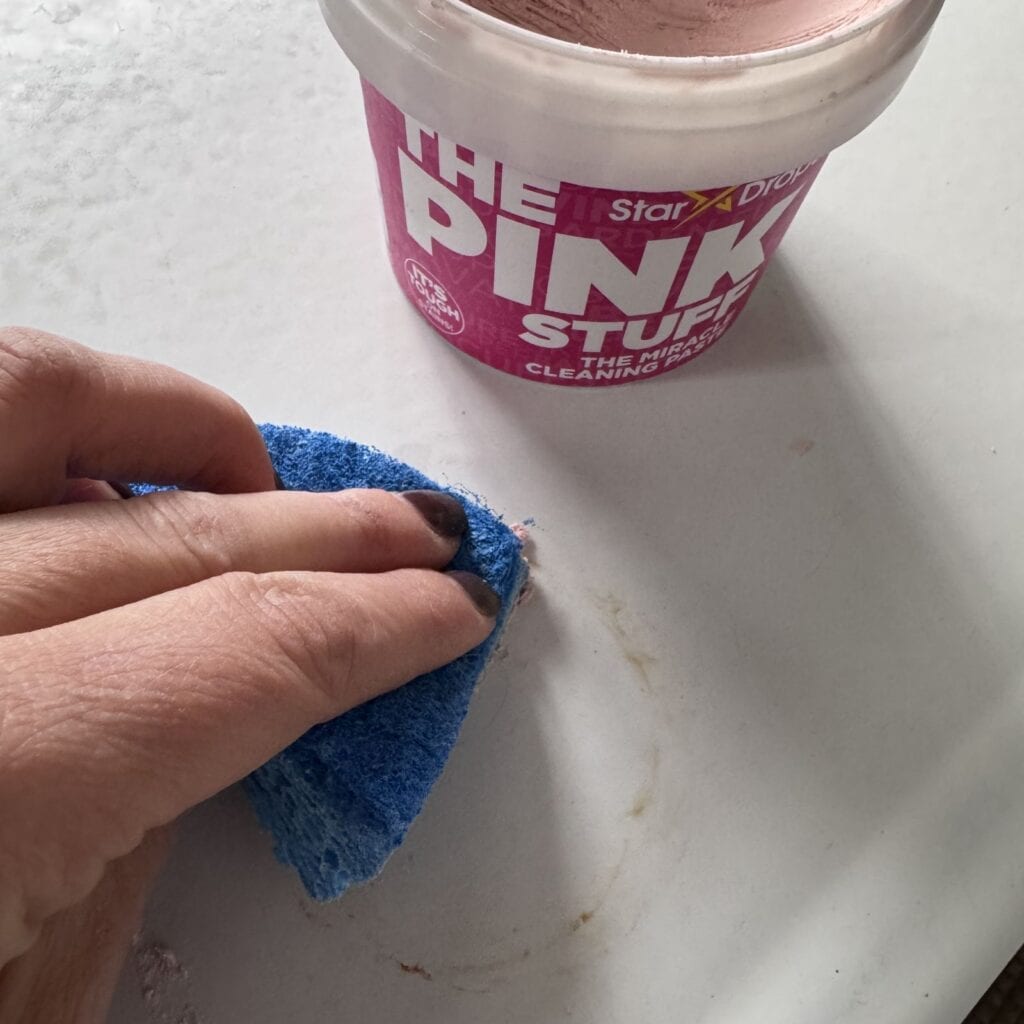
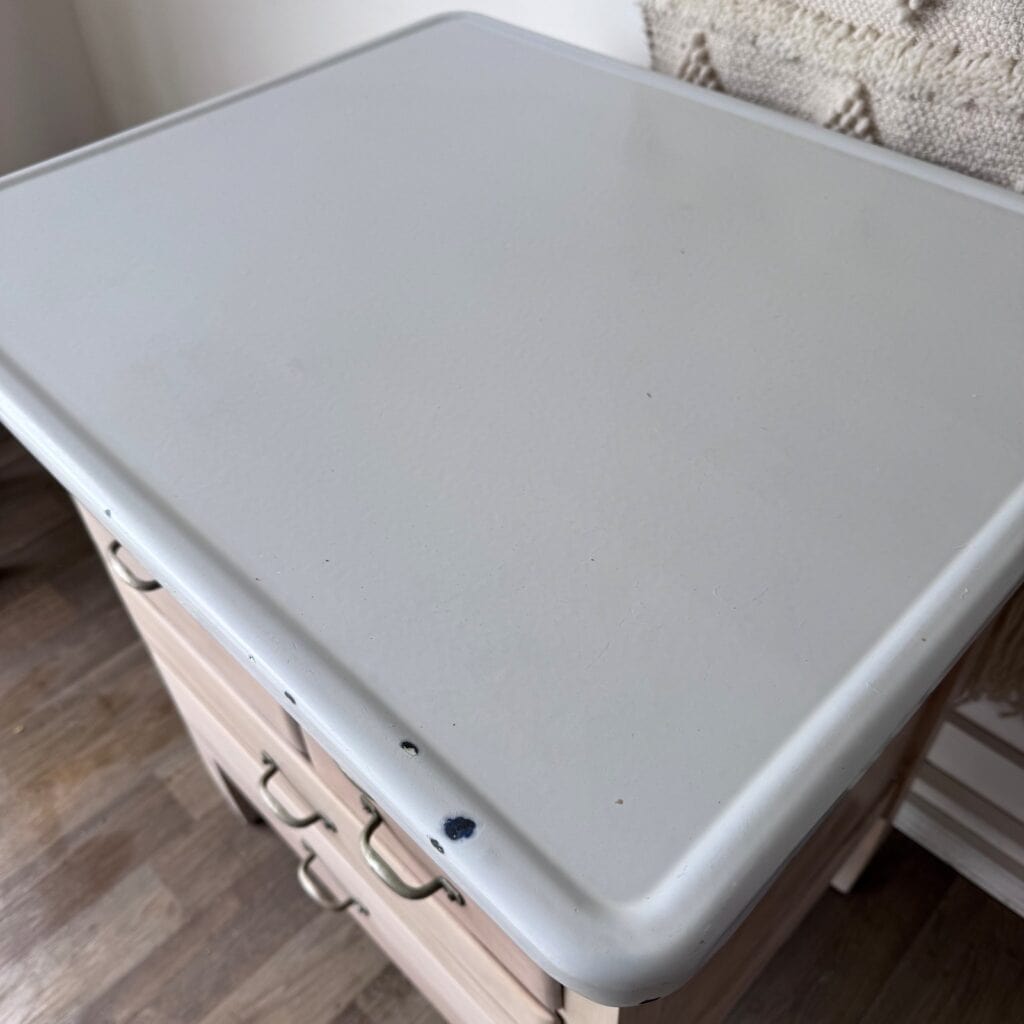
- The enameled metal top had some rusted water rings and other spots. I tried several different cleaners, and The Pink Stuff was what ended up working best to remove all of the staining.
- Cleaned the existing hardware and reinstalled.
Would you like to save this?
Want to learn more about each step? Check out the links below:
- How to Clean Furniture
- DIY Furntiure Stripper Review: Four Green Finish Removers
- How to Paintwash Furniture
New to furniture painting?
Get my FREE Beginner’s Guide to Painting Furniture! This guide walks through the steps of a furniture painting makeover and includes a downloadable project planner and supply checklist.