

Painted Vintage Cedar Chest Makeover
This post may contain affiliate links, meaning I make a small commission on qualifying purchases.

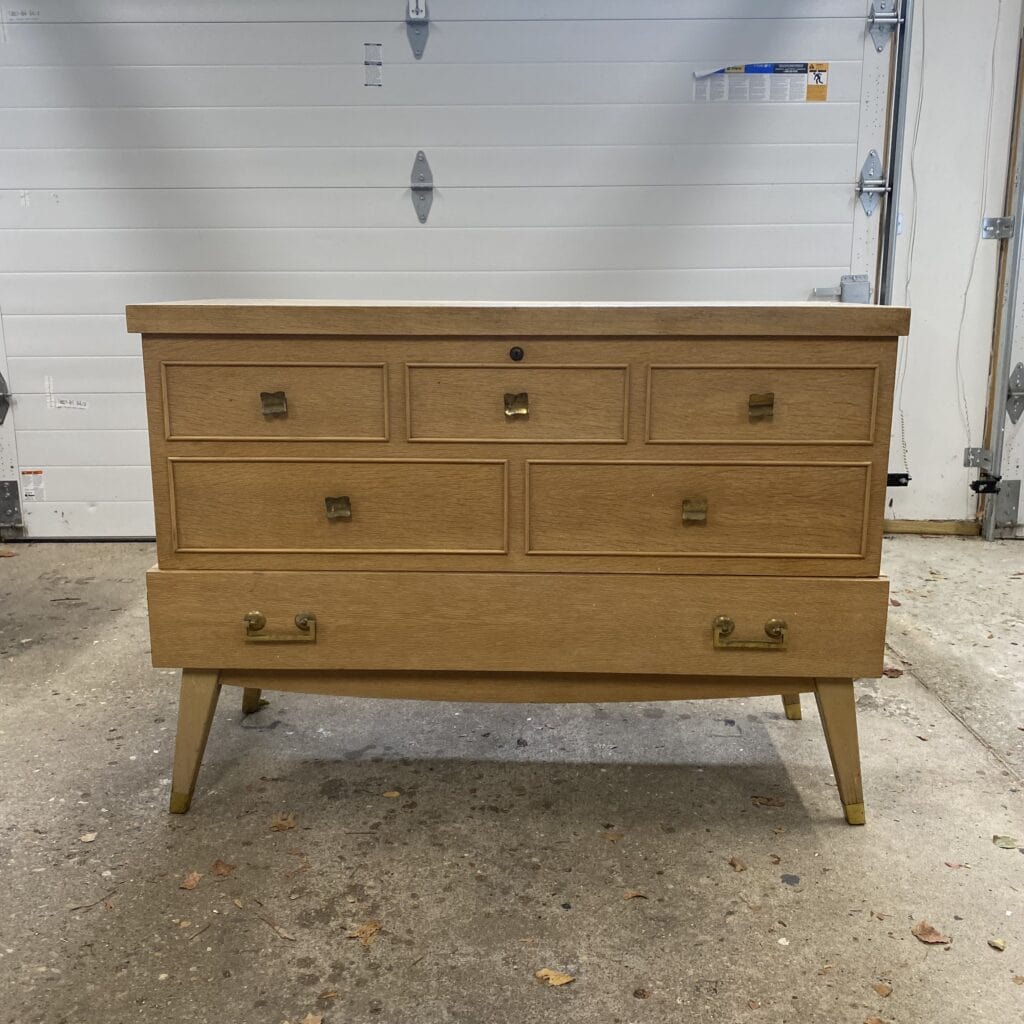
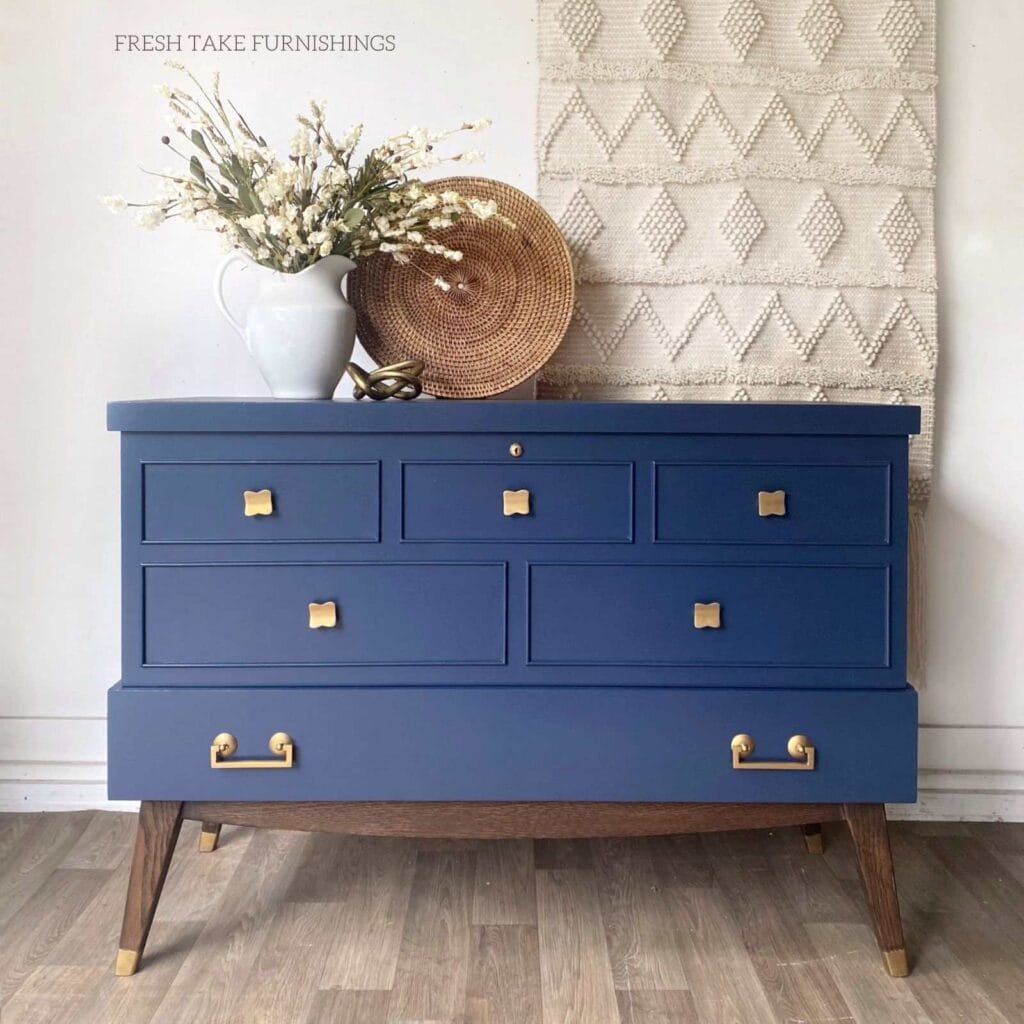
In these quick guides, I walk through the steps and products I used for a particular makeover. Interested in learning more about a step or process? Please refer to the links at the bottom of this post, where I provide detailed tutorials on these steps.
A note on product links
This post contains affiliate links, meaning I get a small commission on qualifying purchases, at no cost to you.
Makeover Steps:
- Cleaning. I cleaned the exterior of the piece with a degreaser, using these ScotchBrite pads to scrub off any dirt and grime, then wiped it back with a microfiber cloth. Then I clean the interior, bottom, and back with a mixture of water and Dawn dish soap. Finally, I’ll wipe back the piece again with water and a clean microfiber cloth.
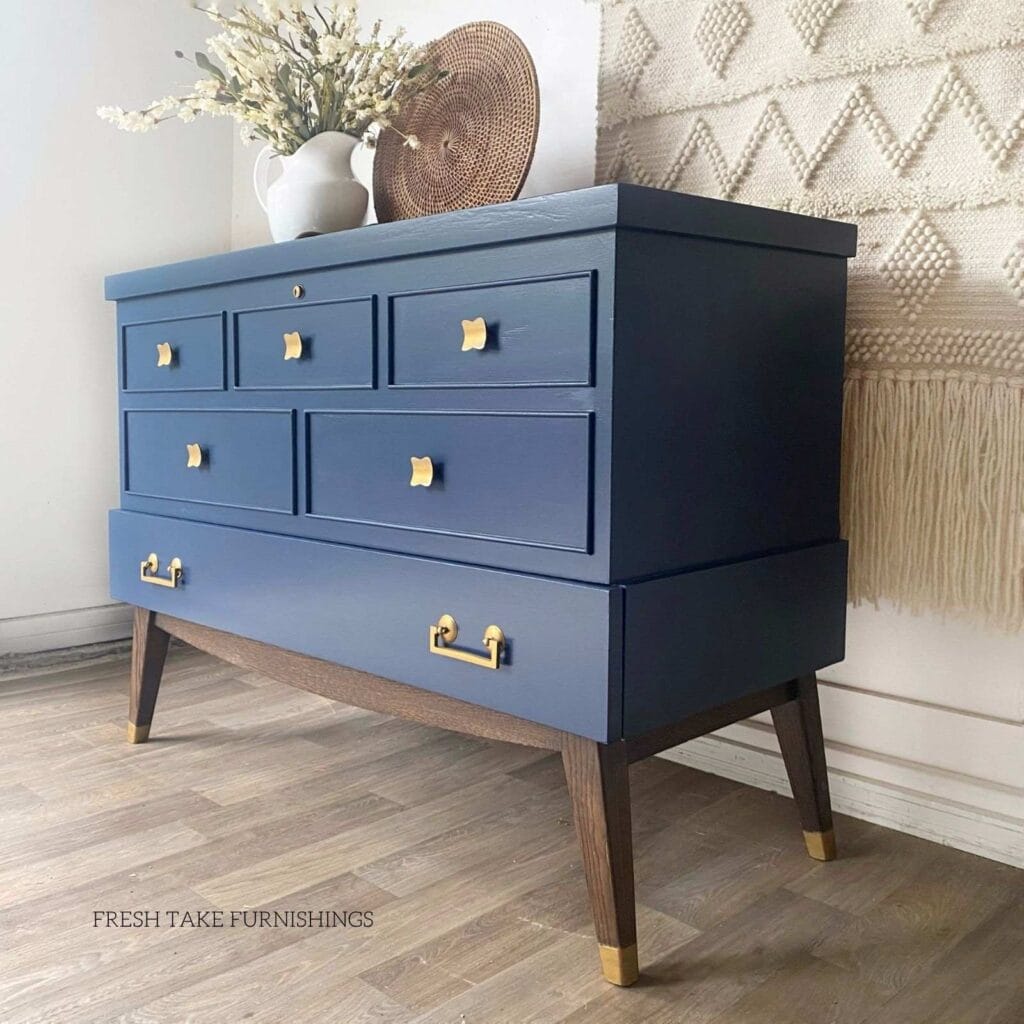
- Updating the Base: I started by scraping off the finish on the base and legs with my carbide scraper, and then I sanded off the rest. Once sanded and cleaned, I stain using this Dark Walnut stain.
- Repair work. Now it’s time to move on to the rest of the piece. The top had a failing finish with some water damage, so I had to sand all of the finish off. Because the grain was uneven due to the water damage, I had to fill the grain using Bondo Glazing and Spot Putty, using these plastic spreaders to apply. After allowing the putty to dry, I sanded the entire top with 220-grit.
- Scuff sanding. I scuff-sanded the rest of the piece with 220-grit sandpaper using my SurfPrep sander. However, you don’t need a fancy sander to do this step! Hand sanding works fine – you aren’t trying to remove the finish, just scuff up the existing finish to help with primer and paint adhesion.
- Prime. I was planning a dark color for this project, so I decided to use Melange’s stain-blocking primer in gray to seal up the piece before painting.
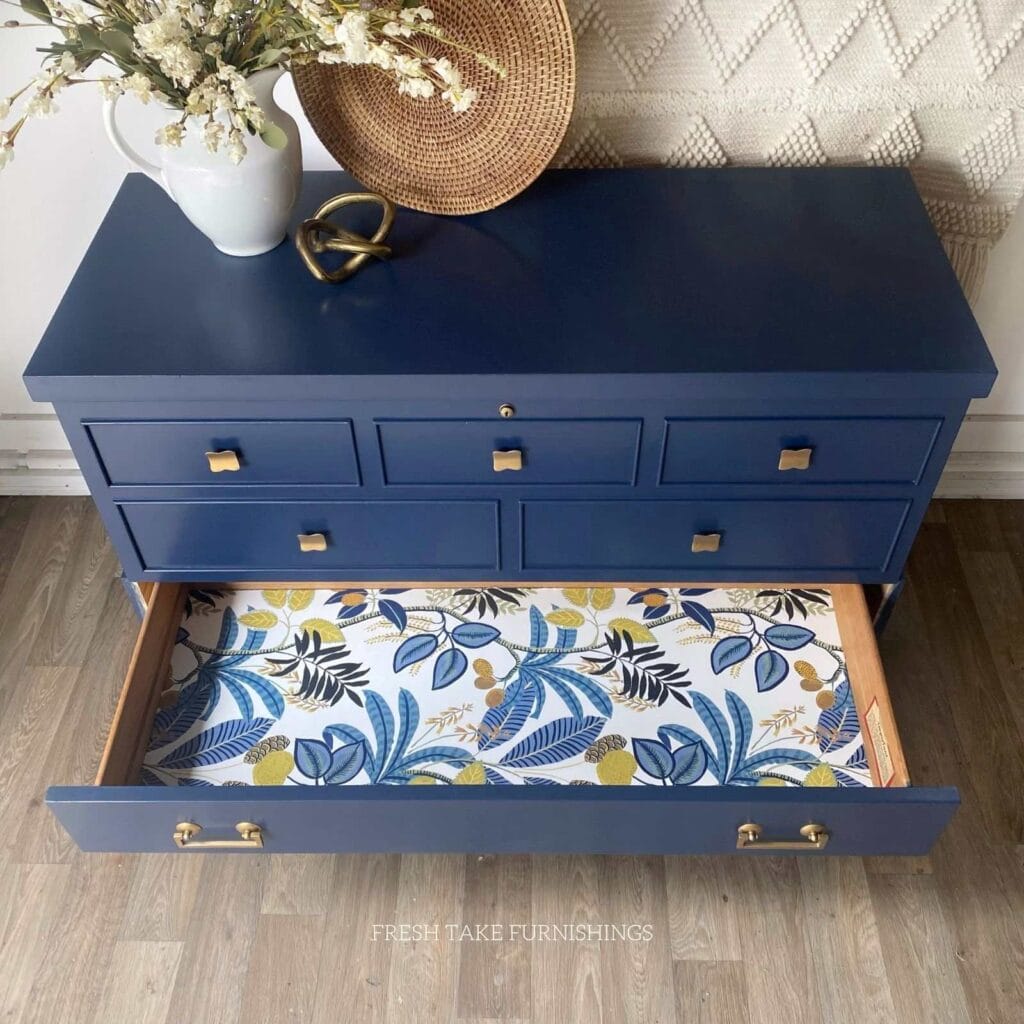
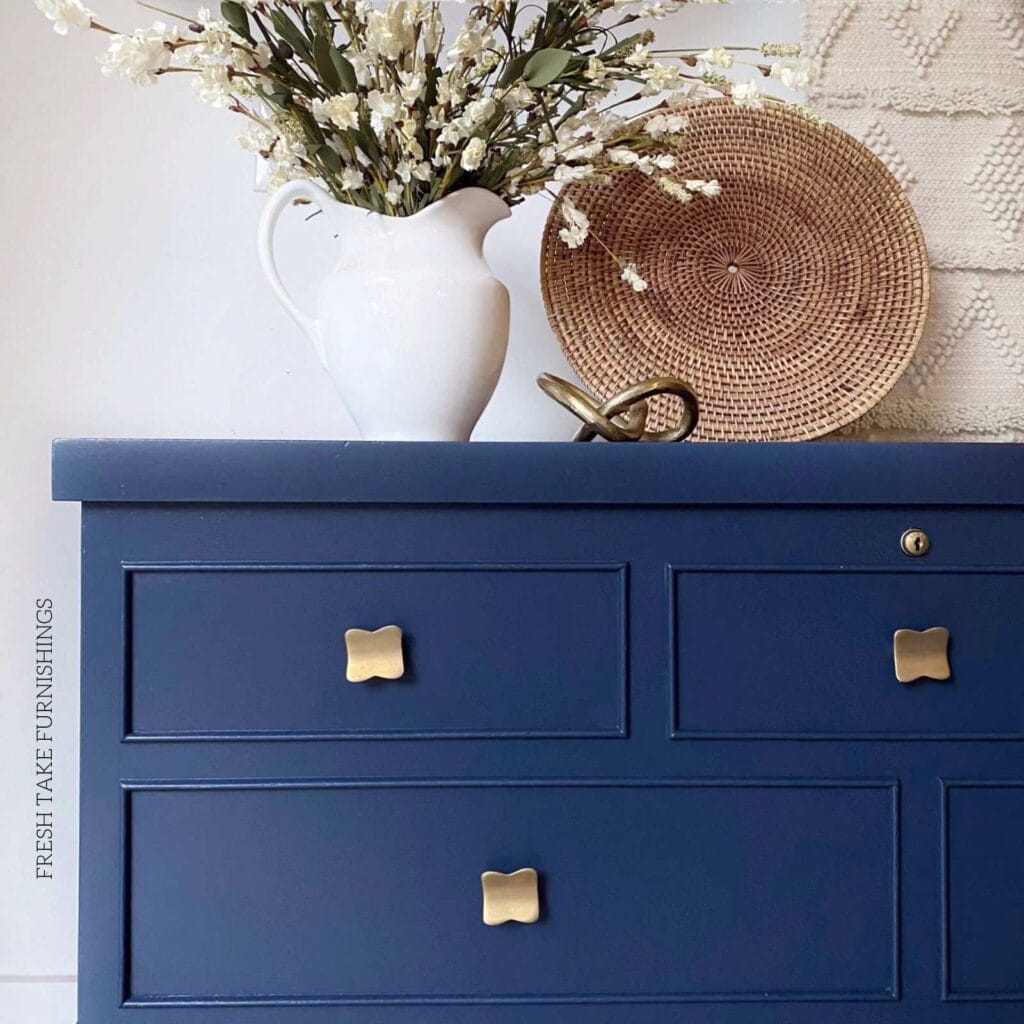
- Paint. I painted this dresser in the color Classic Navy by Melange Paints..
- Topcoat. I sealed this piece with one of my favorite topcoats, General Finishes High Performance Topcoat in Flat. I use this Zibra brush to apply. The combo of these products gives me a smooth and reliable finish.
- Update hardware. I wanted to keep this beautiful vintage hardware, so I cleaned it by boiling it in a 50/50 mixture of vinegar and water for 10 minutes, then scrubbed with 0000 grade steel wool and Bar Keepers Friend. They were brass-plated and some of the brass had come off over time, so I used Rub n’ Buff in European Gold to restore their brass look.
- Drawer Liner: The original drawer was lined with felt. I used my sander to sand off the felt and then applied this peel-and-stick wallpaper to give it a fresh look!
Would you like to save this?
WANT TO LEARN MORE ABOUT this makeover? CHECK OUT THE LINKS BELOW:
- How To Paint Wood Furniture: A Beginner’s Guide
- How to Line Drawers The Easy Way!
- Cleaning Old Hardware
- How To Paint Furniture Hardware
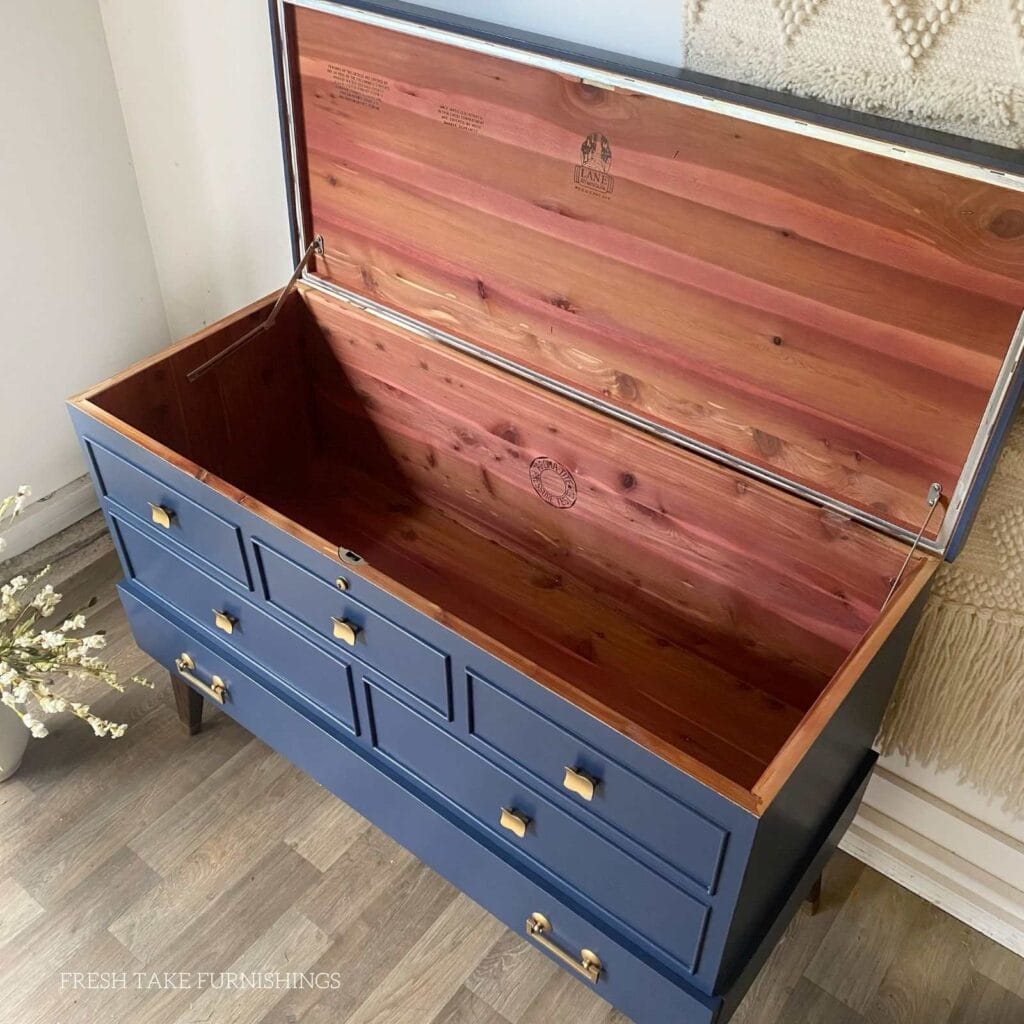
- Learn All About Lane Cedar Chests
New to furniture painting?
Get my FREE Beginner’s Guide to Painting Furniture! This guide walks through the steps of a furniture painting makeover and includes a downloadable project planner and supply checklist.