DIY Painted Glass Ornaments
This post may contain affiliate links, meaning I make a small commission on qualifying purchases.
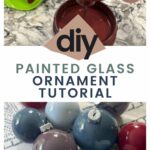
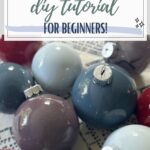
When it comes to Christmas decor, there are so many fancy ornament DIY projects out there, but sometimes you just want something simple. Whether you change your tree theme every year or always use your well-loved ornaments (this is me!), adding simple colored ornaments will help to give your tree a cohesive look. These DIY painted ornaments are the perfect solution. They are so easy and totally customizable to any color you’d like.
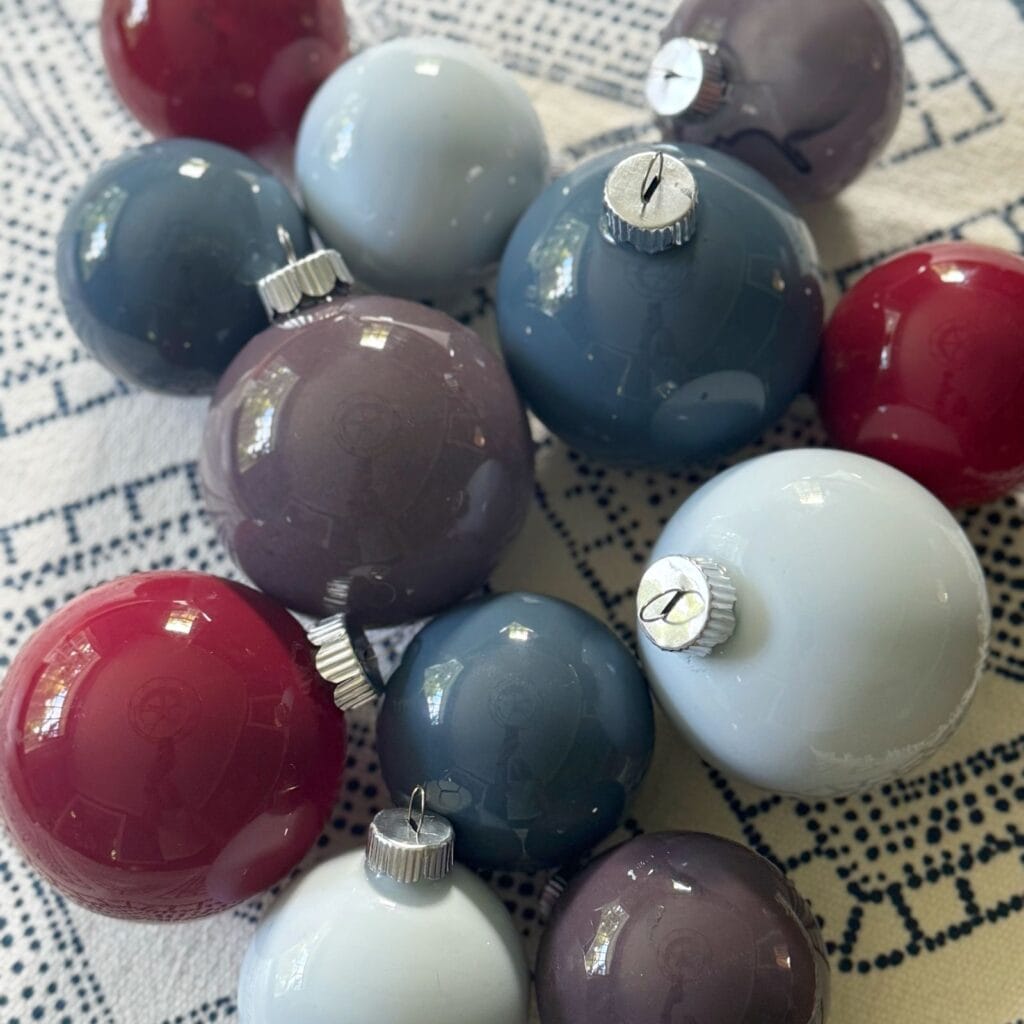
The secret to this project is to pour the paint inside the ornaments. This makes them durable, keeps them nice and shiny, and makes it easier to handle while you are working on them. I’ve made some rustic painted ornaments that are a little harder to paint and set up to dry (although it can totally be done)!
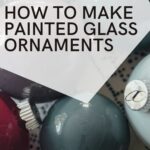
How To Make Paint Filled Ornaments
supplies Needed
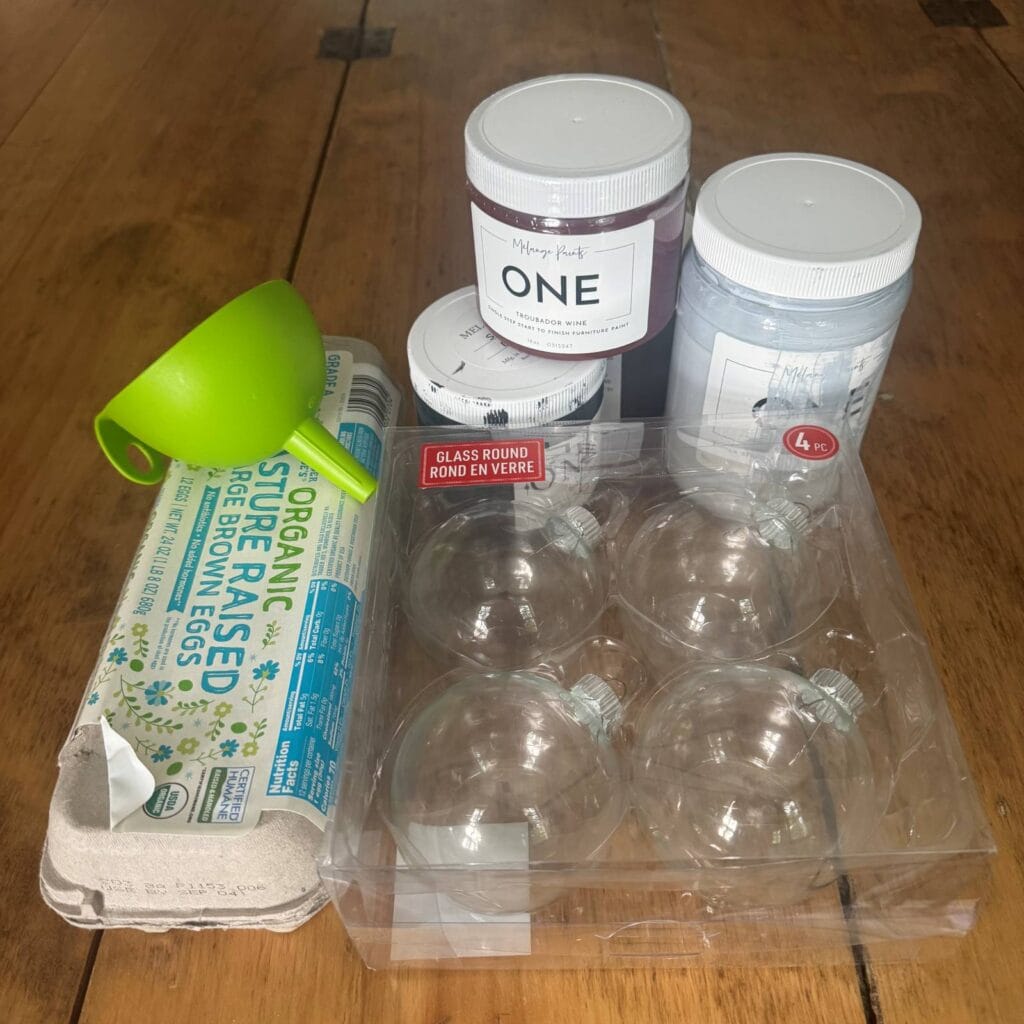
You only need a few supplies to get started with this project: new glass ornaments, some paint, and ribbon. Having a funnel and an egg carton are helpful but not absolutely necessary. And it really doesn’t matter what paint you use. Because I am a furniture painter, I have lots of leftover furniture paint lying around. This is the perfect way to use up some of that extra! But other paints will work as well, so use whatever you have lying around. And if you do need to buy something, I suggest purchasing acrylic craft paint because it is inexpensive and comes in small containers.
Step 1: Prepare The Ornaments For Paint
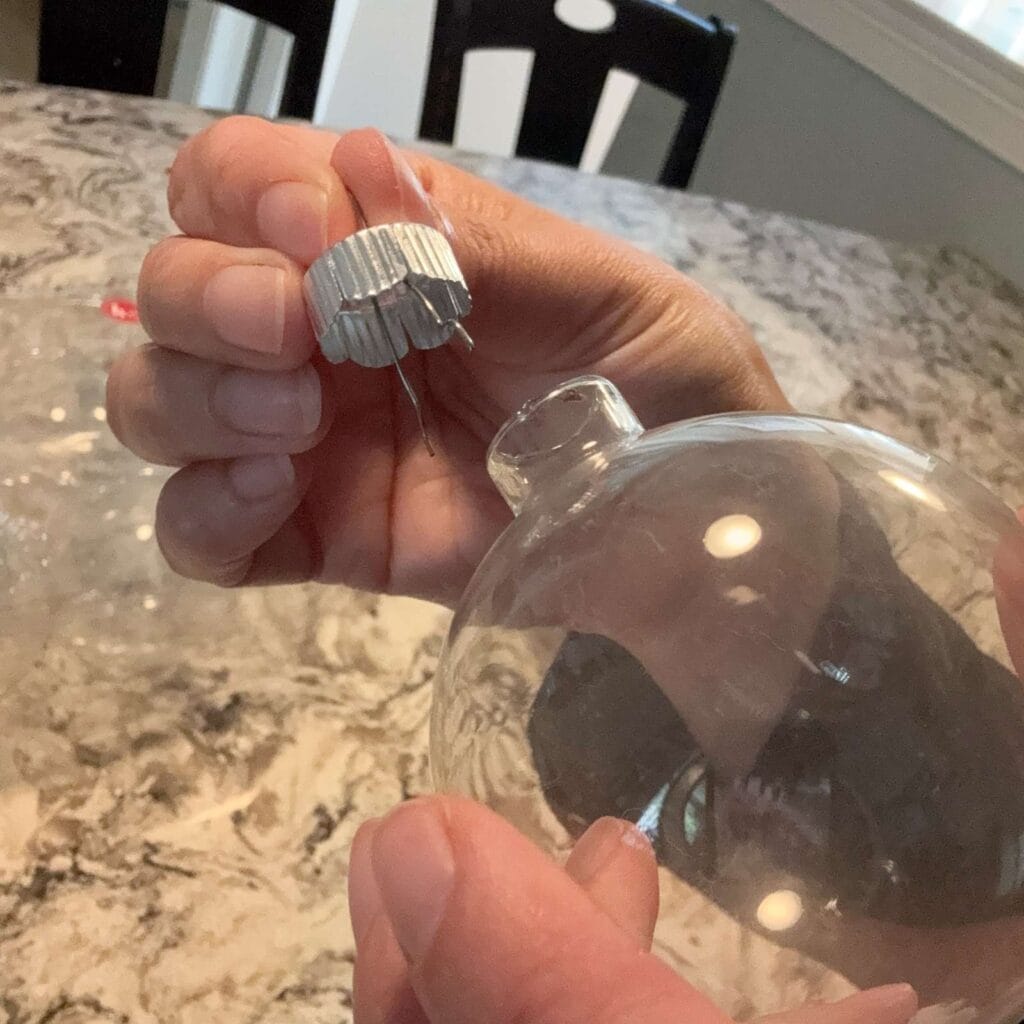
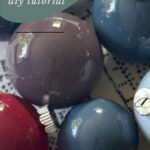
Start by removing the metal hangers from the glass balls and set them aside. If you want to change the color of these, you can easily use Rub N Buff or spray paint to do that.
Next, clean the inside of the ornaments. I just used soap and water and rinsed well. I have read that rubbing alcohol works for this (and should dry faster than water), but I didn’t have any on hand. The soap and water worked great, and I have had no issues with paint flaking off the insides.
Step 2: Pour Paint Into The Ornaments
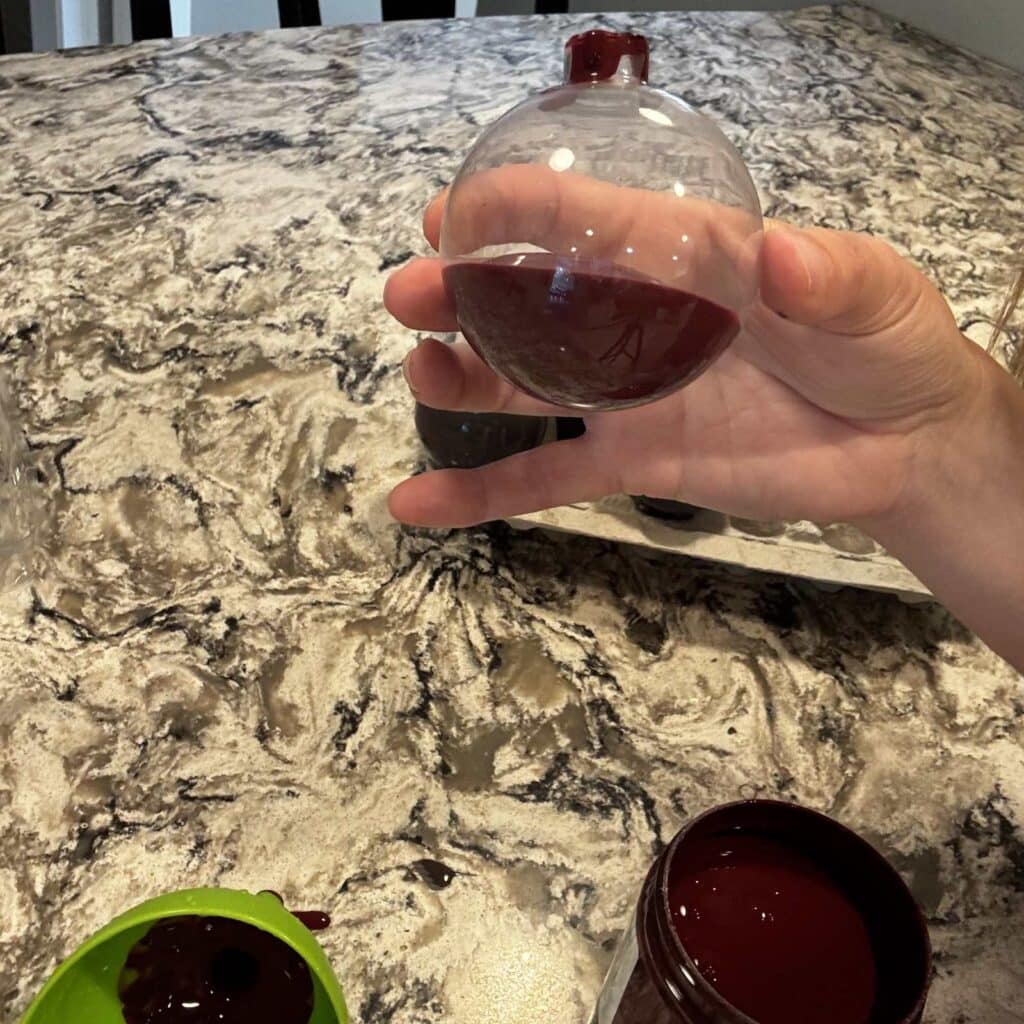
Once the ornaments are clean and dry, it is time to add the paint. If you are using acrylic craft paint you can squirt it right in. However, becuase I was using furniture paint, I grabbed my funnel to help me get the paint inside. I did try just pouring it in and that did not go well!
I filled it generously (about a quarter to a third full) and then swirled it around to get it to coat the entire inside. You can use less – it just takes a bit more swirling (and patience) to cover everything.
Step 3: Finishing Your Painted Glass Ornaments
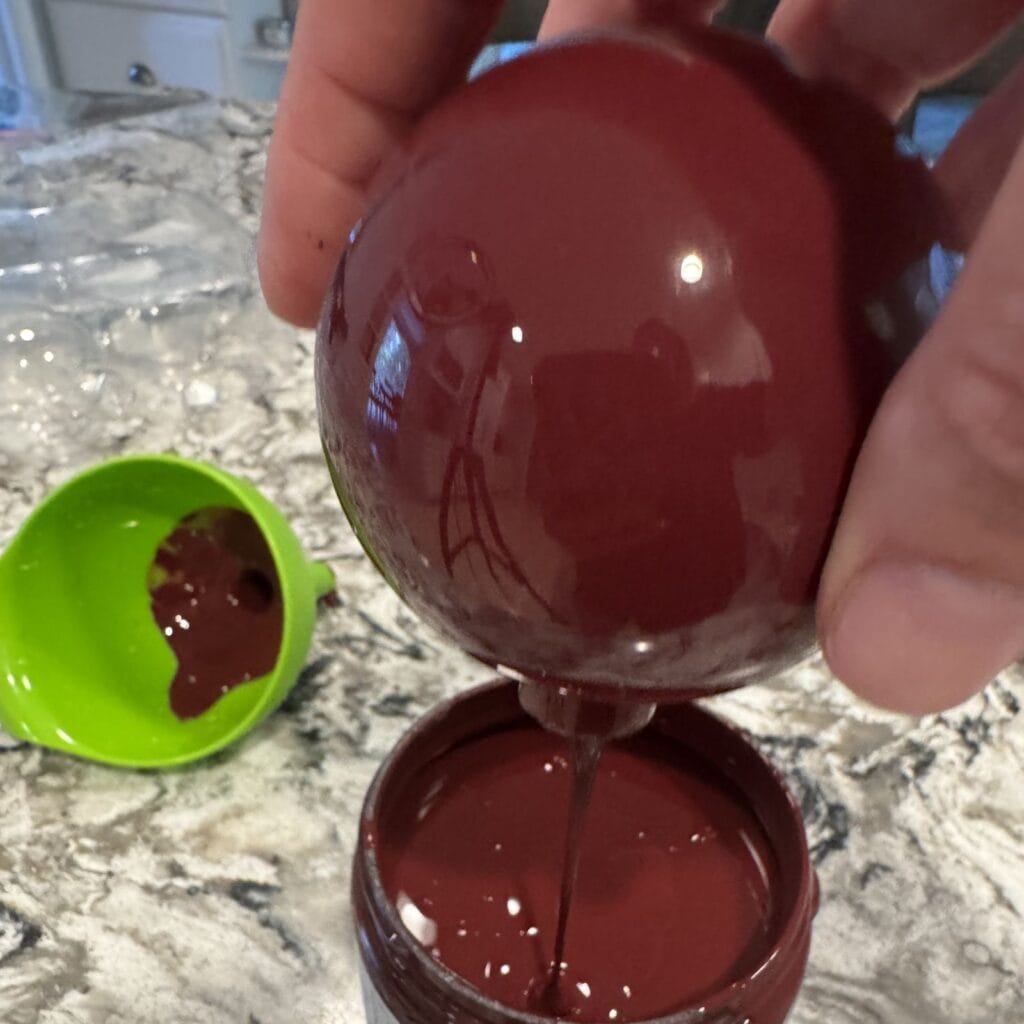
Once the inside of the ornament is completely covered, pour out any excess. Becuase I used a lot of paint, I let it drain directly back into the original paint container. If you don’t have that much excess, simply turn it upside down and place it in an egg carton. After pouring out the extra, I used the egg carton and was surprised by how much additional paint drained out.
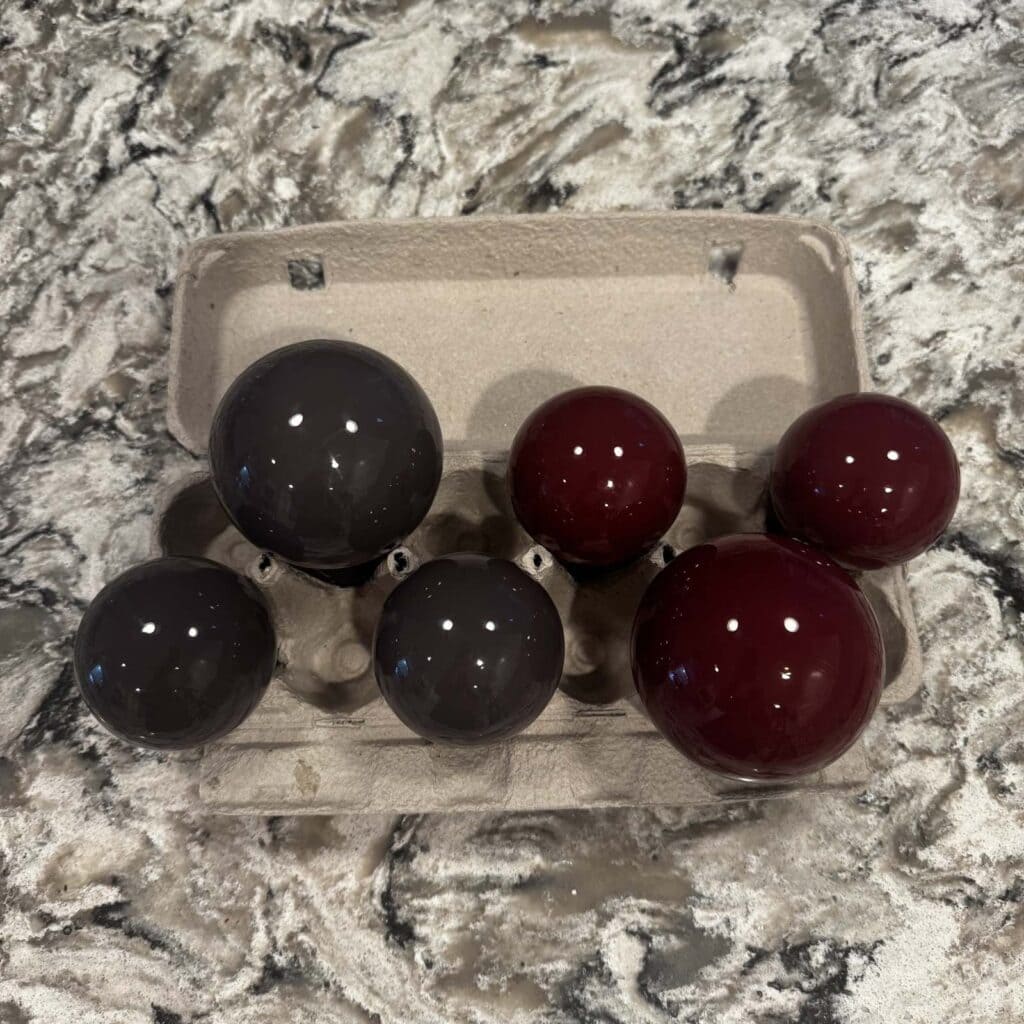
Next, let the ornaments dry. I let them dry overnight since they aren’t exposed to a lot of air on the inside and figured it would take a bit longer than a typical dry time. If they are still somewhat transparent, do a second coat repeating steps 2 and 3. I had a few colors that needed a second coat and a few that didn’t. Once dry, replace the hanger caps and add your ribbon of choice.
Other Ideas
Want to get a little more creative? Try using glitter paint, or add two colors and swirl them together.
Would you like to save this?
Summary
DIY painted ornaments are such a simple and affordable way to bring fresh color to your holiday decor. And they would also make great gifts! I love that this project is easy enough for beginners, totally customizable, and a fun way to use up leftover paint. I’d love to see what colors you use – you can send me an email or tag me on Instagram to share!