DIY Plant Stand Makeover With Metallic Spray Paint
This post may contain affiliate links, meaning I make a small commission on qualifying purchases.


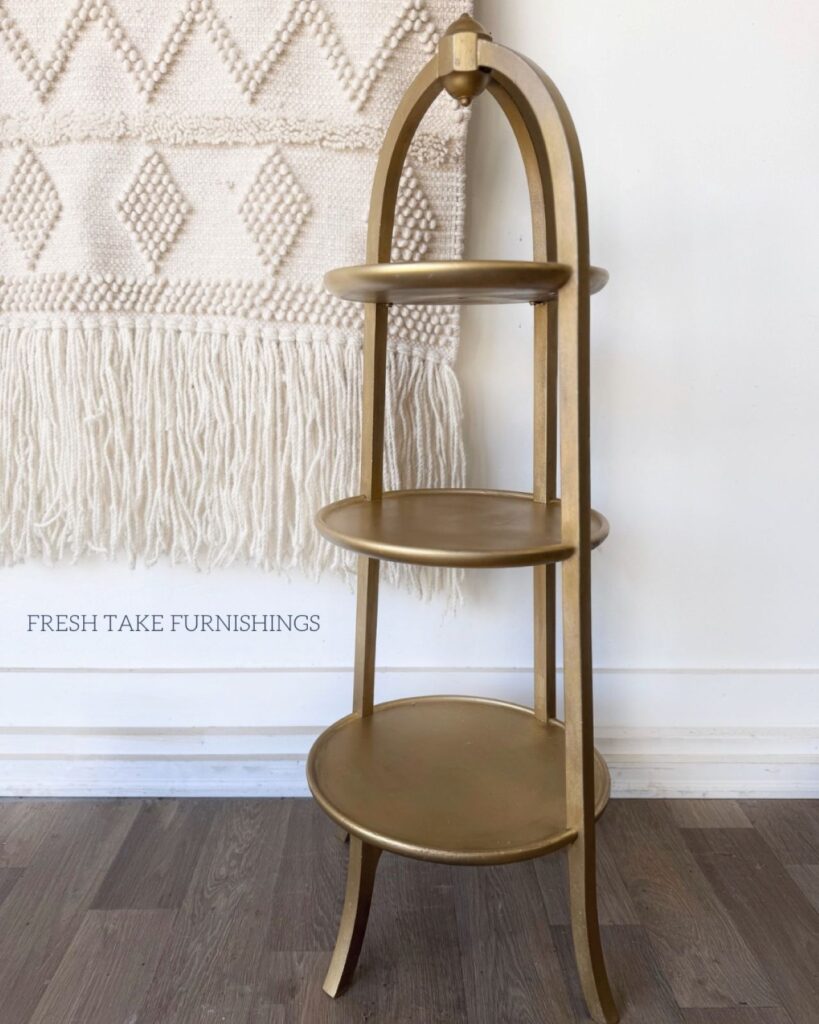
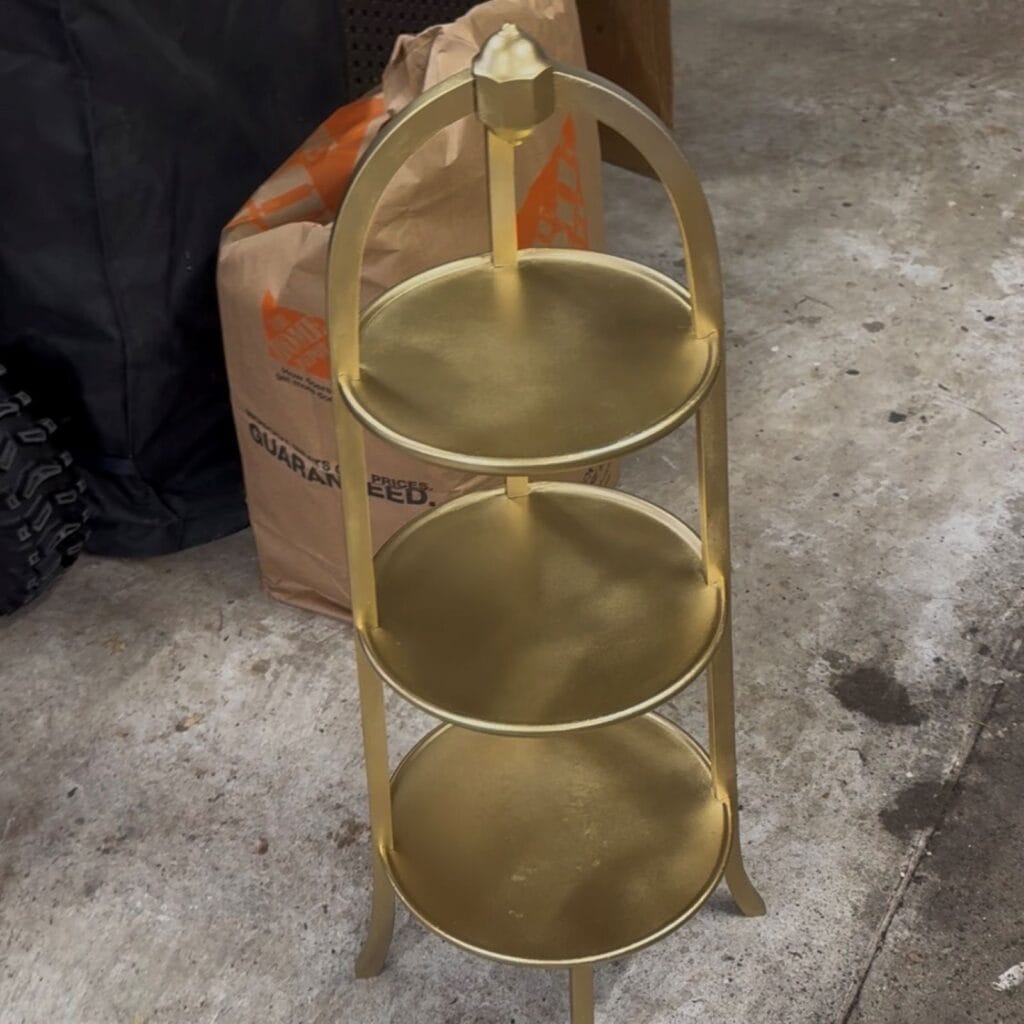
Not all makeovers have to be big ones! The update of a small and overlooked item can breathe new life into your living space. This DIY makeover tutorial shares how I transformed this dusty old wooden plant stand into a fresh piece with an aged metallic finish using spray paint and dark furniture wax.
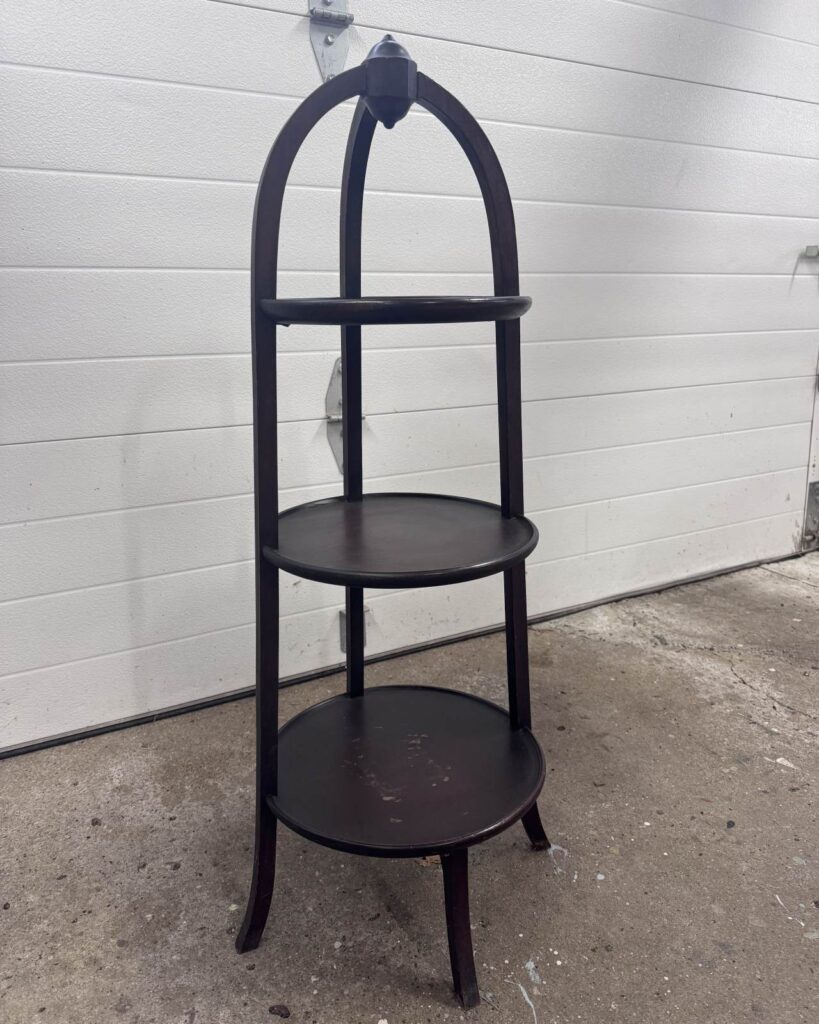
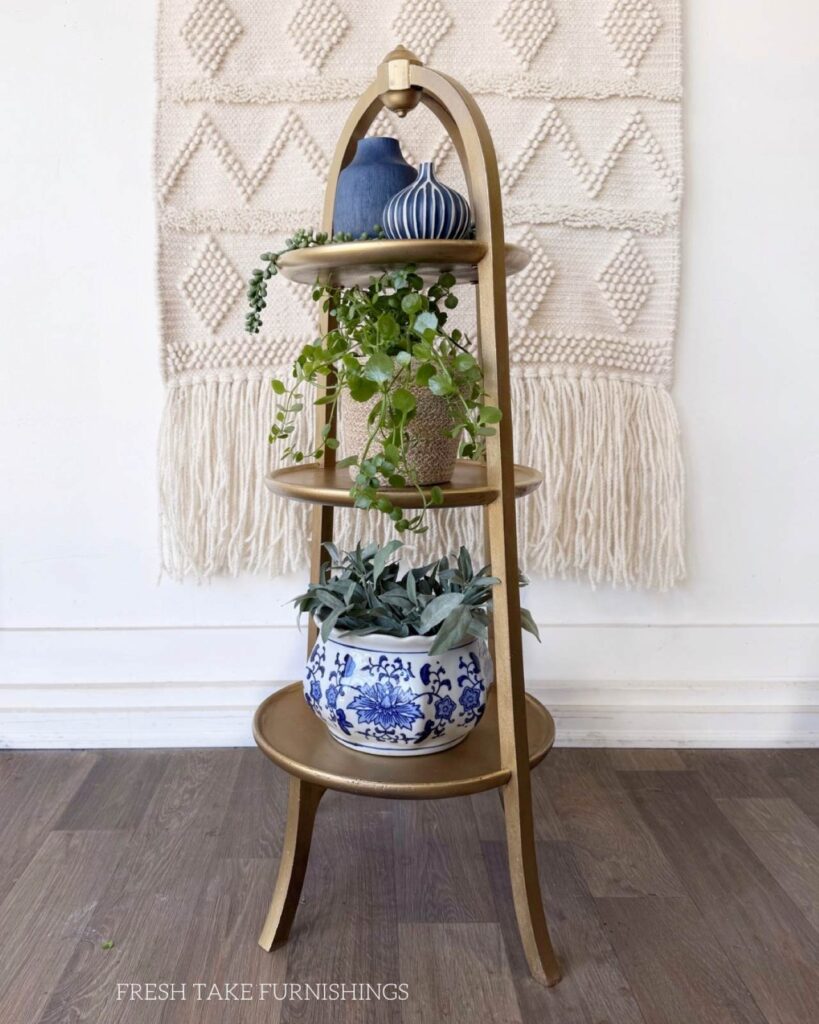
This vintage plant stand had been hiding in my basement for years! I came across it doing some spring cleaning a few weeks ago and decided I needed to use it or donate it. So I decided to give it a makeover and bring it back into my living space, and I am so glad I did. I love the aged metallic finish that I achieved using spray paint and dark furniture wax. Projects like these are great because they are so easy, don’t cost much, and can make a big impact.
Key Takeaways: DIY Plant Stand Makeover
- You can transform an old wooden plant stand into a stylish piece with a simple plant stand makeover.
- Prepare the piece by cleaning and scuff-sanding before applying metallic spray paint for a fresh look.
- Use thin, even coats of spray paint, allowing adequate drying time between applications.
- Add character using dark furniture wax to achieve an aged finish and enhance imperfections.
- This makeover is quick, affordable, and you can use similar techniques on other wooden decor items.
Summarize & Save This Content
Plant Stand Makeover Steps
As I mentioned before, this is a quick and easy makeover! The longest part was waiting a couple of days for the spray paint to cure before adding the wax. Otherwise, this could have easily been done in a day. Here are the steps I took:
Step 1: Cleaning and Paint Prep

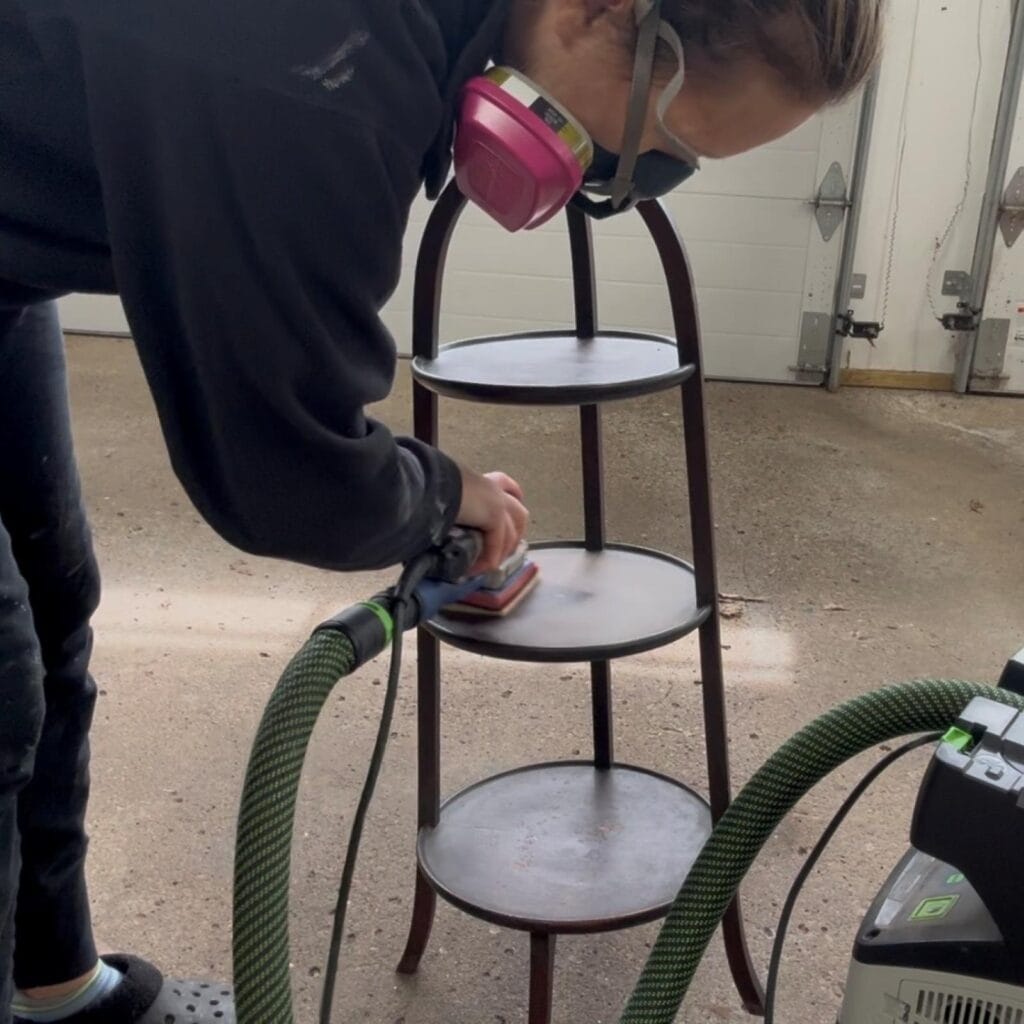
This makeover starts like any furniture makeover would, preparing the peice for paint. I started by giving it a good scrub with KrudKutter, wiping that back, and then removing any cleaner residue with a wet microfiber cloth. After drying, I scuff-sanded with 220-grit. I used my electric sander, but this step can easily be done by hand. The finish wasn’t perfect, but that’s okay! The aged/rustic look I was going for is easier with the existing character in the old finish.
Step 2: Painting With Metallic Spray Paint
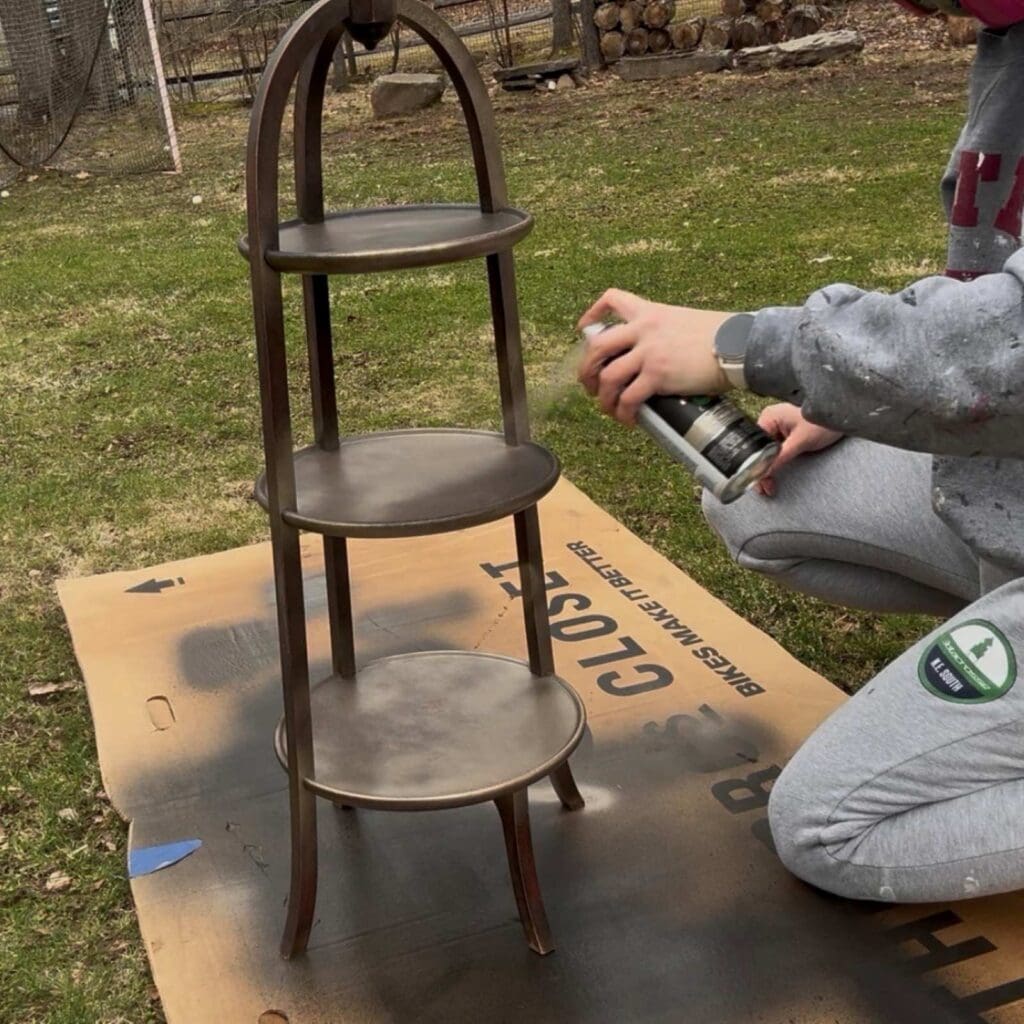
After wiping back all of the sanding dust, I moved outside to spray paint. When spray painting, thin, even coats are best. The recoat time is quick (varies slightly depending on brand, so be sure to read the instructions), so it’s better to do more thin coats than have a thicker application start to drip.
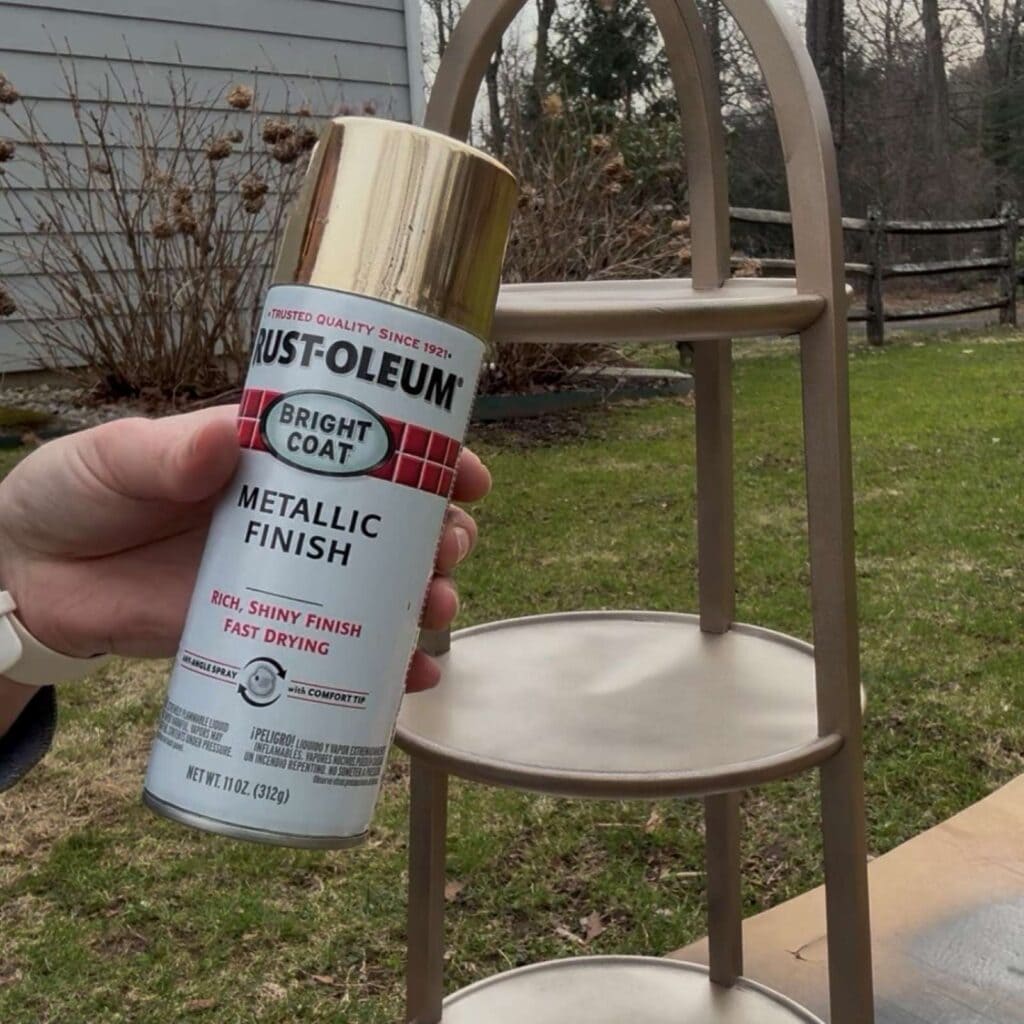
I started with Metallic Gold by Krylon, but it wasn’t bright enough, so for the second and third coats I used Bright Gold Metallic Finish by Rustoluem. This gave me the truly metallic finish that I was looking for. I then set the plant stand aside for 48 hours to let the spray paint fully cure (per directions on the can).
Step 3: Adding Aged Character With Wax
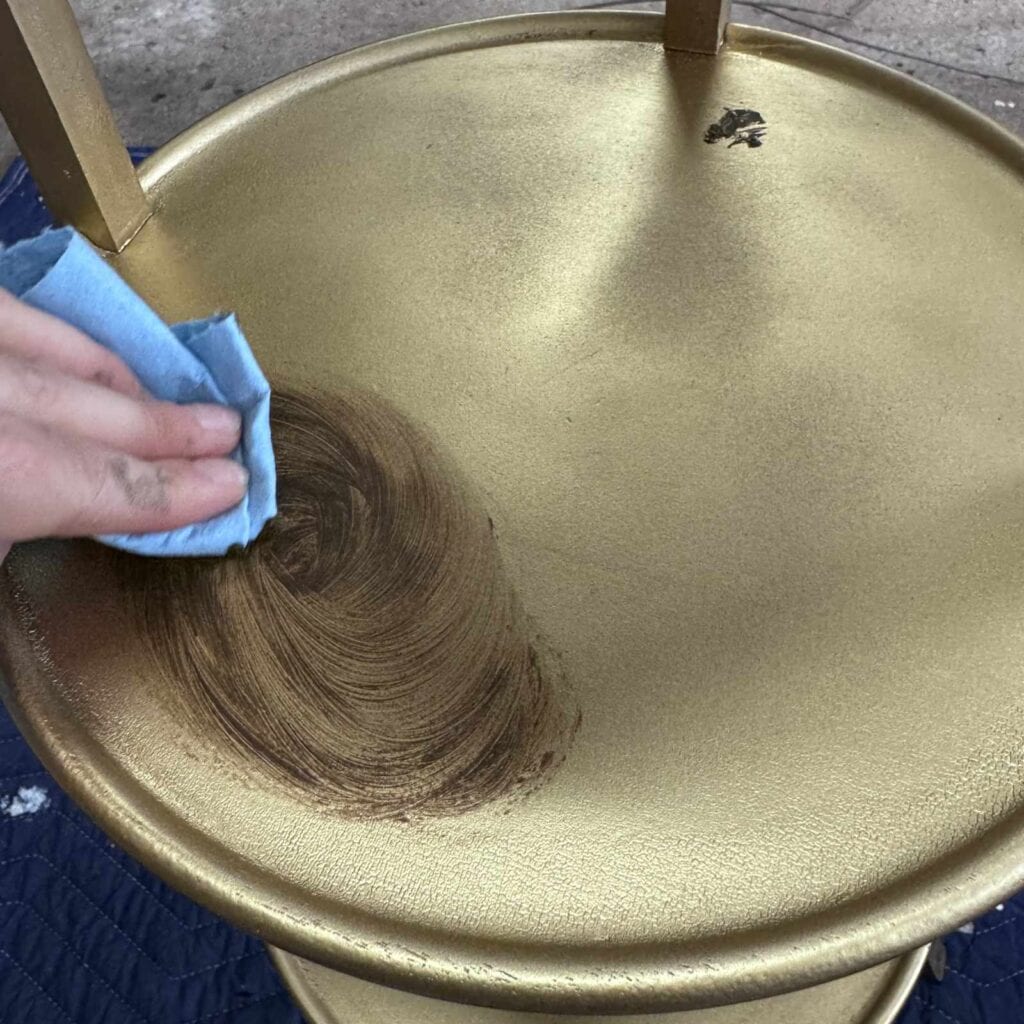
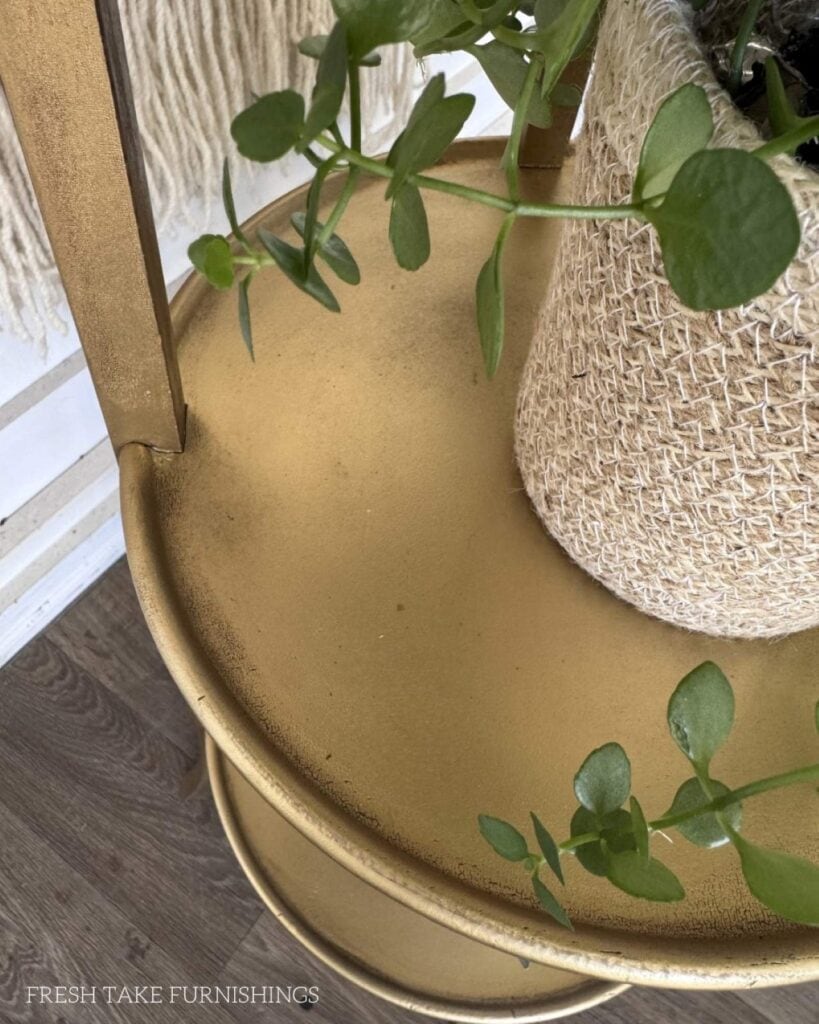
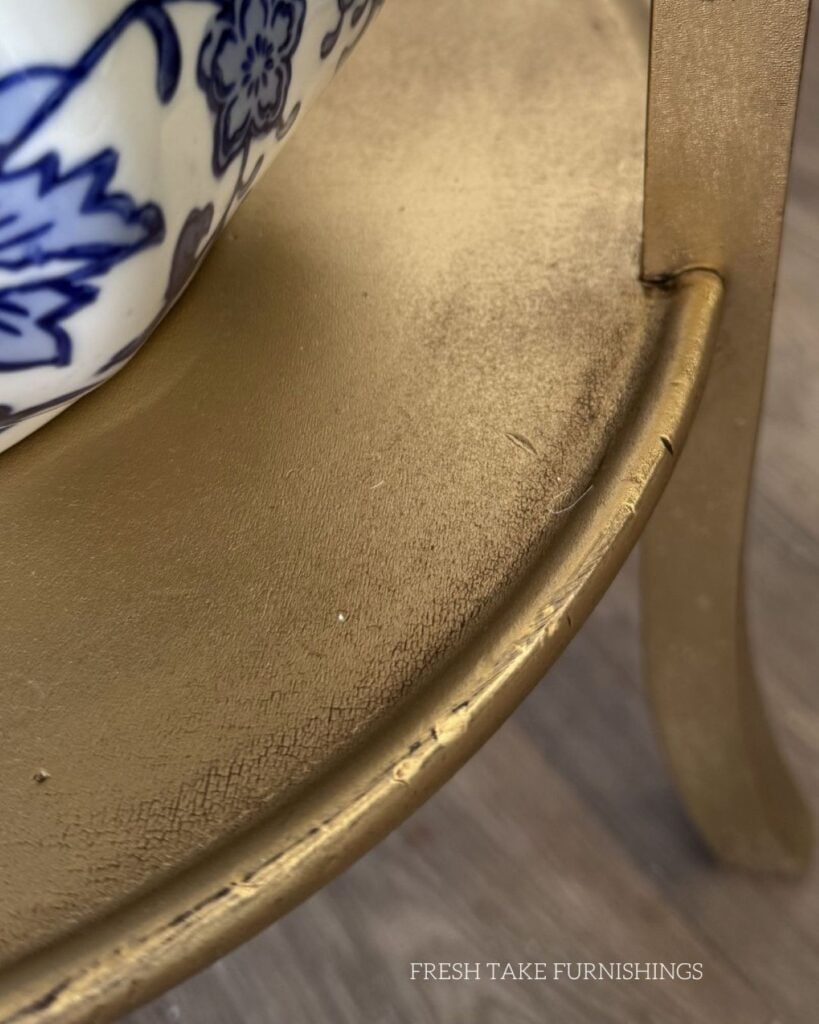
And when I say bright, I do mean bright! On its own, the bright gold was more than I was looking for. But not to worry, this is where the aging step comes in. I used dark furniture wax by Annie Sloan to “age” the finish (this is the product I had on hand; any dark brown furniture wax will work). It filled in the cracks in the old finish beautifully and knocked back the brightness in the finish just enough.
To apply, I used a rag to wipe it on, then a second clean rag to wipe off any excess. Then, to give it a bit more character, I gently distressed some of the edges with sandpaper and added some more wax to those areas (wiping back at the end).
Would you like to save this?
And that’s it! Let the wax dry for about 24 hours, and it’s ready to use! You can see in the photos below how naturally the wax settles into the imperfect parts of the plant stand. I just love the final result and hope that you do too! And while I did this project on a plant stand, you could easily update other wooden home decor items using this technique. As always, I’m happy to answer any questions that you have.