

Painted Secretary Desk Makeover
This post may contain affiliate links, meaning I make a small commission on qualifying purchases.
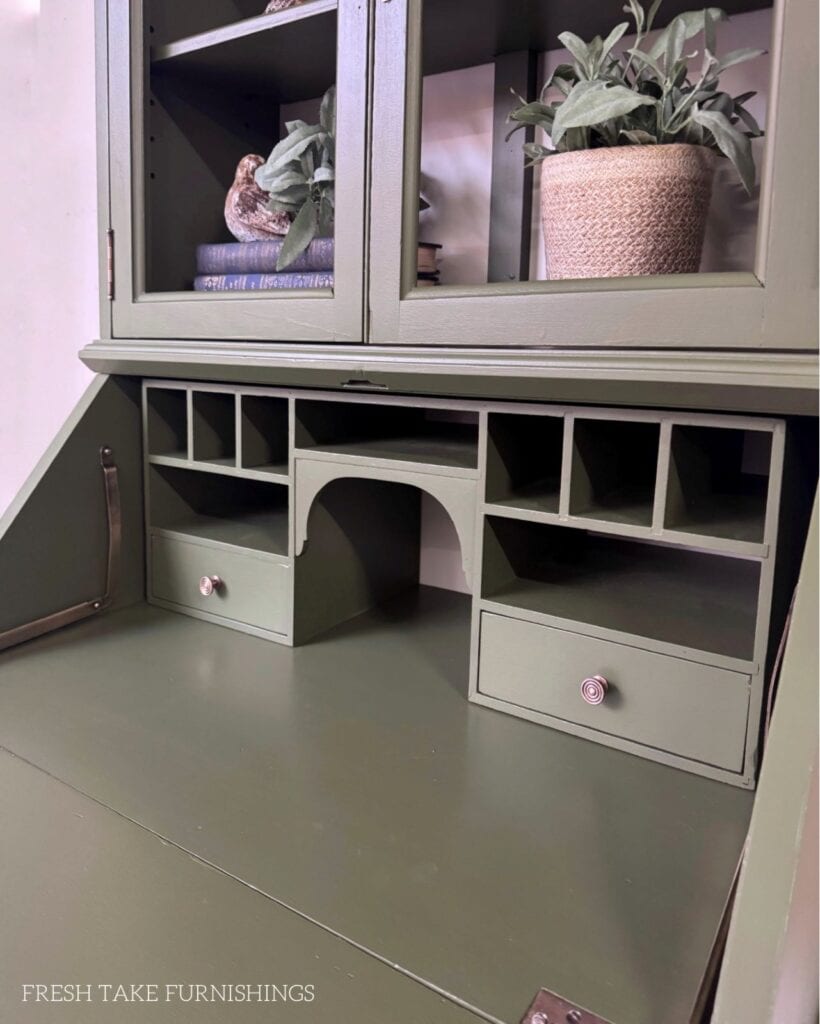
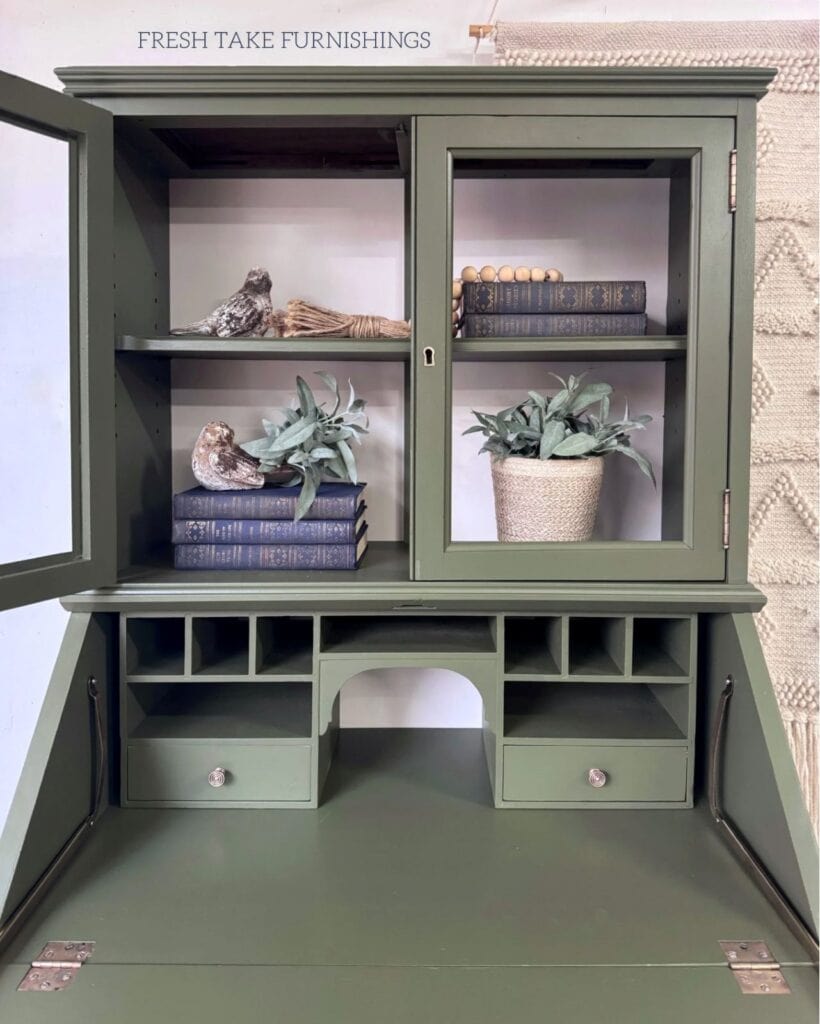
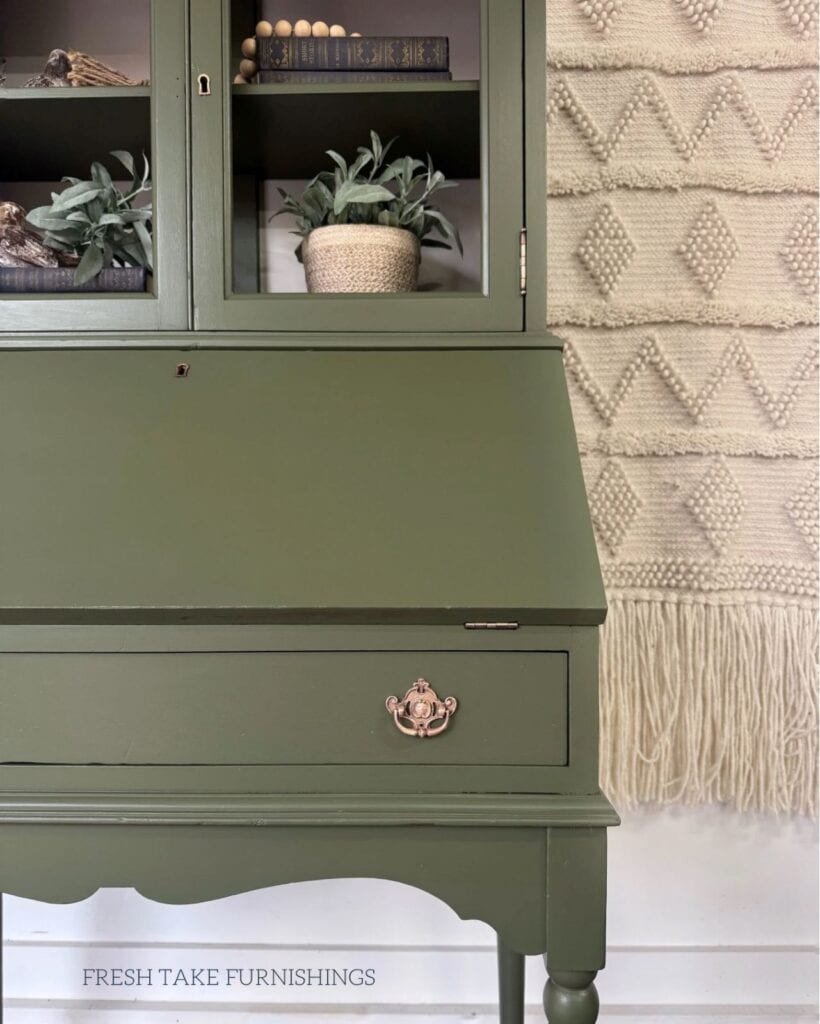
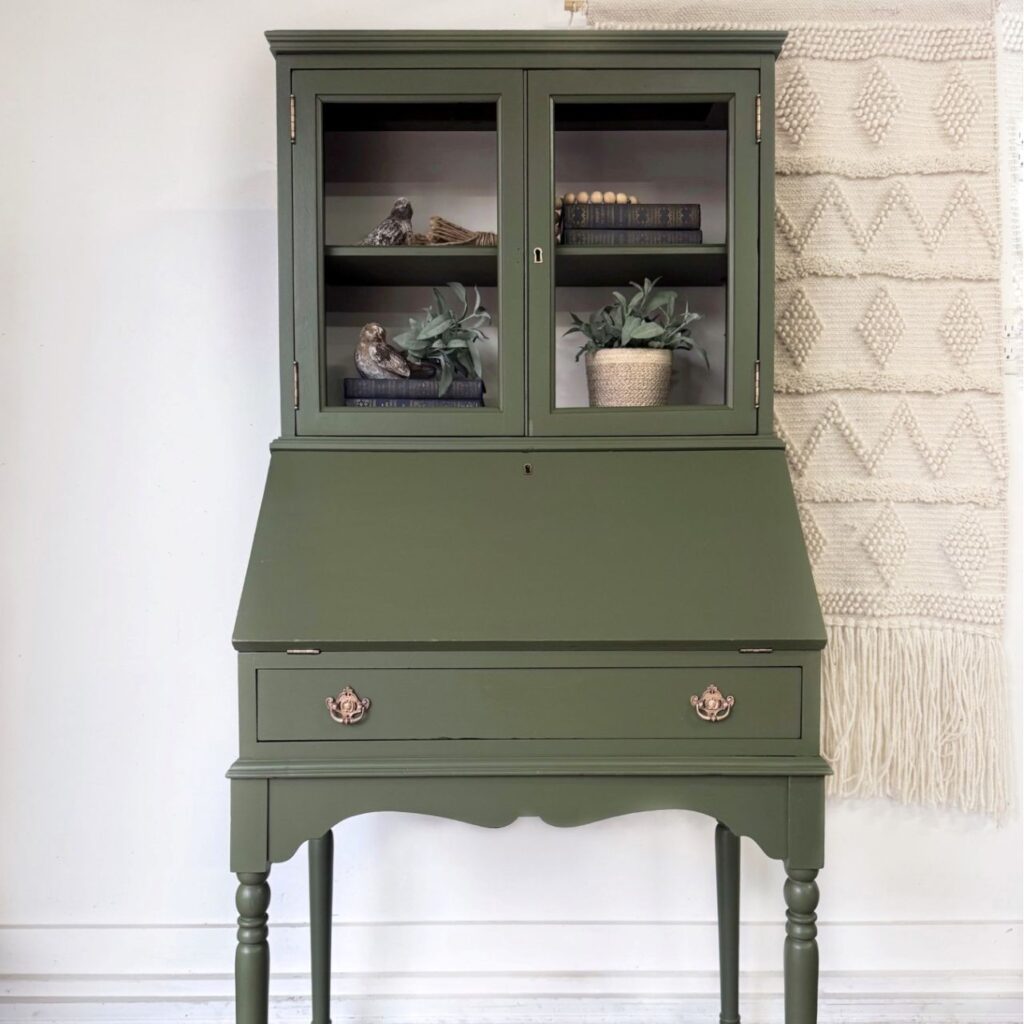
I love a good vintage secretary desk makeover! When a client reached out to me about painting this one, although they are a lot of work, I just couldn’t say no. The piece came to me stripped – her original plan was to restore the original finish, but she just wasn’t loving the look of the stripped wood. So we changed gears and decided on paint. I love this green color that we chose; keep reading to get all of the details on this makeover!
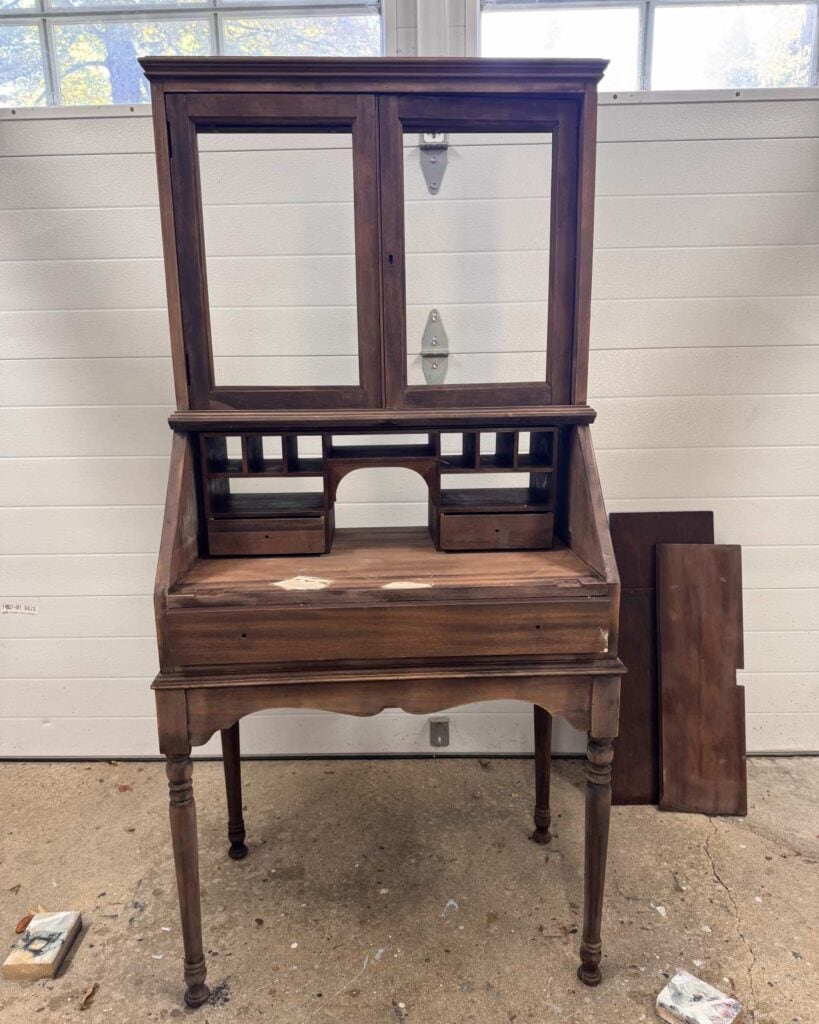
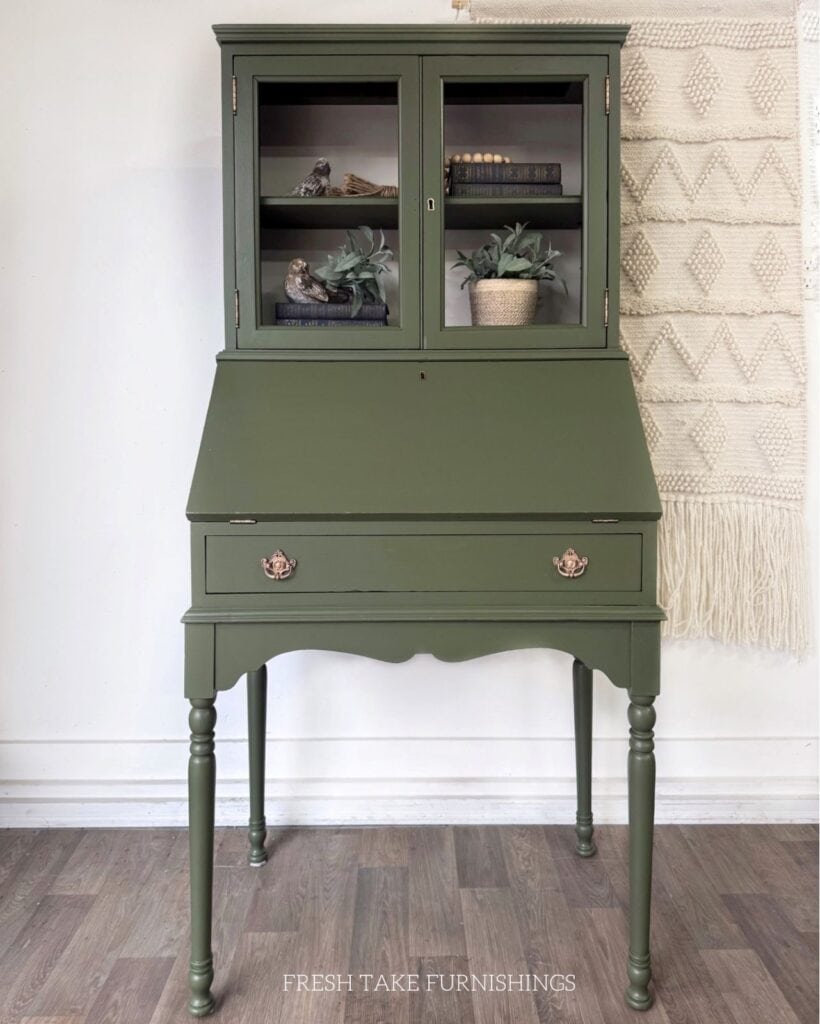
In these quick guides, I walk through the steps and products I used for a particular makeover. Interested in learning more about a step or process? Please refer to the links at the bottom of this post, where I provide detailed tutorials on these steps.
Makeover Steps:
- Because the work on this desk had already been started, it came to me in pieces. So I was able to skip the first step, which is to take it apart and label all of the screws, hinges, and other peices.
- Cleaned the entire piece with dawn dish soap and water.
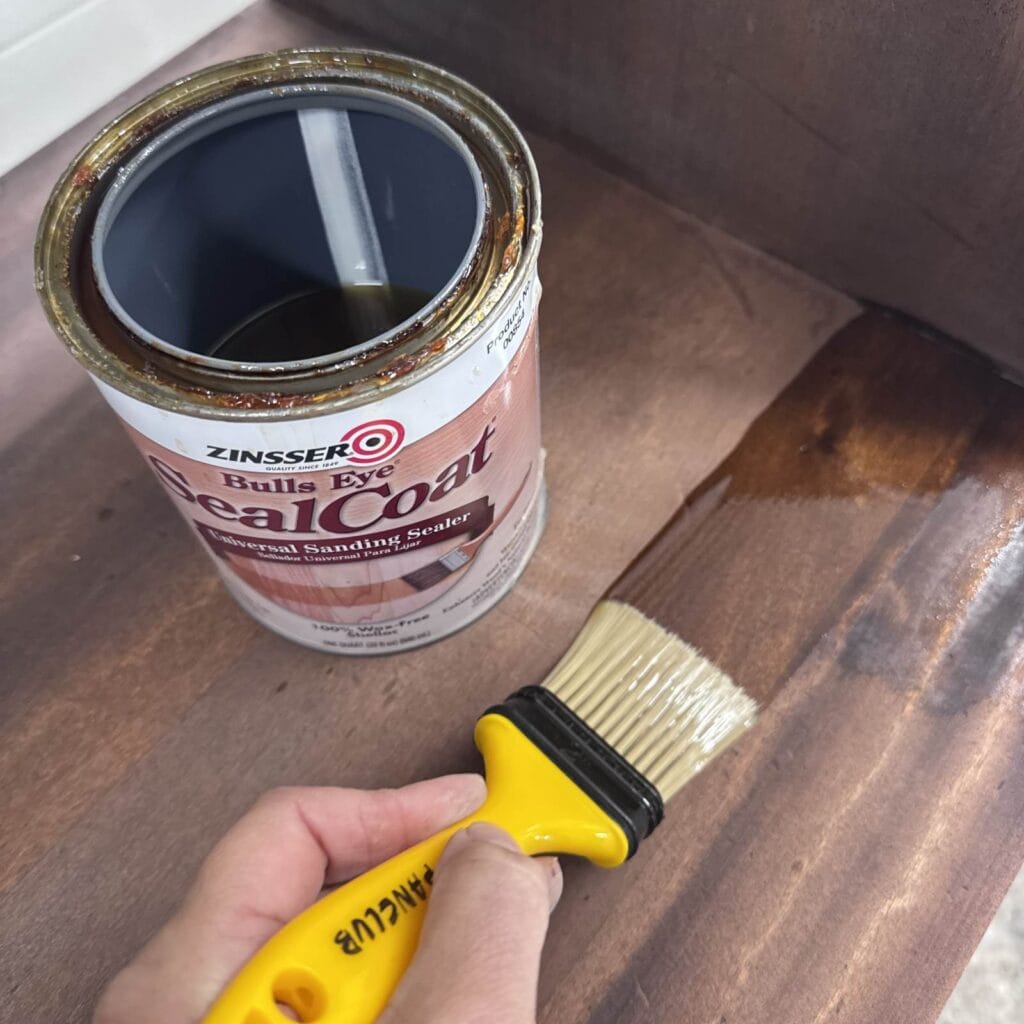
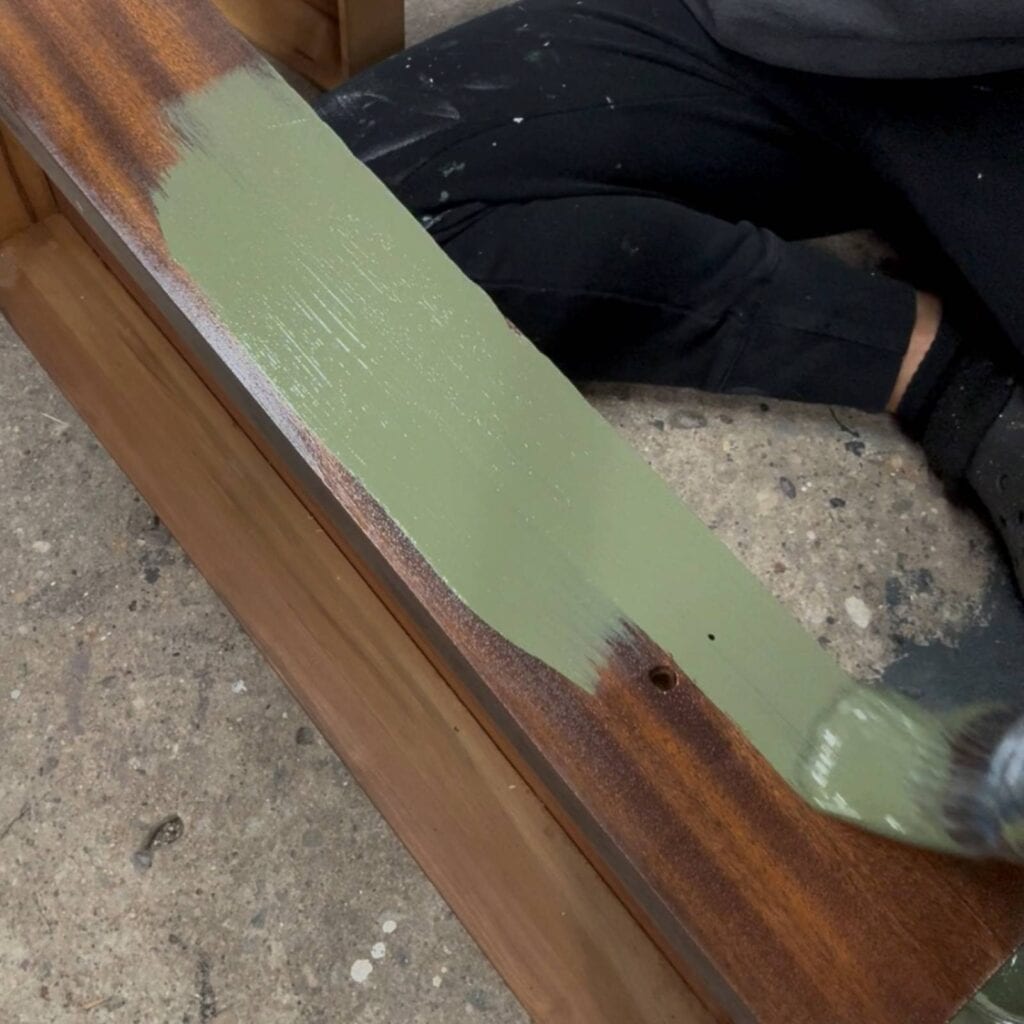
- Once the wood was clean and dry, I scuff sanded the entire piece with 220-grit sandpaper and my SurfPrep sander.
- Sealed and primed the wood for paint with shellac.
- Painted in Talley Green by Melange Paints.
- Sealed with General Finishes High Performance Top Coat and my favorite top coating brush.
Would you like to save this?
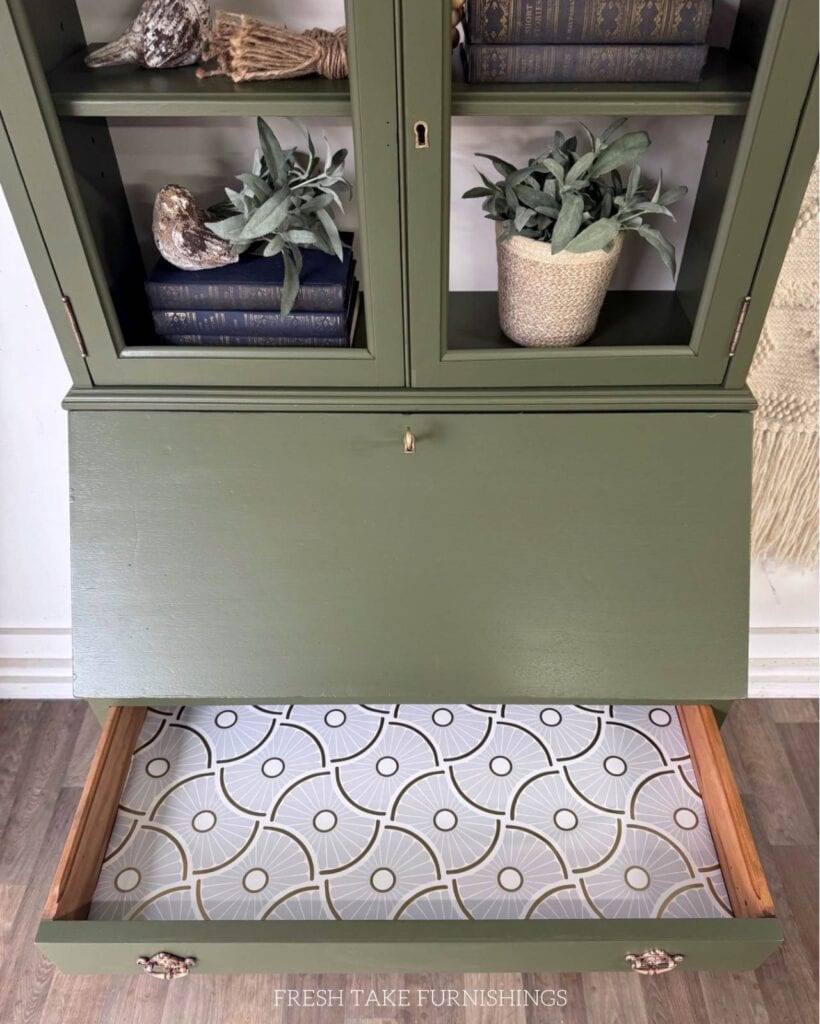
- Cleaned the existing brass hardware and hinges.
- Added peel-and-stick wallpaper as drawer liners (this pattern has been discontinued but here are some of my other favorites).
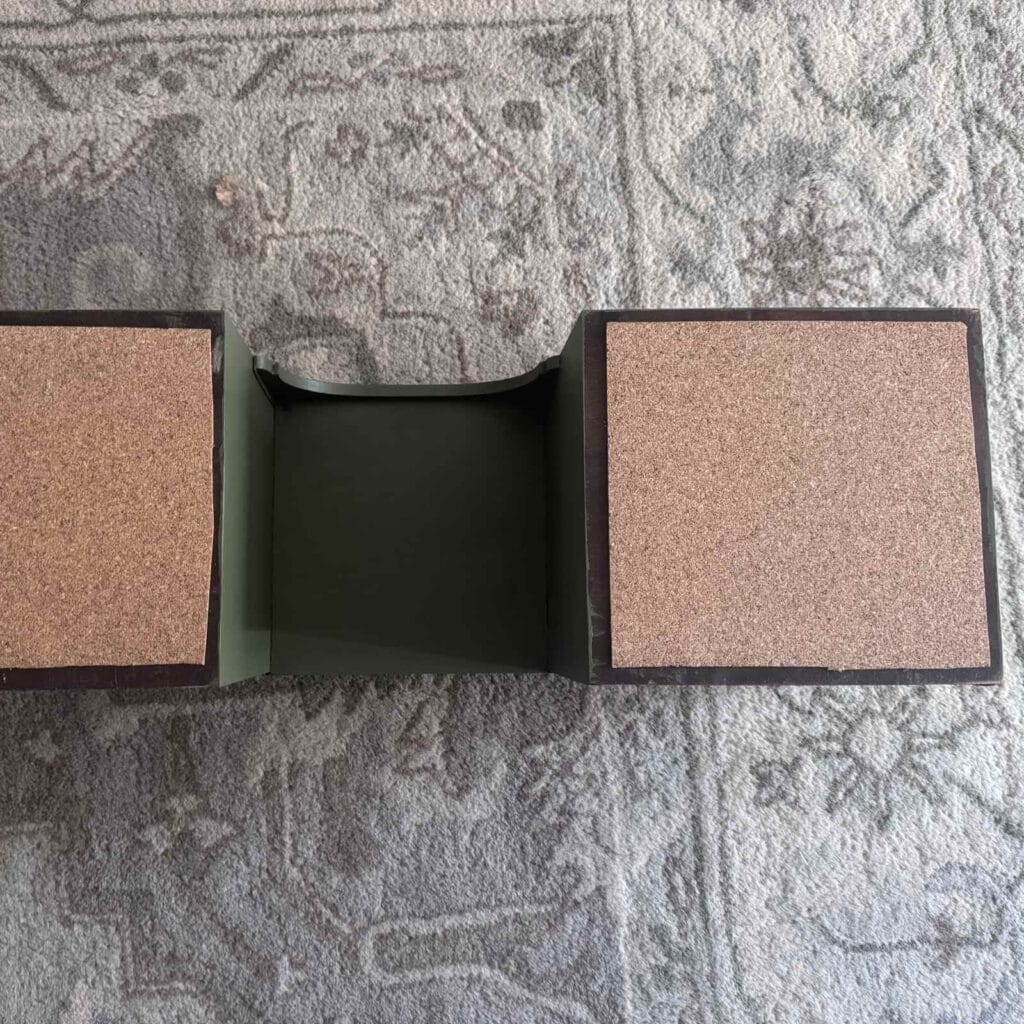
- Added cork contact paper to the bottom of the insert to prevent scratching.
Want to learn more about each step? Check out the links below:
New to furniture painting?
Get my FREE Beginner’s Guide to Painting Furniture! This guide walks through the steps of a furniture painting makeover and includes a downloadable project planner and supply checklist.