A Guide To Stenciling Furniture
This post may contain affiliate links, meaning I make a small commission on qualifying purchases.

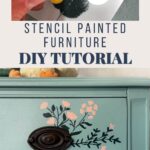

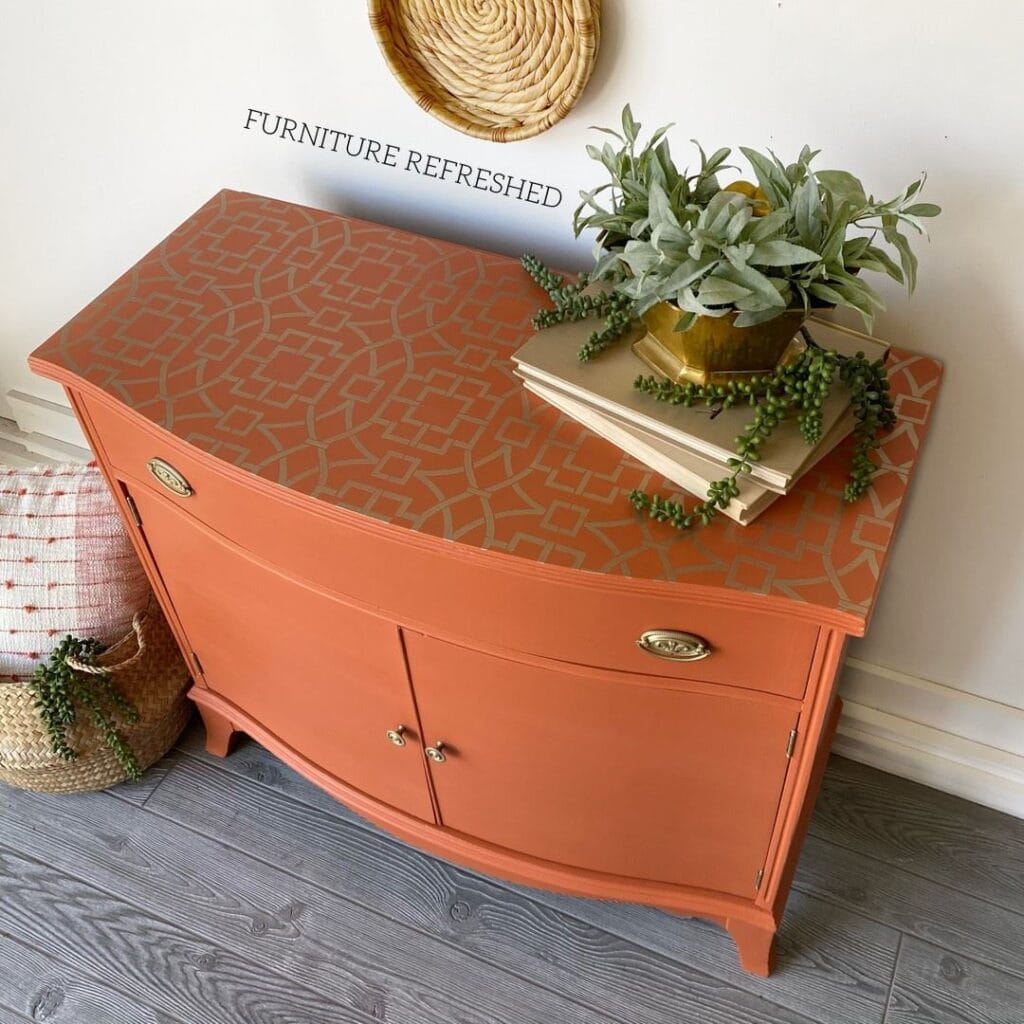
Want to add a fun design element to your next painted furniture makeover? Then consider stenciling!! It’s an easy way to make a big impact. You can add a few embellishments or cover the entire peice, it’s really up to you. The best part? Stenciling is beginner-friendly, affordable, and can be done with just a few basic supplies. In this guide, I’ll walk you through everything you need to know about stenciling furniture.
Key Takeaways: Stenciling Furniture
- Stenciling furniture adds a fun and creative touch to painted makeovers and is beginner-friendly.
- Follow these four steps: paint the base, prep stencils, apply paint, and seal the design for durability.
- Use repositionable adhesive for stencils and a stippling brush for applying paint to avoid bleeding.
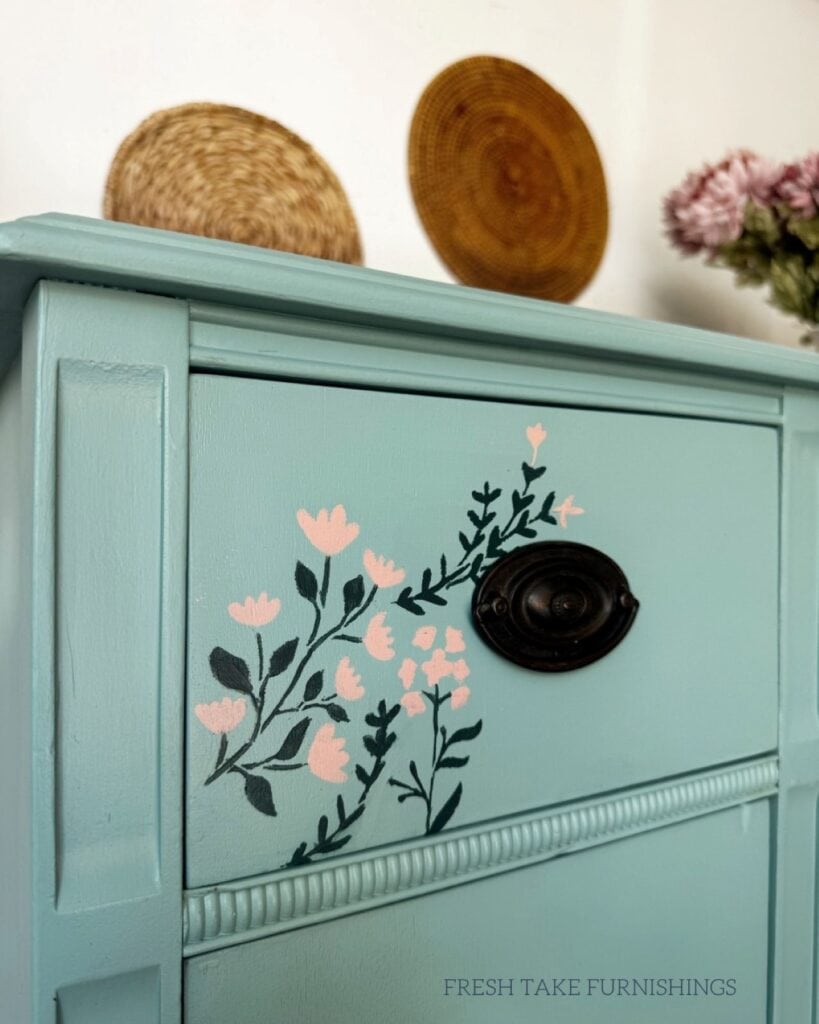
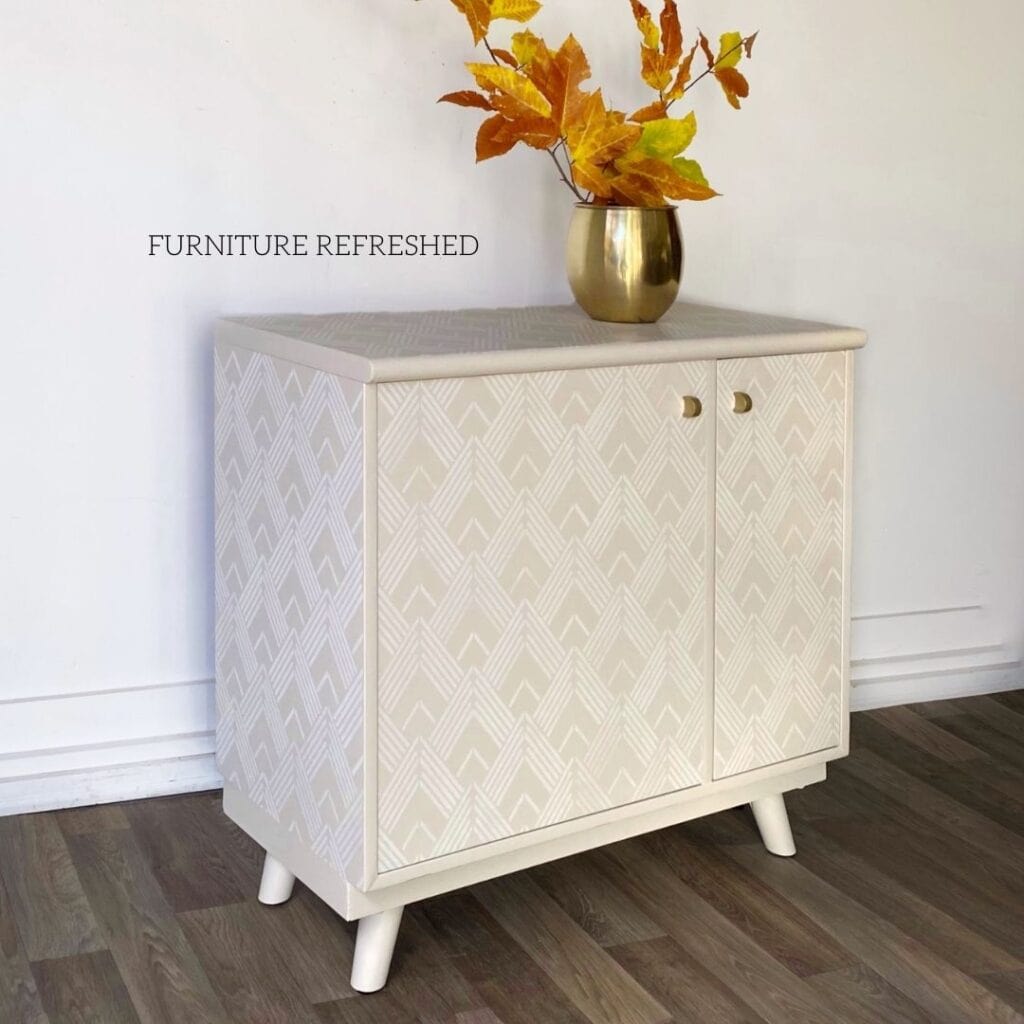
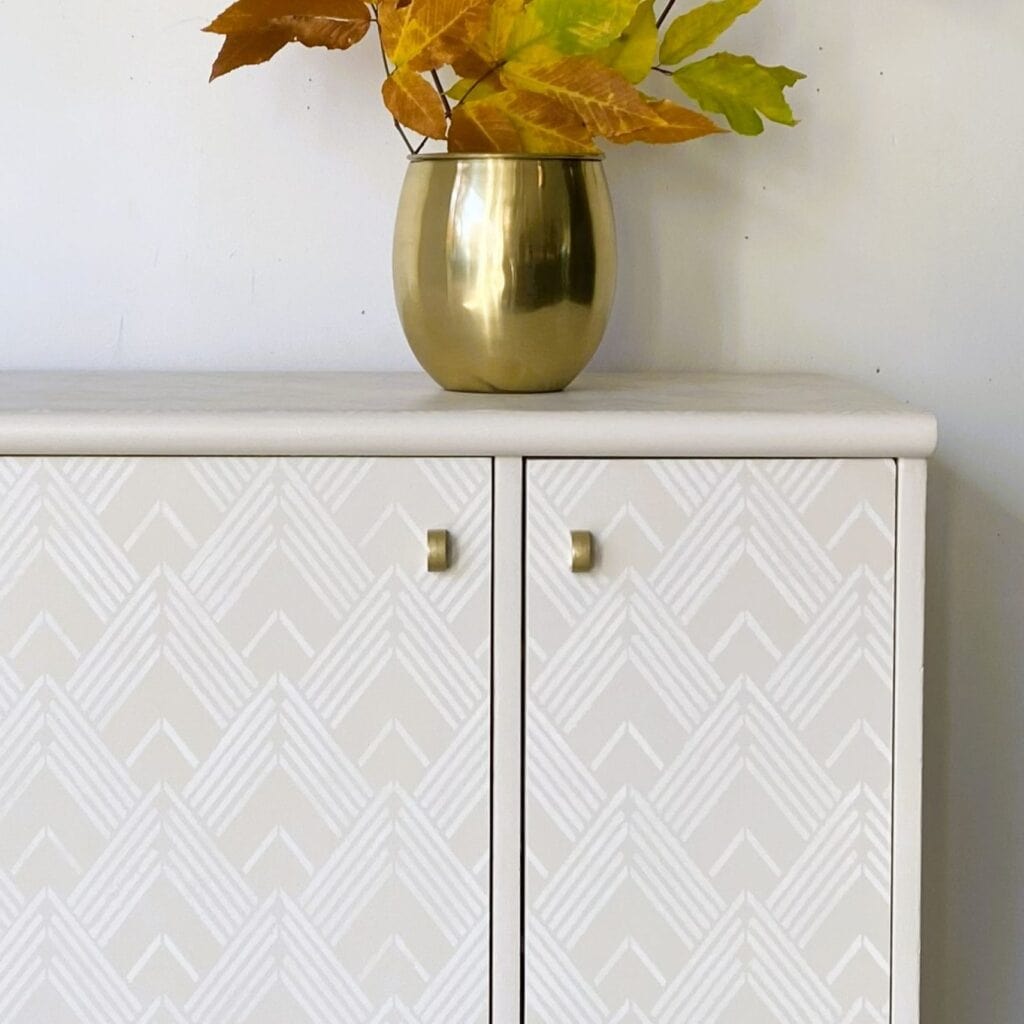
- Customize your project with various stencil patterns, from modern geometries to romantic florals.
- For more inspiration and guidance on stenciling furniture, consider exploring additional resources and tutorials.
Summarize & Save This Content
Steps for Stenciling Furniture
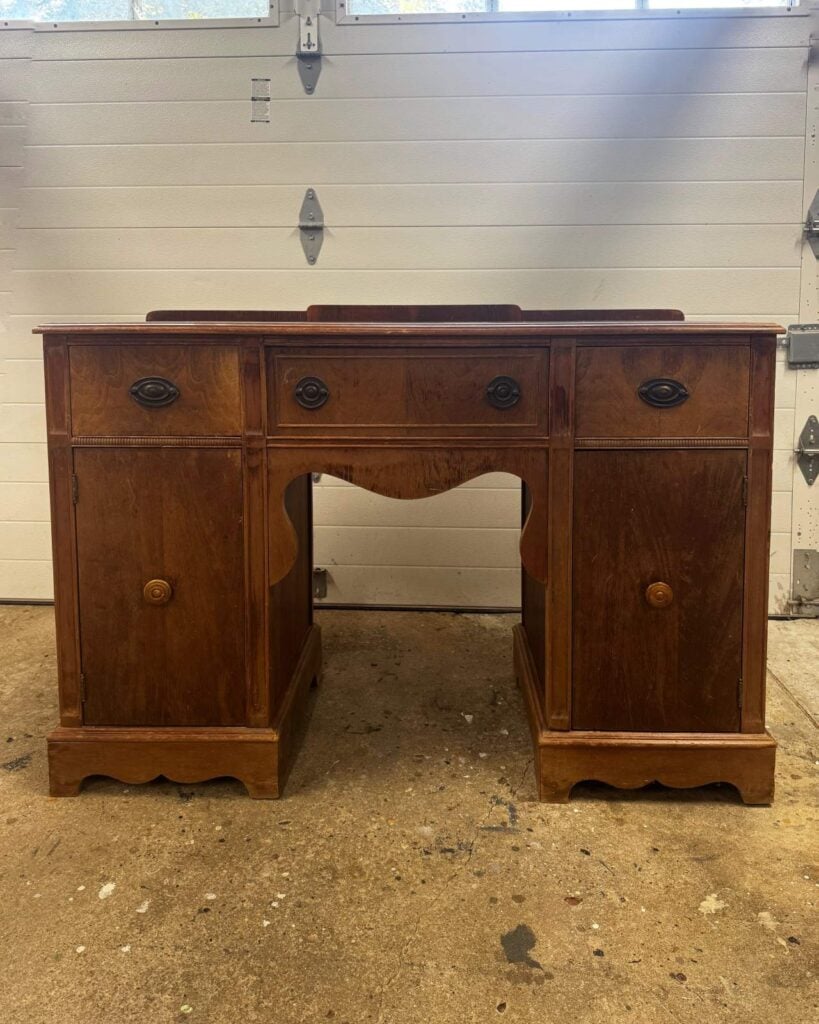
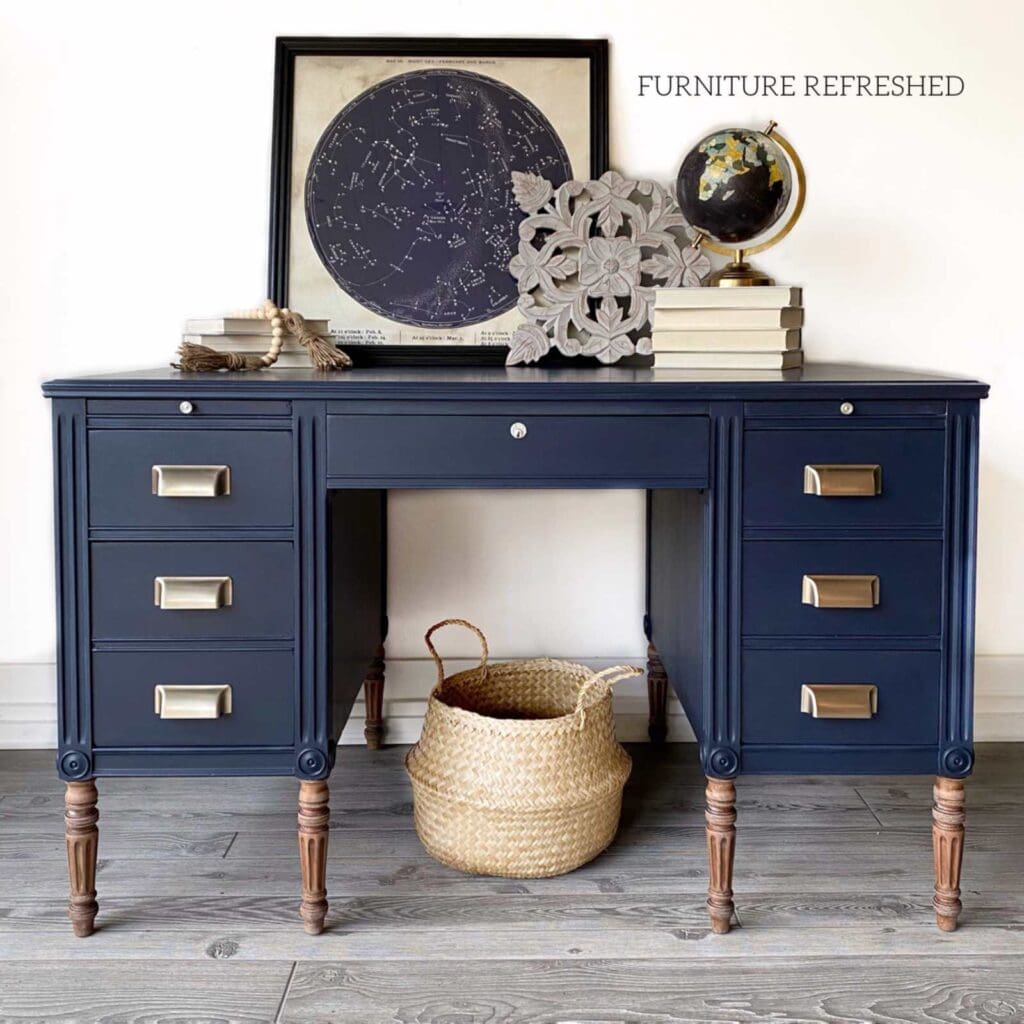
I’ve been wanting to write a tutorial on stenciling furniture for a while, and I’ve done several stenciling projects over the years (be sure to check more project inspiration at the bottom of this post). However, I haven’t ever documented the steps to share. So when a client asked if I did stenciling on furniture, I was excited for the opportunity to update this vanity with stencils!
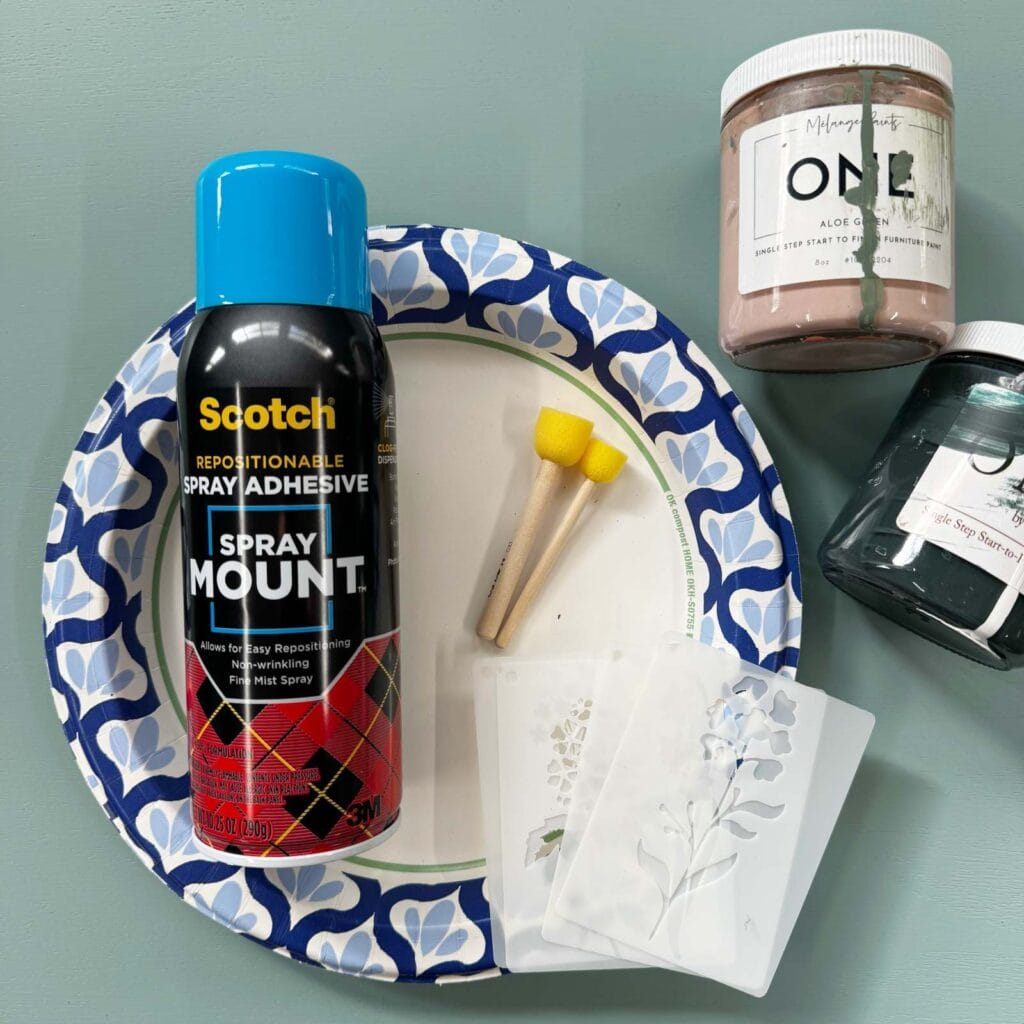
Supplies Needed
Step 1: Paint The Base Color
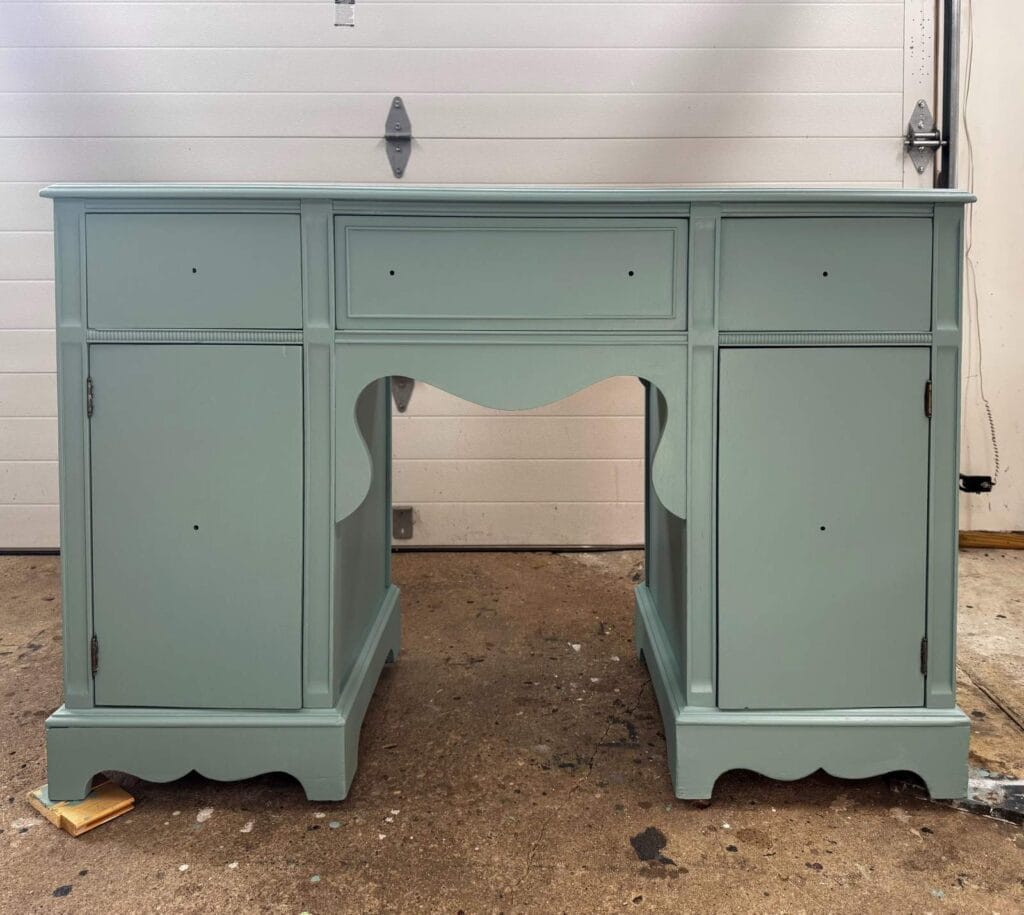
To start, follow these steps for a painted furniture makeover. This includes cleaning, scuff sanding, priming, and painting the piece.
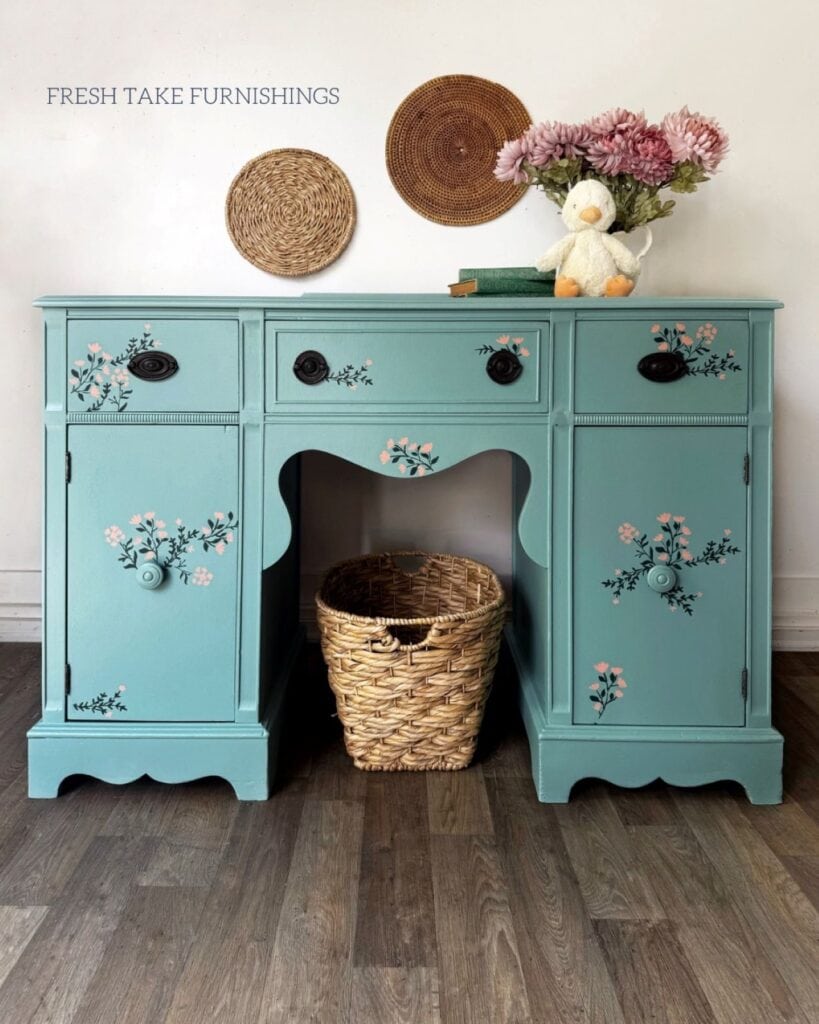
For the base color, I mixed a custom shade from several Melange Paints colors. The final result was inspired by the color Everglades by Benjamin Moore.
Once painted, I allowed the vanity to dry overnight before moving on to stenciling.
Step 2: Prep Stencils
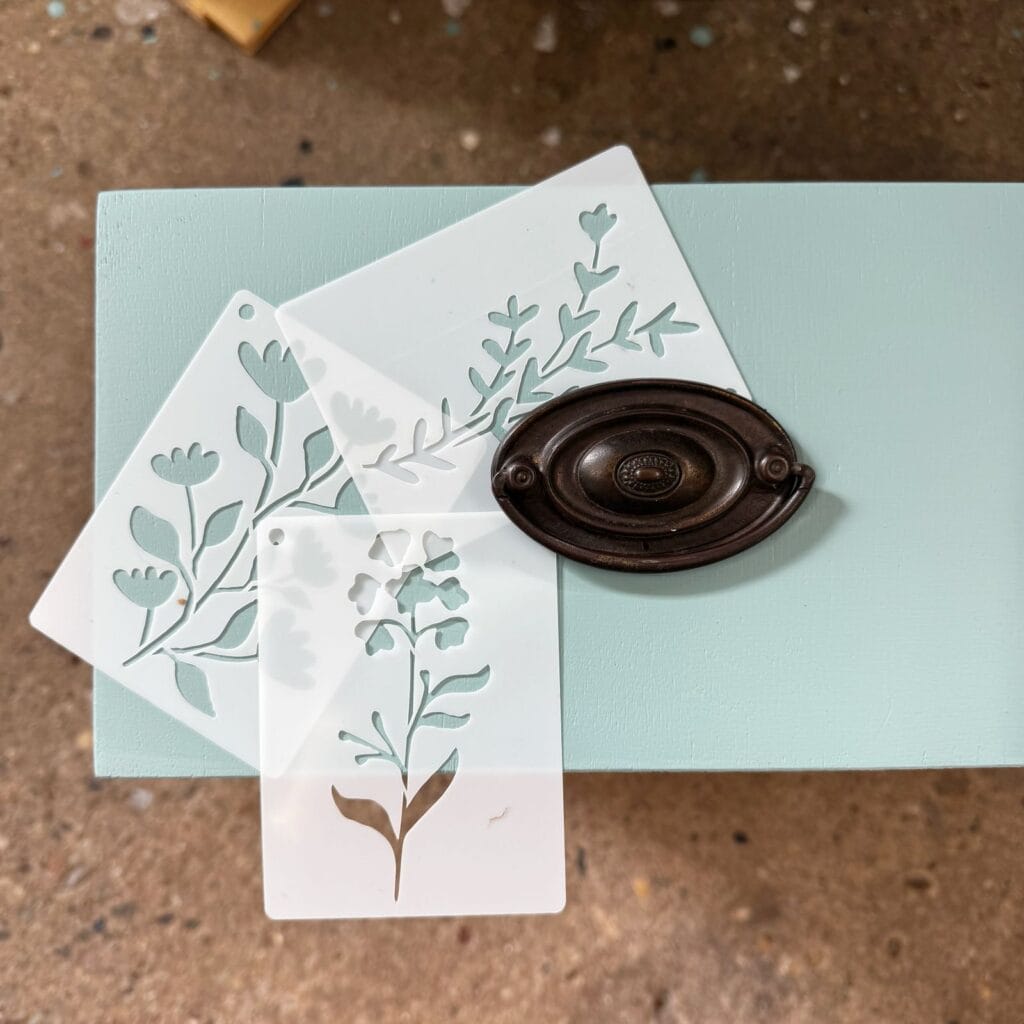
Now on to the fun part! Deciding how to lay out your stencil design. For this project I used a few smaller stencils together, so I took photos of how I laid them out to refer back to when I was ready to stencil that section.
Starting with one stencil, spray the back with repositionable adhesive spray, let it air dry for about 30 seconds, and firmly press the stencil down onto your surface.
Step 3: Apply Paint to Stencil
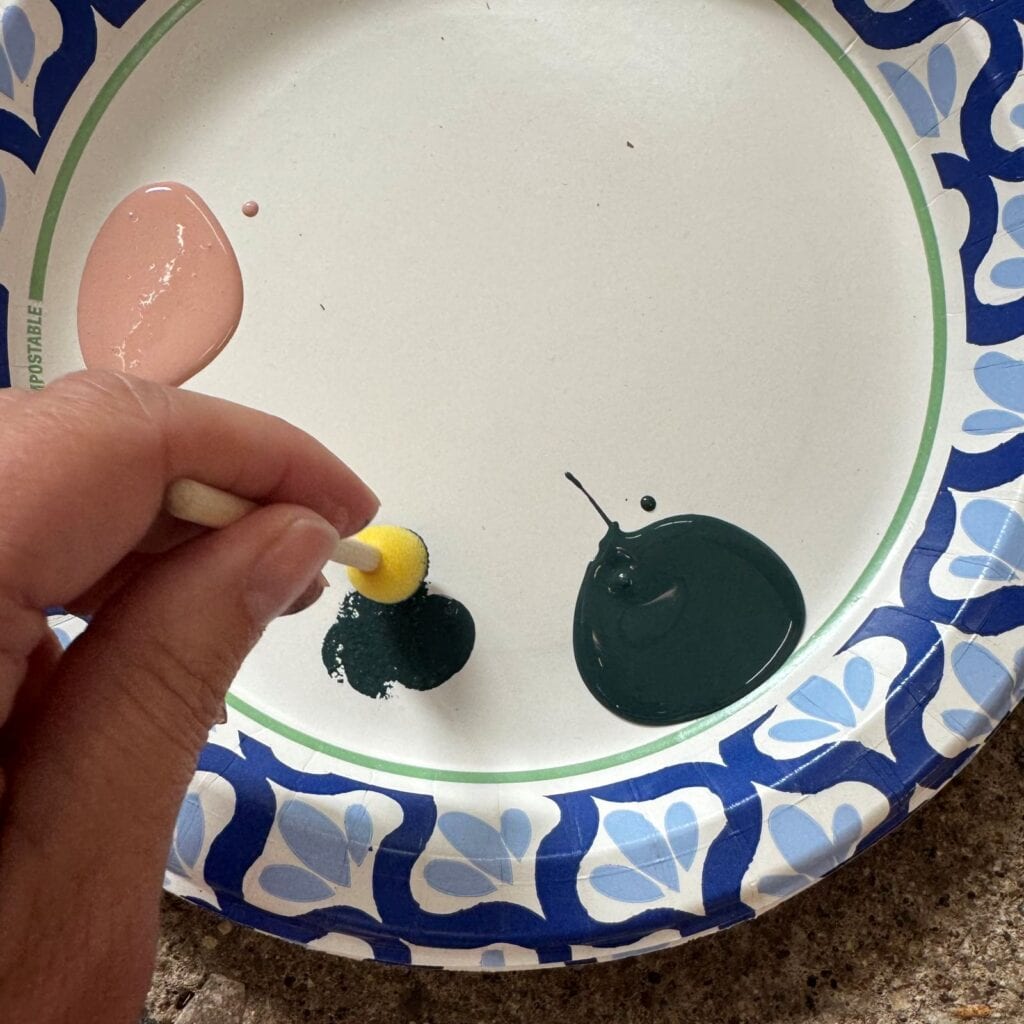
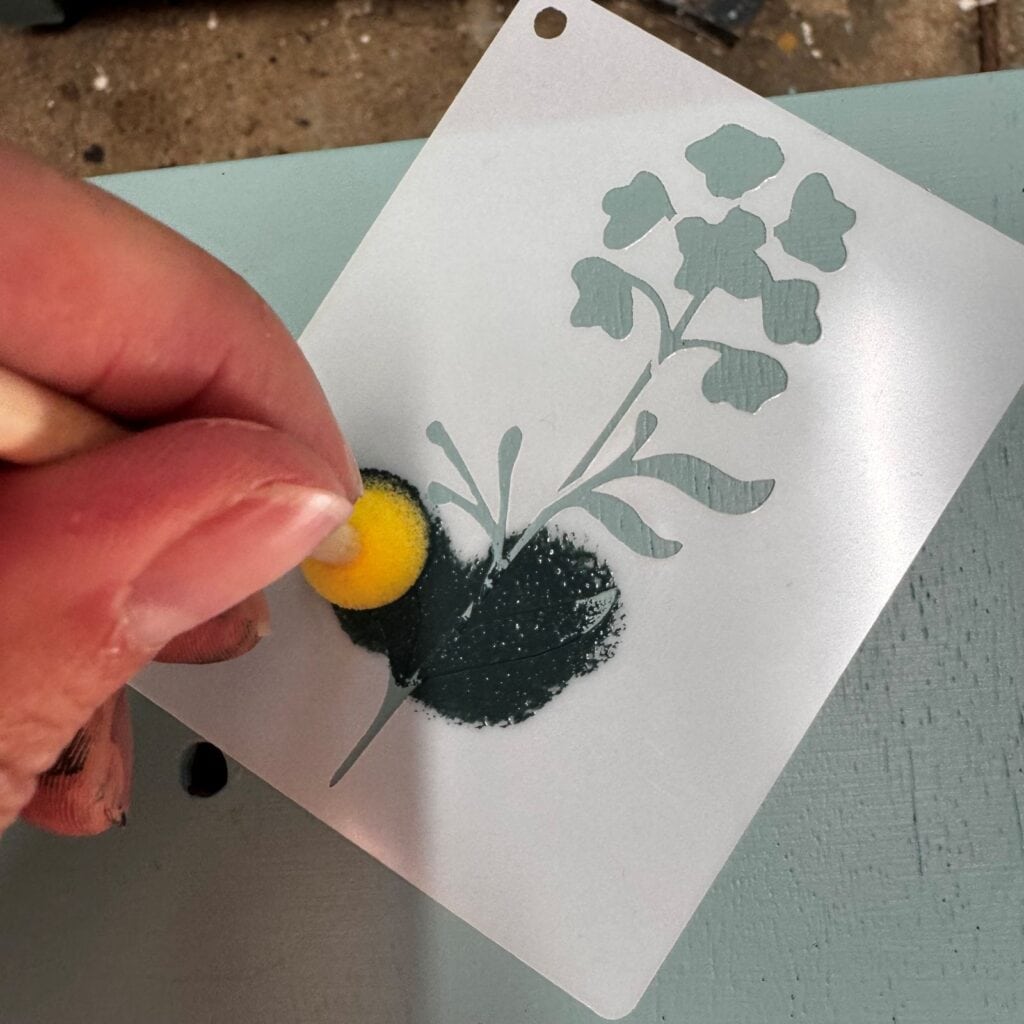
Next, pour a small amount of paint onto a plate. The stenciling colors were also custom Melange Paints colors, but you can use craft paint as well. Dip a flat surfaced stippling brush into the paint and blot off any excess. I like using these foam stippling brushes – they provide an even surface and are easy to wash and reuse.
Lightly pounce the paint onto the stencil. Be sure to keep your brush vertical – pouncing at an angle will cause paint to get beneath the stencil. Don’t over apply your paint, this can also run under the stencil. Once applied, pull the stencil away from the surface. I like to do this before the paint dries – that way I can use a damp cloth (or wipe) to remove the paint if I don’t like how it turned out. For this project, I used 2 separate colors on the stencil before pulling the stencil back.
After you have let your stencil dry, you can go back and touch up any imperfections that you see using a small artist’s brush. I do this with both the base color and the stencil colors until I am happy with the overall look.
Step 4: Seal Stenciled Design And Finishing Touches
Once the stenciled paint has dried completely, I recommend sealing the entire piece of furniture with a water-based topcoat. This ensures durability over the raised stenciled areas. Even if you are using a paint that does not require a top coat, you will get a smoother, even finish with everything sealed up.
Would you like to save this?
Consider your finishing touches, such as adding new hardware, cleaning up old hardware, or adding drawer liners, and you have yourself a brand new piece of furniture!

More Stenciling Inspiration
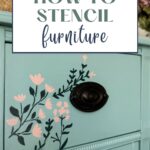
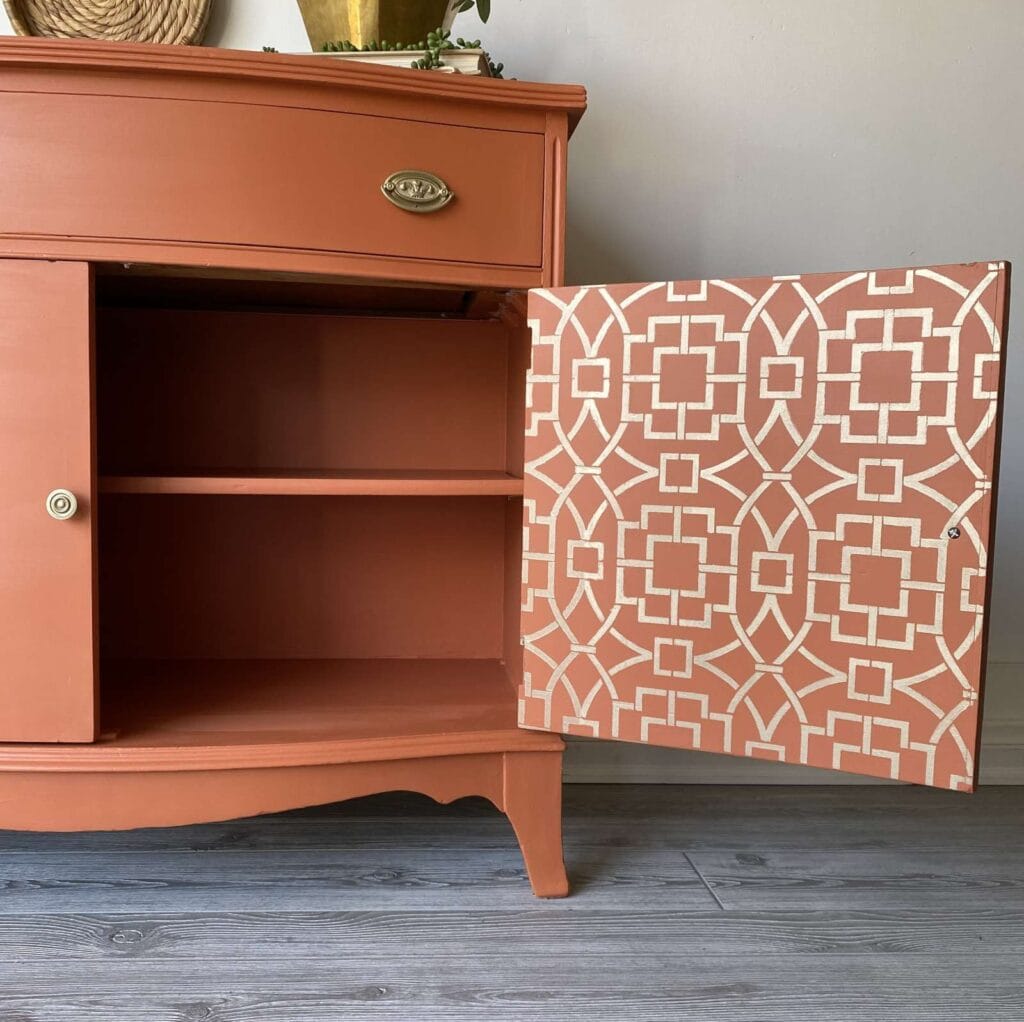
So now that you know the basics, it’s time to choose a stencil pattern. If you are going for a modern look, consider geometric patterns. Romantic vintage? Try florals or lace. And smaller accents can add subtle details to the sides of drawers.
While you can get lots of fun stencils on Amazon, for larger area stencils I love the patterns at Cutting Edge Stencils. Re-Design with Prima and Amy Howard at Home also have some great designs.
Summary
Stenciling furniture is a fun way to add character and creativity to your painted furniture makeovers. And you can choose a small accent, an all-over design, or something in between! As always, I’m happy to answer any questions you have. And be sure to check out these additional ways to add character to your painted furniture makeovers if you’re looking for even more inspiration. Happy stenciling!
New to furniture painting?
Get my FREE Beginner’s Guide to Painting Furniture! This guide walks through the steps of a furniture painting makeover and includes a downloadable project planner and supply checklist.