How to Use Restor-A-Finish
This post may contain affiliate links, meaning I make a small commission on qualifying purchases.


Have you ever come across a piece of vintage furniture with some fading or minor imperfections in the finish? Stripping and finishing can be a lot of work, but thankfully there is a product out there that can help! Restor-A-Finish does exactly what its name implies – it restores the existing finish. Keep reading to learn more about what it is, when to use, and how to use Restor-A-Finish.

Summarize & Save This Content
What is Restor-A-Finish?
Restor-A-Finish is an oil-based penetrating product that restores the existing finish. It works great to restore color to faded finishes and repair minor scratches and blemishes. A small amount of stain adds color back into the finish. And it is very easy to use!
When To Use It
As I mentioned, this is great for minor repairs and touchups. It is not good for larger areas or failing finishes. And it is not a stain – it should not be used on raw/sanded/stripped wood as a stain. There are plenty of wood stains out there that you can use on a raw wood surface. More information on a complete strip and stain project can be found here.
I also love using Restor-A-Finish on the insides of painted furniture projects. For example, I recently used in on the insides of the cabinets in this dining room buffet makeover. It can also restore scratches on the insides of drawers.
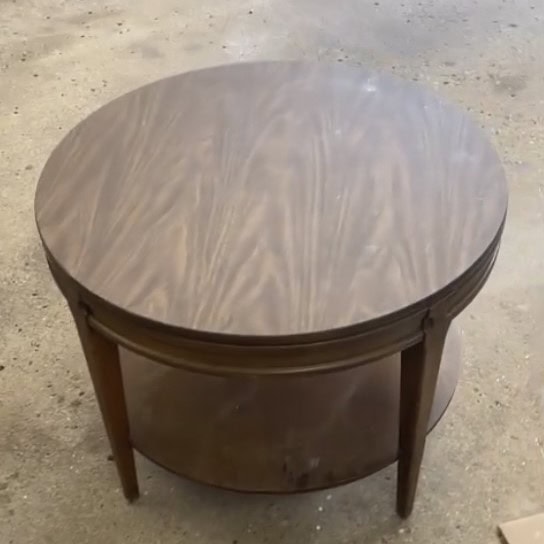
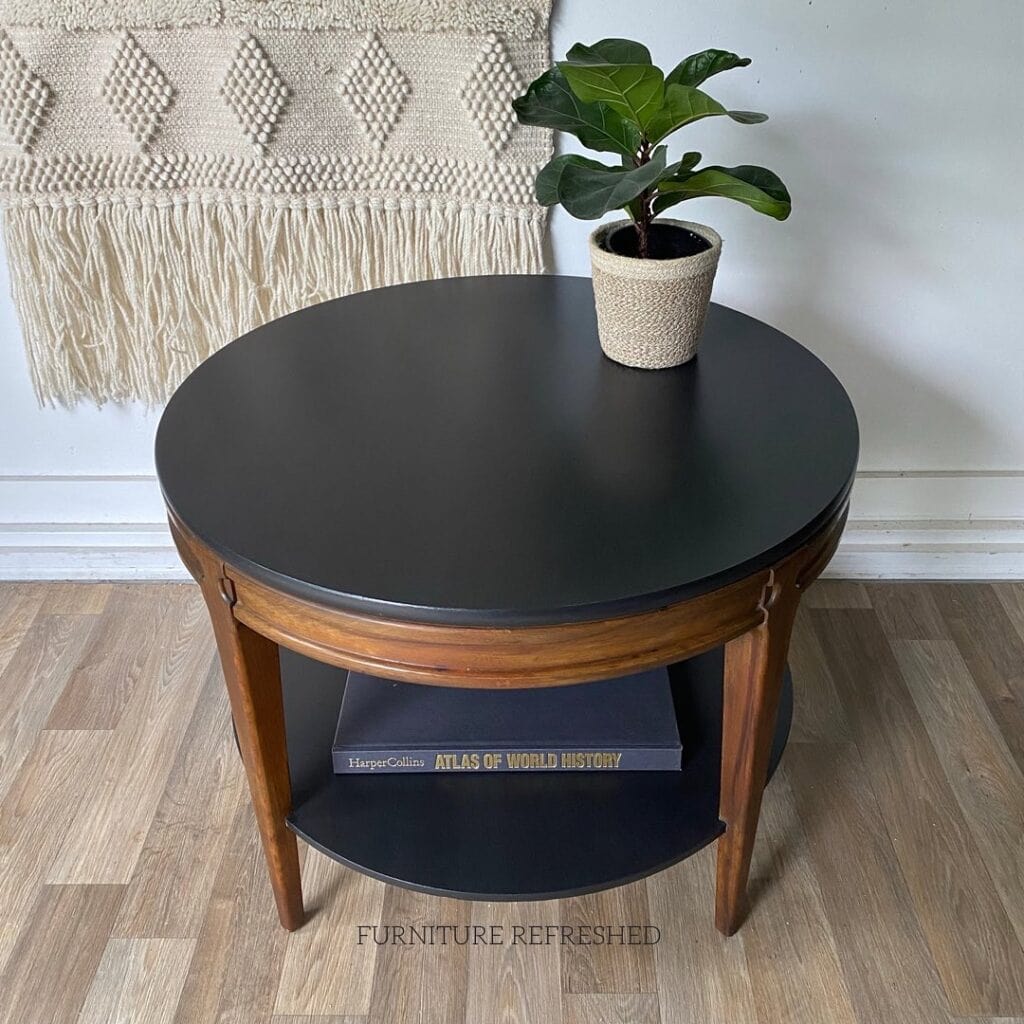
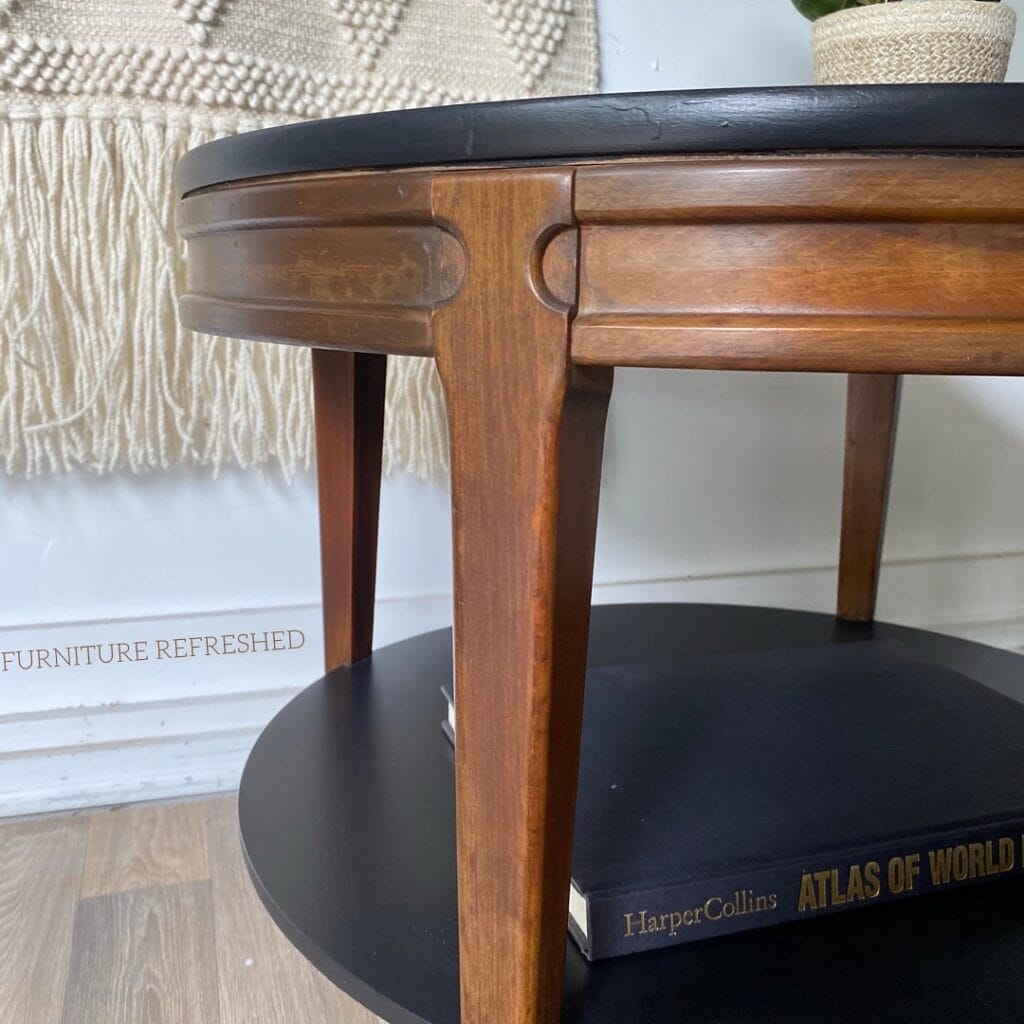
I came across this Lane side table and knew it was the perfect candidate for a paint/wood combination. The top was laminate and was dull and faded so I decided to paint that black. However, I loved the walnut wood on the apron and legs and thought the black paint would really make it pop. It was in decent condition so I didn’t want to go through the work of stripping and re-staining. Restor-A-Finish was the perfect product to quickly and easily update the wood.
How To Use It
This really is an easy product to use. To be honest, it almost feels like cheating! Just a few quick steps and you’re done. As always, be sure to read the product safely information and use appropriate precautions. I always use gloves, a respirator mask, and work in a well-ventilated area when using this product.
Supplies Needed
Would you like to save this?
Step 1: Preparing The Surface
To get your surface prepared, you just need to clean it well. I would recommend using a degreaser or Dawn dish soap, followed by water to remove any residue. And you do not want to scuff sand – this is probably the only time I recommend not sanding before applying some sort of finish.
Step 2: Applying Restor-A-Finish
Restor-A-Finish comes in a number of different colors, Try to pick the color that is closest to your existing finish. Then test in a small area to ensure you are happy with the match.
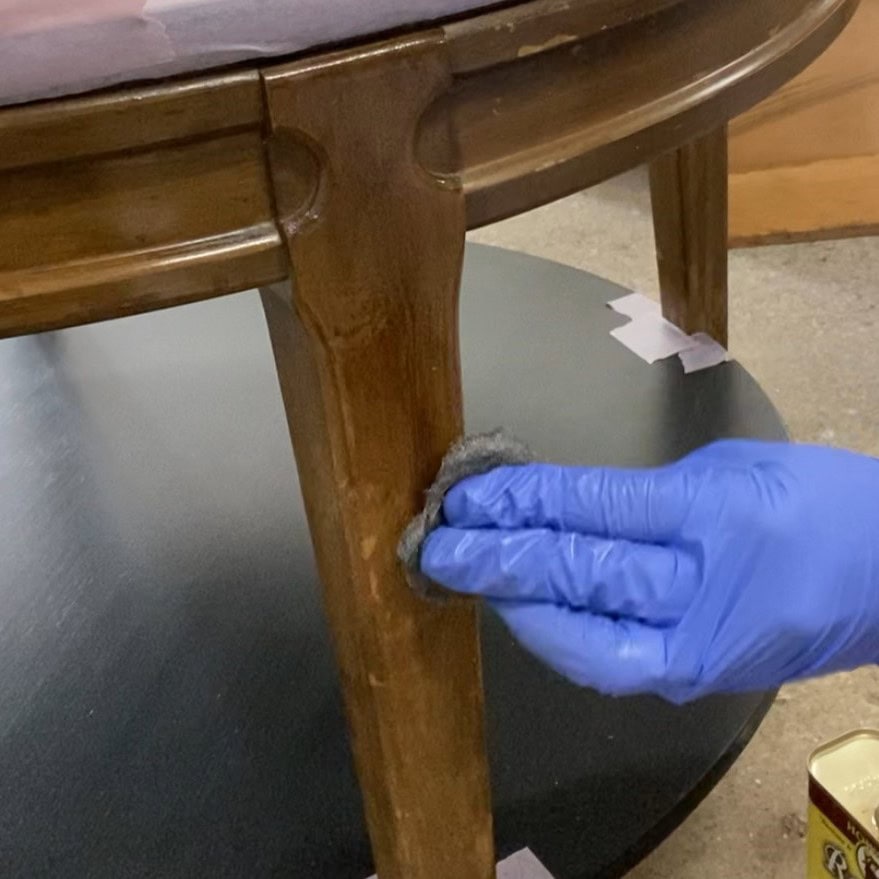
Using 0000 steel wool, gently rub into the worn areas. The steel wool helps the product penetrate, but you don’t want to scrub too hard and remove any of the existing finish. Immediately after applying, take a shop towel and wipe back any excess. I like to work in sections so that the product doesn’t start to dry out before you wipe it back.
Step 3: Sealing And Protecting
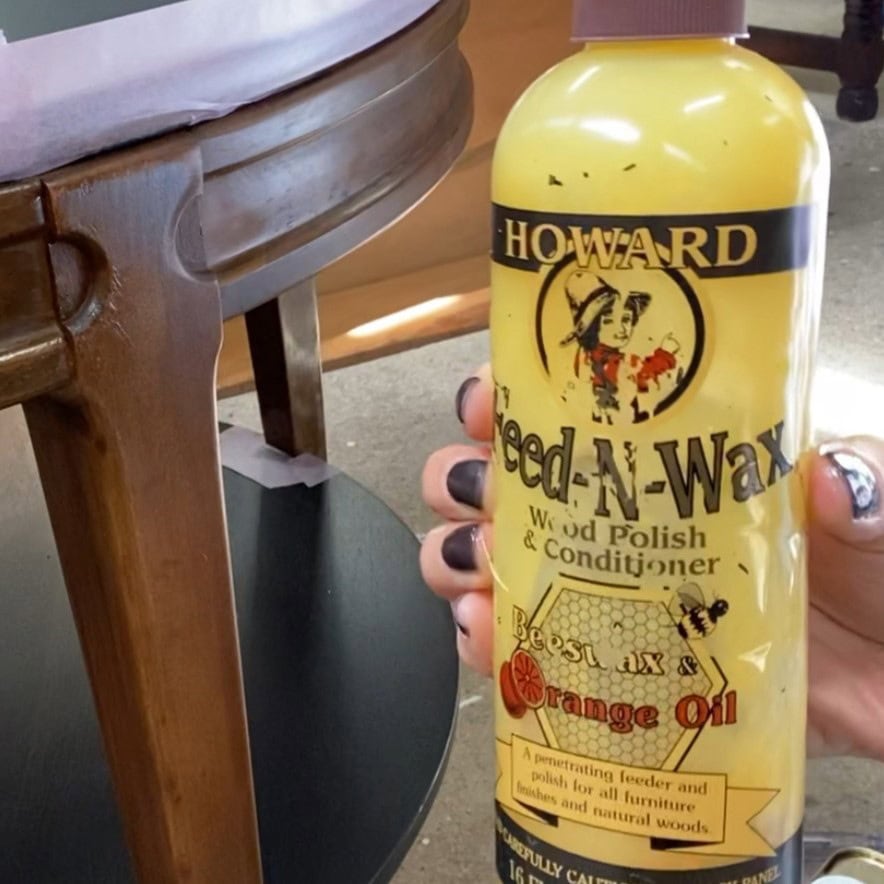
After applying the Restor-A-Finish, let it sit and dry dry for at least 30 minutes. The next step is to protect and maintain this newly restored finish using Feed-N-Wax.
Using a shop towel or soft cloth, rub the Feed-N-Wax onto the entire surface. Let it soak in for about 30 minutes and then wipe back any excess.
Summary
In summary, this is a great product to use when the wood is in good condition and just needs a little refresh. Want to learn more? Howard Products has even more information on its website. And as always, I’m happy to answer any questions you have in the comments below.
New to furniture painting?
Get my FREE Beginner’s Guide to Painting Furniture! This guide walks through the steps of a furniture painting makeover and includes a downloadable project planner and supply checklist.
We live on a boat with the whole interior being wood, in very good condition. My guess is, it has a satin light varnish that has warn thin in areas such as handles and knobs. It does look dry on walls that get more sunlight. I’m thinking this product might work for this? I definitely can’t sand and varnish a whole inside at this point. So I just want it to last a few years when we might be able to get that done?
Hi Lauri! I’m honestly not sure. I’m not super familiar with marine lacquer/varish, although I do know it’s a much tougher finish that traditional furniture coatings. The Restor-A-Finish uses solvents and stains and I don’t know what the reaction would be with marine lacquer. You could always try it in a small hidden spot to see. Another thing to consider is that it can make refinishing down the road harder because it is designed to penetrate the wood and can be difficult to remove.