

Repairing Wood Furniture: How to Fix Common Problems Before Painting
Repairing wood furniture is an essential step before painting or refinishing! Taking the time to properly fix damage ensures a result that will last. In this guide, I’ll walk you through simple techniques for repairing wood furniture — including gluing loose joints, fixing scratches and dents, and patching damaged veneer. Let me be 100% honest here, there is no way I can cover every possible scenario when describing how to repair wood furniture. Looking for advice on fixing something I don’t cover below? Drop me a comment, and I’d be happy to answer your question for you!
A note on product links
This post contains Amazon affiliate links, meaning I get a small commission on qualifying purchases, at no cost to you.
Repairing loose or broken wood pieces
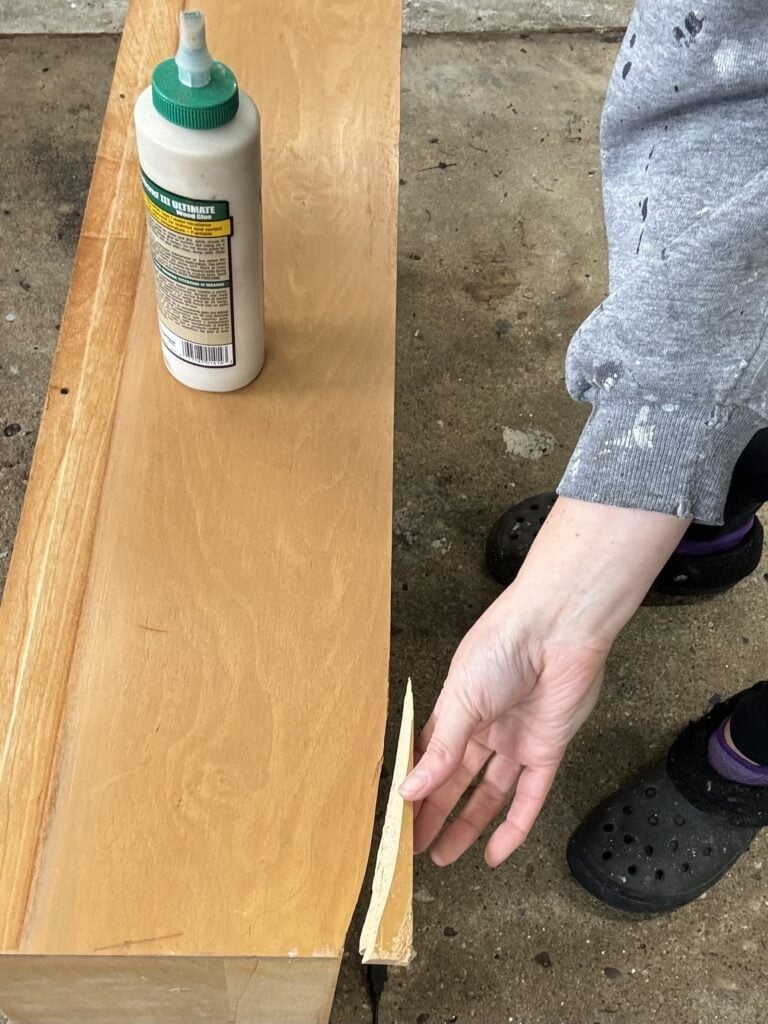
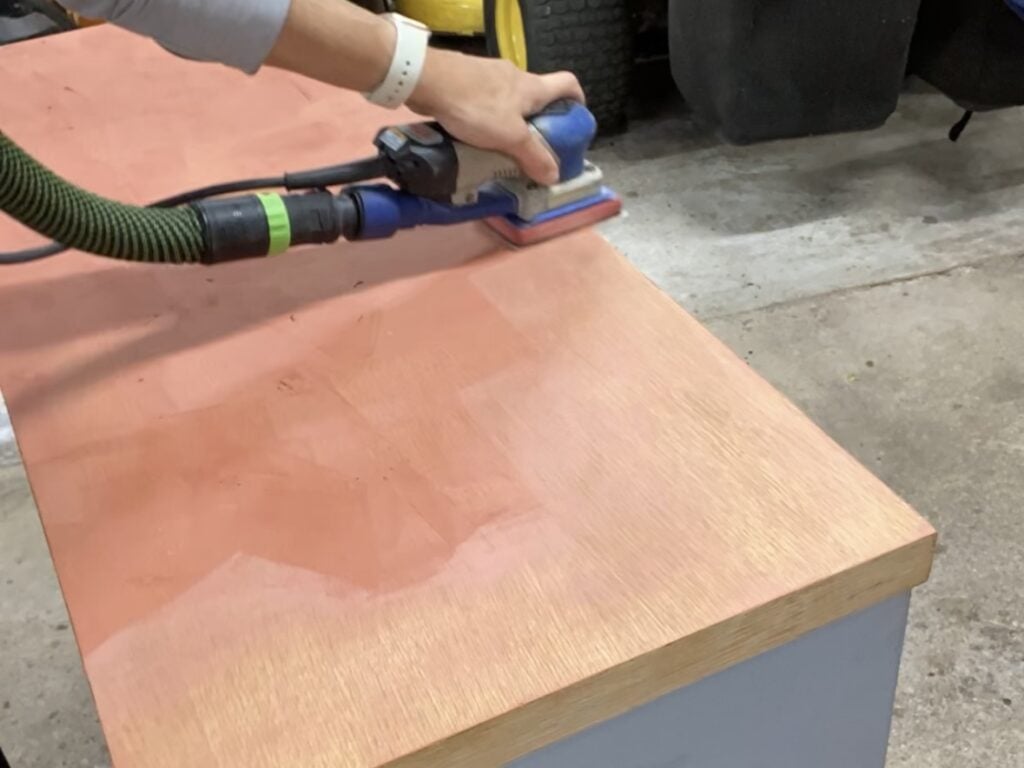
There are many scenarios where wood glue comes in handy. Wood glue can repair loose joints, wobbly legs (or other wobbly areas), and broken-off pieces. Most of the time, I use a basic yellow wood glue – this is ideal for clean, dry, bare wood surfaces and tight joints that need to be repaired. This type of glue is easy to use, safe, and cleans up with water. It works by seeping into the wood’s pores and bonding with the wood itself. It won’t work well on finished, dirty, or smooth surfaces, so make sure to remove any old glue, dirt, or old finish. Sandpaper can be very helpful in doing this.
Often, it can be difficult to get to some of the areas in need of gluing. You can always use something like a toothpick, dental floss, or old credit card/gift card to help push glue into tight areas, but my favorite thing to use is a blunt-ended syringe. These come in a variety of sizes and are perfect for getting the glue into those hard-to-reach areas.
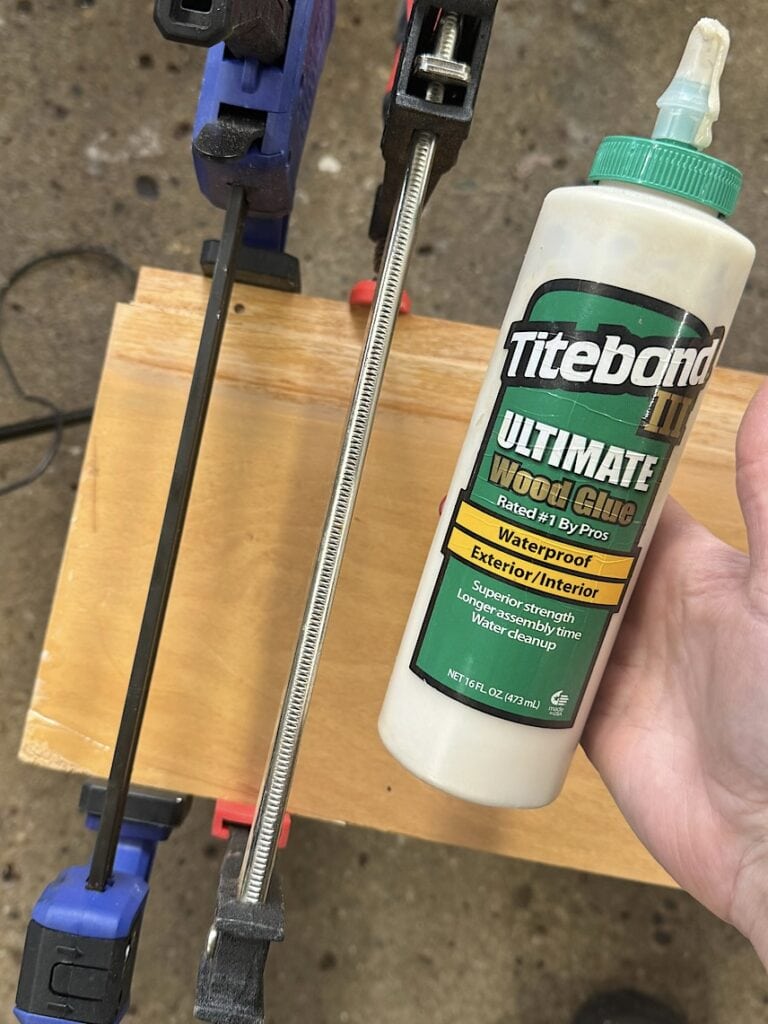
The second, and very important part of this process is the clamping. I can’t tell you how many failed repairs I’ve redone, and usually it’s because there is a thick blob of glue that hasn’t been clamped. Using clamps and wiping back any excess will give you the strongest repair. It can be tempting to skip this step if you don’t have clamps, but they are one of the supplies I recommend having on hand if you want to refinish furniture regularly. In a pinch, I’ve also used some of my son’s free weights, straps, or even tape. But I recommend using clamps whenever possible – you are really looking for even pressure that only clamping can provide.
Repairing scratches and dents in the wood
Filling scratches and dents is another common furniture repair. Sometimes you may be going for a more rustic vibe/finish and may want to leave some of this character. If you are using a high-quality paint, you will see the imperfections in your final finish – how much character you want to leave is up to you.
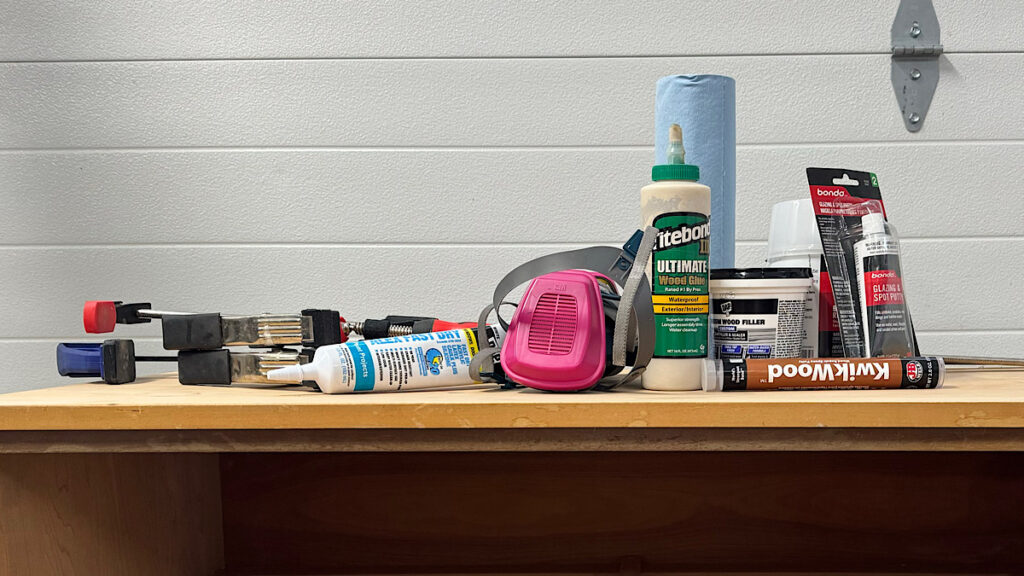
There are four main fillers I will use when prepping the surface for paint: Bondo, wood filler, KwikWood, and Glazing and Spot Putty. As always, make sure you are following the manufacturer’s instructions.
- All Purpose Bondo: This is best for bigger repairs. It is a two-part filler (that you mix together). It has a short work time before it begins to harden, but it dries rock hard and sands smooth. Often, you may have to do more than one round to get a completely level finish. Make sure to use it in a well-ventilated area. If you’re interested in learning more, I have a more detailed article about using Bondo to repair furniture.
- Wood filler: This is great because it cleans up with water and is the least toxic option. I’ll often use this to fill in smaller dings and cracks. It will shrink when it dries, so again, you will likely need to do more than one round.
- KwikWood: This is a moldable putty that is great for reshaping missing areas, such as corners or trim. I also use this to fill in hardware holes if I’m looking to move the hardware location on a piece.
- Bondo Glazing and Spot Putty: This stuff is amazing for really small areas. It is a much thinner consistency than all-purpose Bondo, so it works really well for small imperfections. Like regular Bondo, it dries quickly and sands super smooth.
Repairing damaged wood veneer
Veneer is a thin layer of “fancy” wood (such as mahogany or walnut) that is glued onto a cheaper wood during manufacturing. Over time, the glue holding this veneer on deteriorates and separates. Water can cause significant damage to veneer. The amount of damage on a piece can vary significantly, and this will usually dictate how you approach the repair. Sometimes the damage is so bad that you just need to remove the veneer altogether, which can be a time-consuming process.
Loose veneer
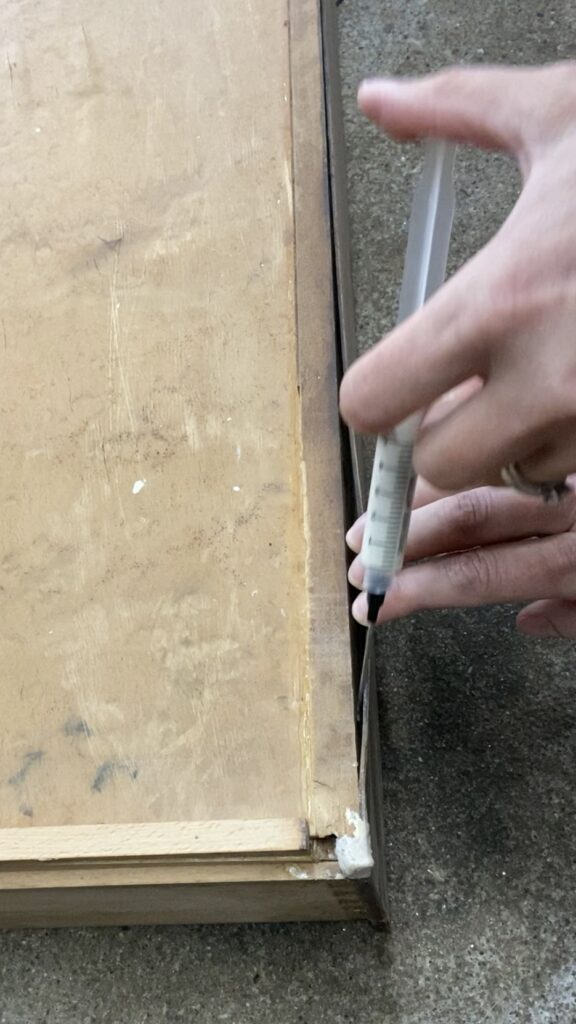
Often, you will just need to glue and clamp the edges where it is beginning to separate. Just make sure you get the glue into all of the areas where it’s separating, or it may bubble when you go to paint. A syringe is a great way to get glue under the veneer. If it’s a longer repair, use several clamps across the area, with a board underneath to help even out the pressure. Sometimes you can re-activate the existing glue using steam from water and an iron. I always use the “tap test” to see if there are any areas left that aren’t glued down
Quick tip
What is the “Tap Test?” You can hear whether the glue is working on a veneered surface. Simply tap gently on the surface, and if it sounds hollow, then there is air in there and the glue isn’t holding.
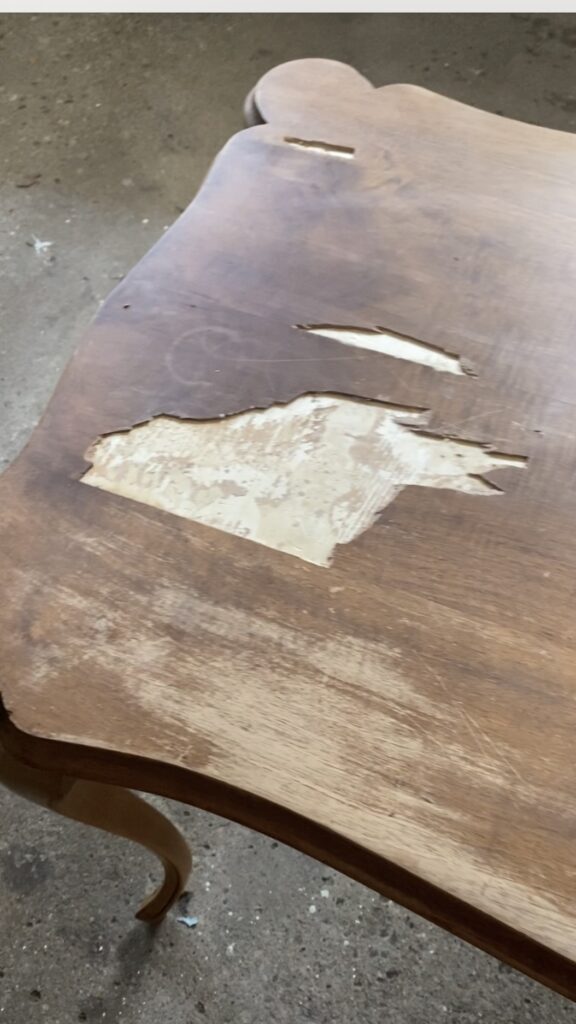
Missing veneer
Sometimes the veneer may have chipped off. You may also find an air bubble in the middle of your piece that cannot be accessed to reglue, so you need to chip out that area and are left with a hole. In these cases, I will use Bondo to fill in those areas. Just be sure you chip away any bits that are loose before filling.
Would you like to save this?
Repairing sticky furniture drawers
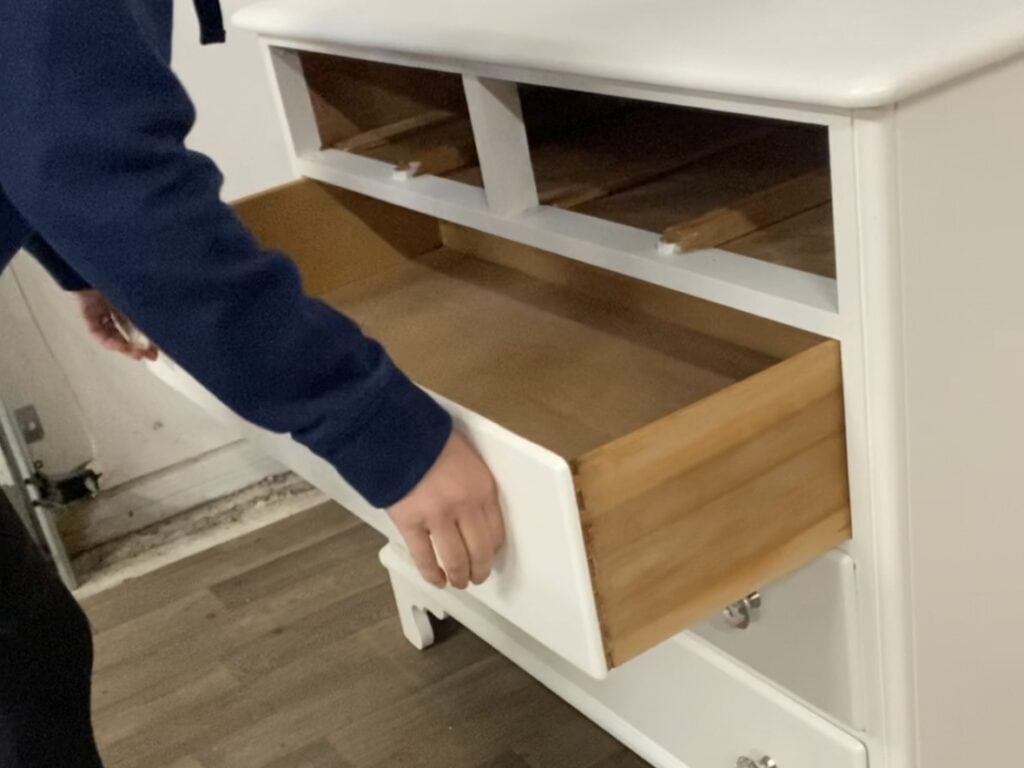
One of the biggest complaints people have with vintage furniture? Drawers that stick. We want our finished project to be functional, so it’s important to address this. Sometimes it can be as easy as moving drawers around. They may not be in their original locations – while drawers may look the same size, they are often slightly different and fit best in their original location.
I will also use a drawer lubricant to help them slide more easily. This product has honestly been a game-changer for me! I’ve used soap and candles as well, and while they do help some, the drawer lubricant is much better.
In some cases, the wood may have warped or swollen over time. If this happens, I will use a small planer or sandpaper to remove a bit of the wood in the points where they are sticking. Sometimes I will do this to the drawer itself, and sometimes to the frame where it sits; it really depends on exactly where it’s rubbing.
Summary
As you can see, there are so many issues that can come up when repairing wood furniture. This post could go on forever! Hopefully, I’ve addressed the most common repairs you will likely come across. Articles on complex repairs can be found under my website’s “Repair” category. Please leave a comment below if you have additional questions. I’m happy to answer!
Be sure to check out my other posts on furniture painting basics:
- How to Clean Furniture Before Painting
- Scuff Sanding Before Painting
- Priming Furniture: Everything You Need to Know
- Hand Painted Furniture: How to Get A Flawless Finish With a Brush
- How to Seal Painted Furniture: Protecting With a Top Coat
New to furniture painting?
Get my FREE Beginner’s Guide to Painting Furniture! This guide walks through the steps of a furniture painting makeover and includes a downloadable project planner and supply checklist.