

How to Prep Furniture for Painting
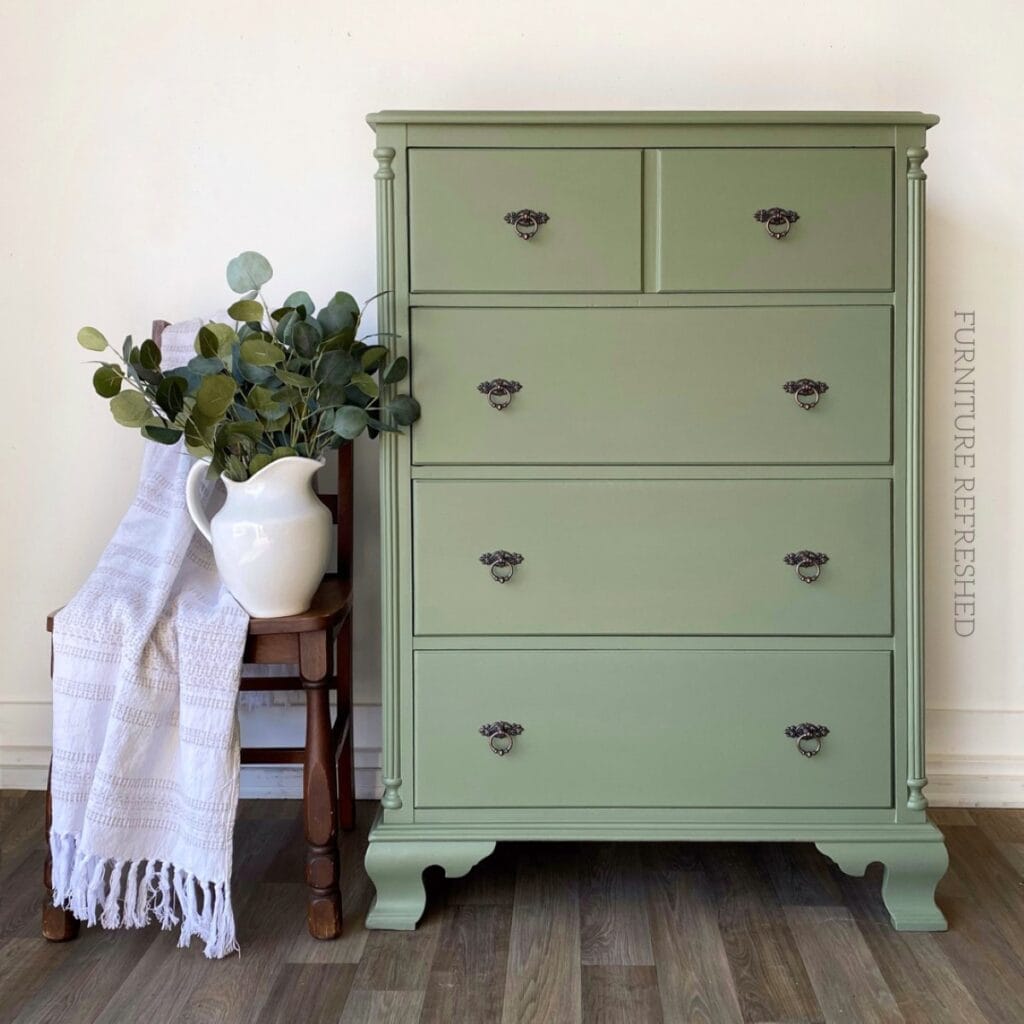
So you have a great piece of furniture that you’ve decided to paint. But where to start? While it might be tempting, you can’t just open the paint, slap it on and hope for the best. You need to prepare furniture for paint! Your finished product is only going to be as good as your prep work. And trust me, there is nothing worse than getting to the end of a project and realizing that beautiful new finish isn’t sticking well. Literally the worst! So I’m here to help – keep reading to learn how to prep furniture for painting.
I know, there are products and tutorials out there that claim they are “no prep,” but unfortunately, this is almost never the case. I know becuase I desperately wanted it to be true and tried so many of them!
Now, some pieces need more prep than others (and this generally has more to do with the type and condition of the furniture and less to do with the products).
A note on product links
This post contains Amazon affiliate links, meaning I get a small commission on qualifying purchases, at no cost to you.
Step 1: Take the piece apart
So this sounds a bit scarier than it is. Most of the time its pretty simple – you want to remove any existing hardware, take out drawers, and remove shelving, and potentially remove doors and hinges (depending on the piece, I will often try and paint it with doors on, getting the hinges to align well when you put them back on can be a challenge). It’s much easier to work on a piece when it is taken apart, and you’ll get a more professional-looking finish at the end when you put it back together.
When pulling off the hardware I will store it in a Ziploc bag with the screws. That way when I go to put it back on, I’m not hunting for a missing piece or screw. Even if I’m using new hardware, I usually save the existing. I’ll label the bag with the number of pieces and size of the hardware so I know what I have on hand.
Using a Sharpie marker, I will label the drawers with a small number on the bottom or back. This way, it is easy to put them back in the correct location. Even if drawers appear to be the same size, oftentimes there will be slight variations that cause them not to fit well when in the wrong place.
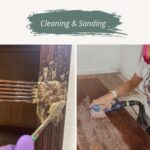
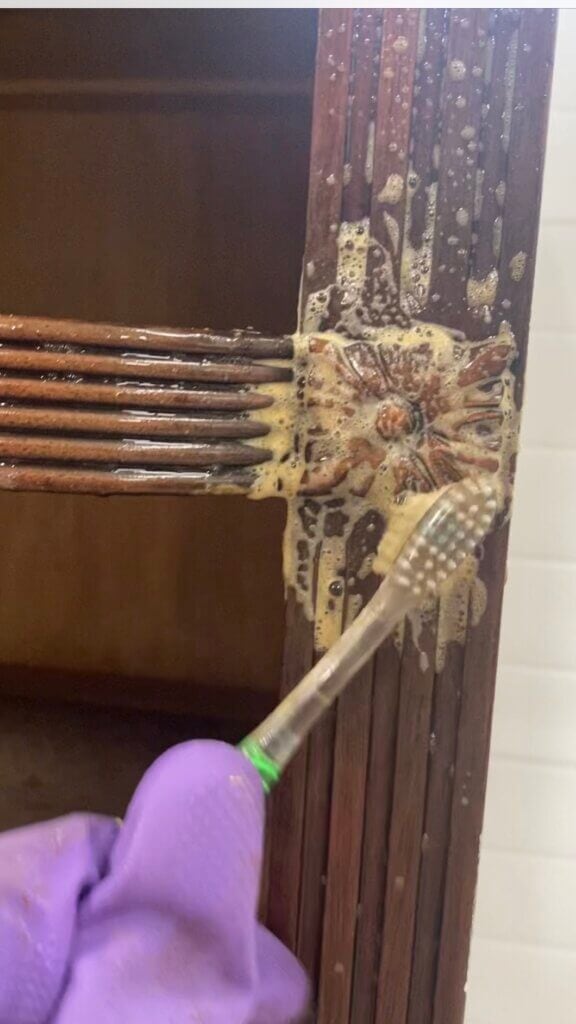
Step 2: Cleaning
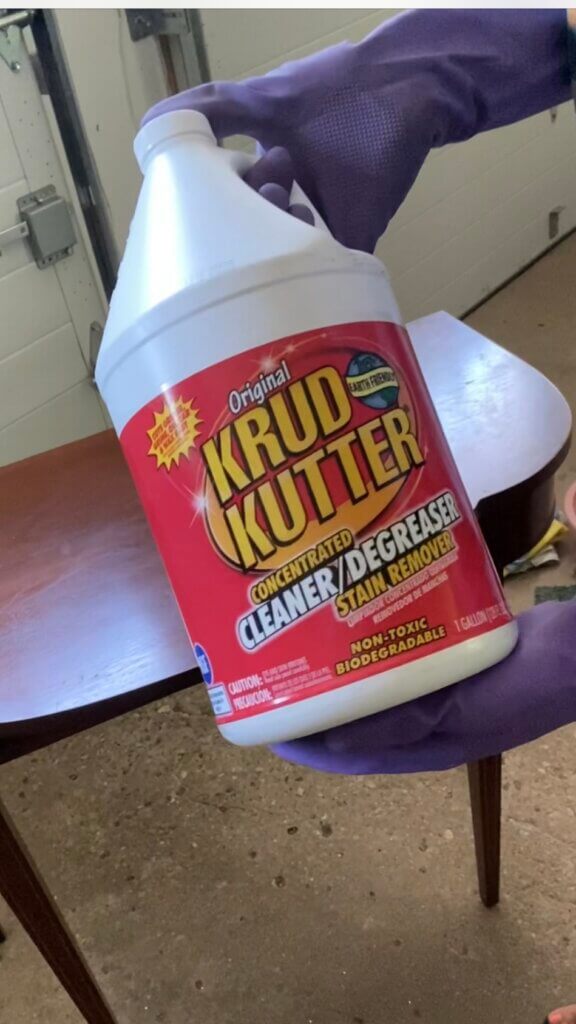
This is a must do! No matter how clean a piece looks, it still needs more cleaning. Often, years of furniture polish or wax may have built up on the surface, and those things are not your friend when trying to get a fresh coat of paint to stick.
Start by vacuuming the piece, inside and out. Working in sections, take a degreaser such as Simple Green or Krud Kutter, liberally spray the surface, and let it sit for a minute or so. Then, using a green Scotch Brite pad, scrub well. Wipe the degreaser off with a microfiber cloth, and repeat the whole process if necessary. Finally, do a final wipedown with a cloth dampened with plain water to remove any cleaner residue. Learn more about how to clean furniture before painting here.
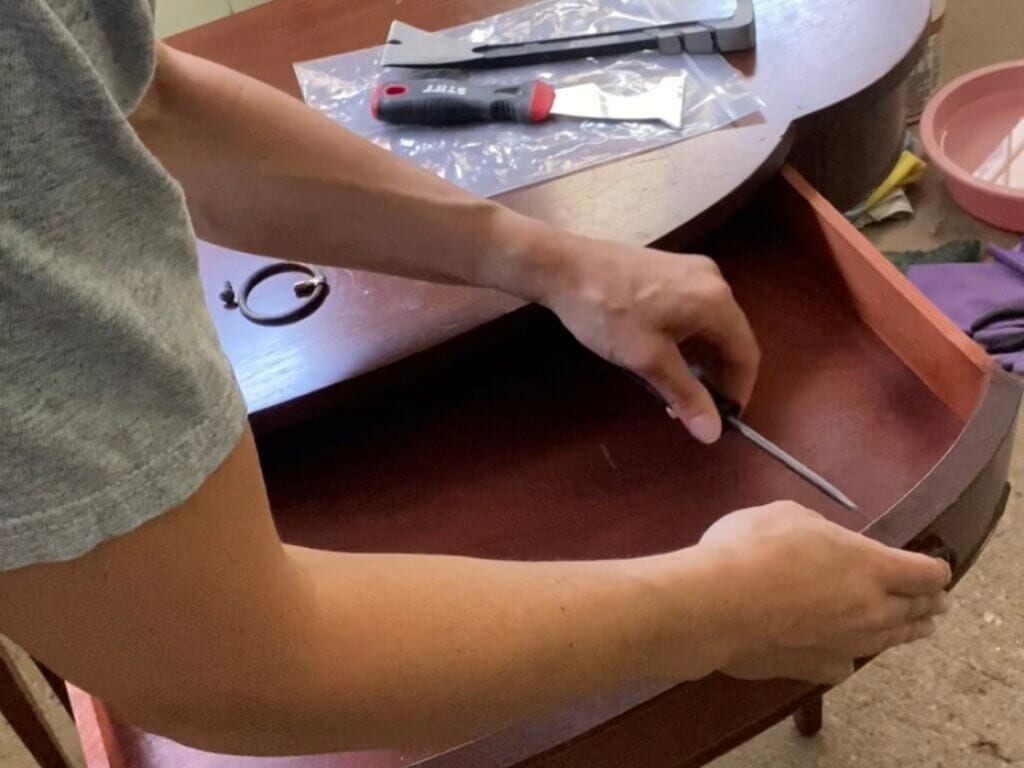
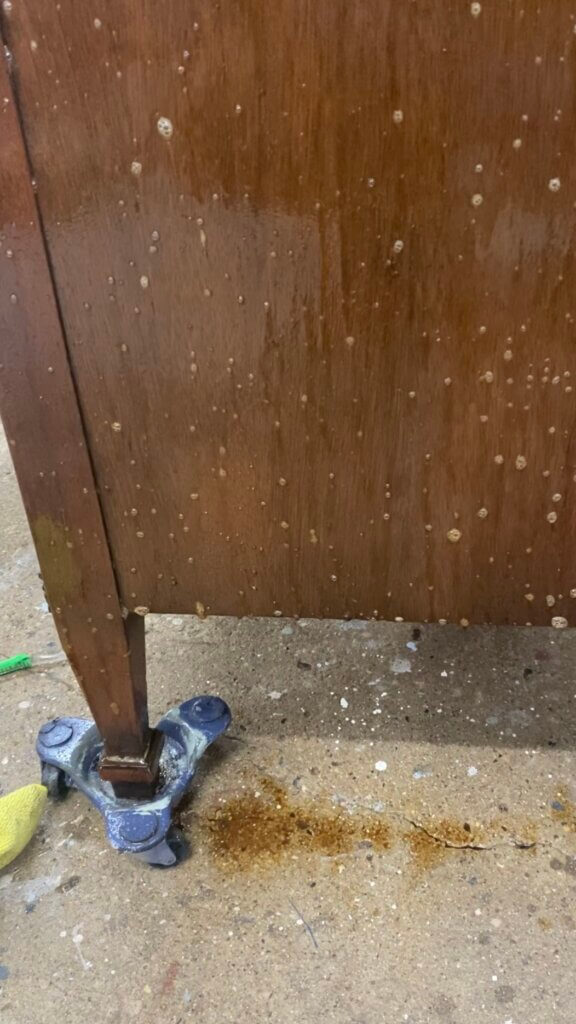
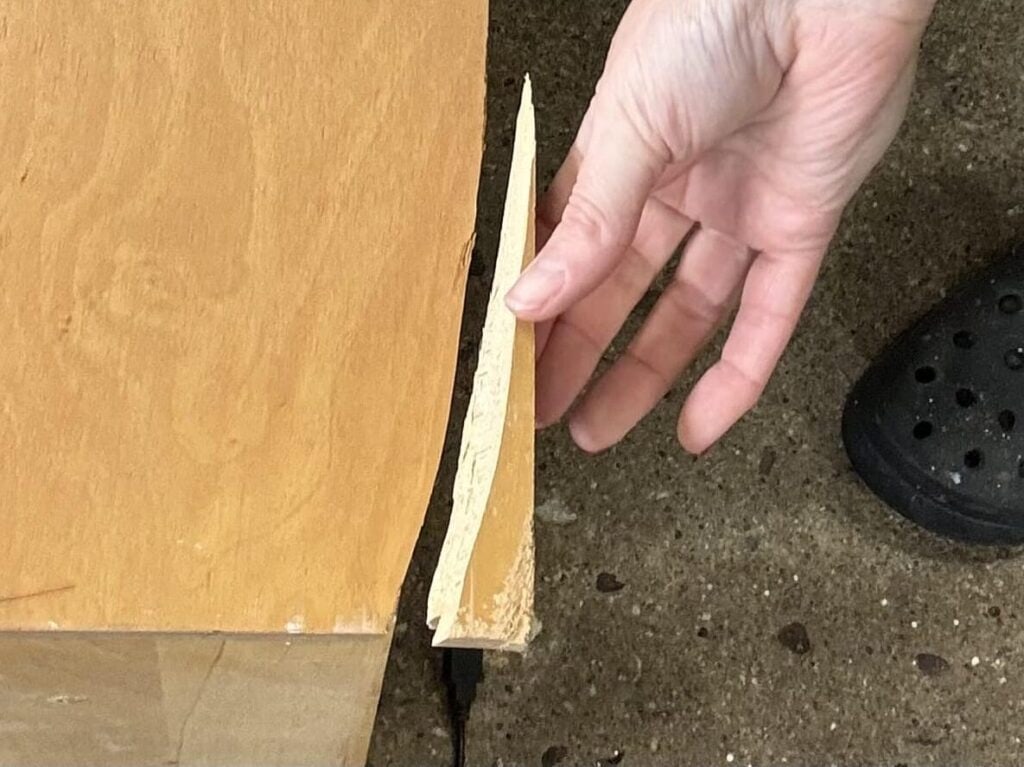
Step 3: Repairs
Would you like to save this?
After cleaning, you should have a good idea of what work needs to be done to your piece. Things such as filling dings and scratches, gluing wood or veneer back together, and dealing with sticky drawers are common furniture repairs. Learn more about common furniture repairs here.
If you are interested in changing the existing hardware, now is the time to fill any old holes and redrill new ones. I generally use Kwikwood to fill the holes and my handy Kreg Hardware Jig to help get my new holes lined up correctly.
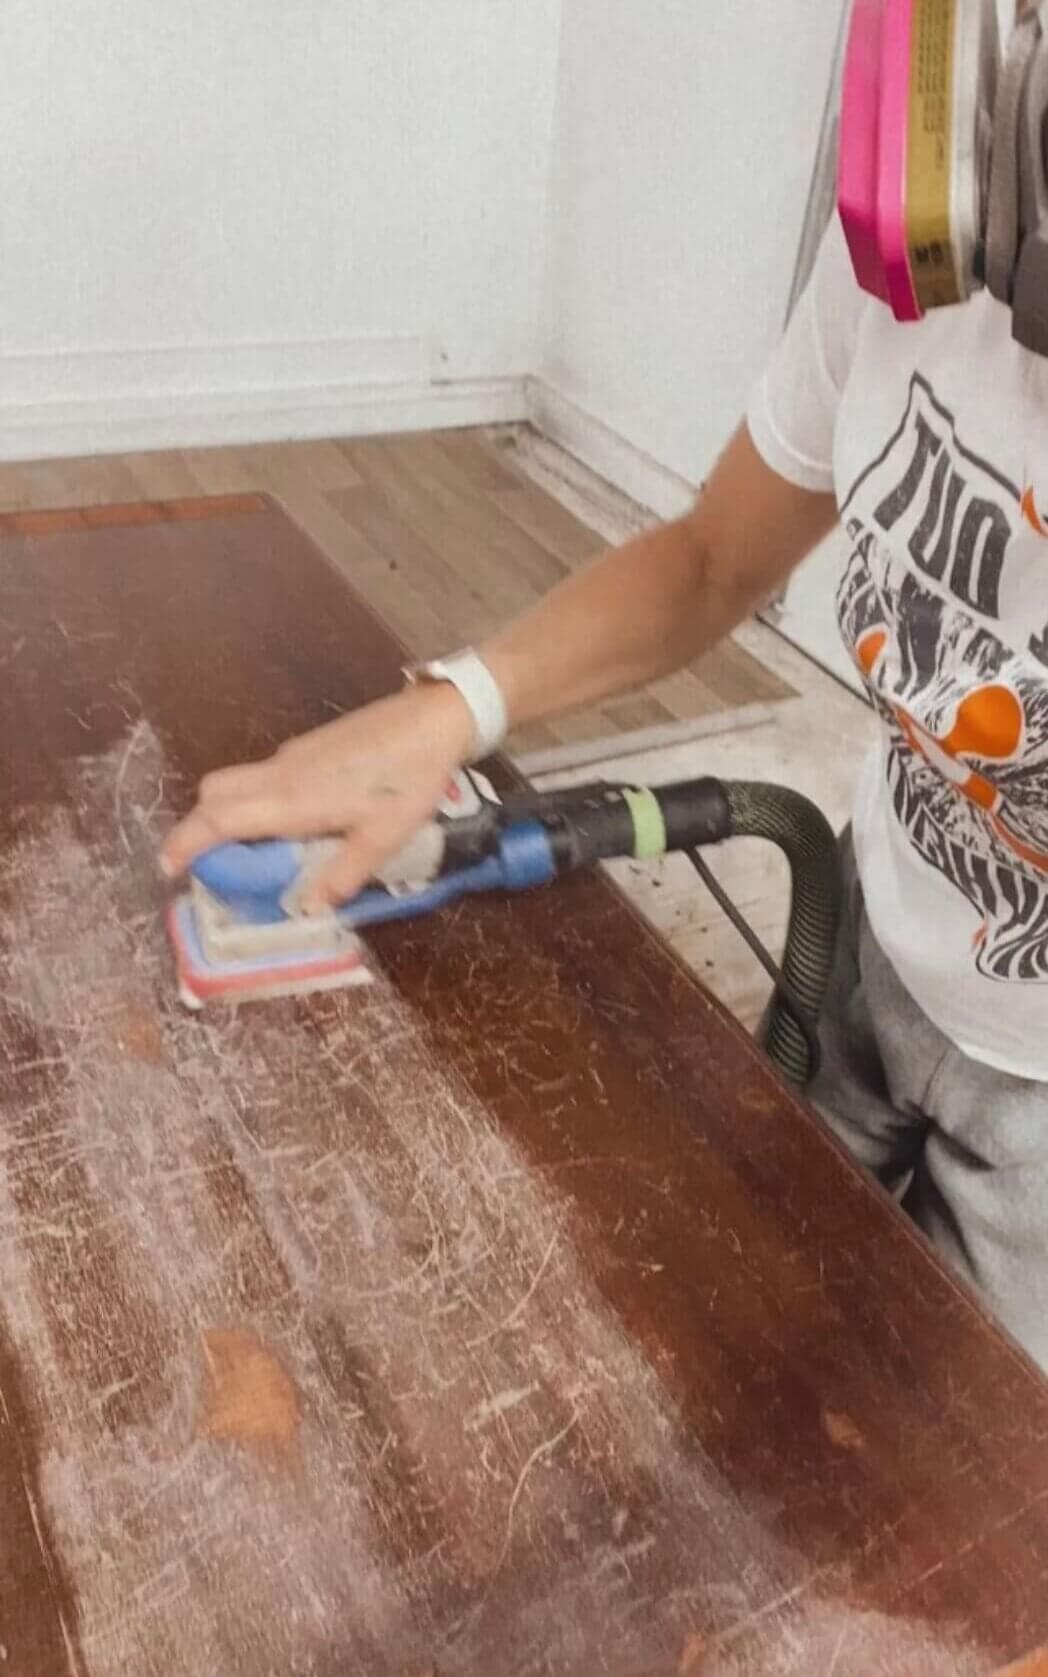
Step 4: Scuff Sanding

I get asked about sanding all the time. Do I need to strip or sand off the existing finish completely? What is scuff sanding? What grit do I use?
If you are painting a piece and the finish is in good condition, you don’t need to sand it all off. You just need to “scuff sand” or give the paint something to adhere to. You are roughing up the surface and giving it some teeth. I generally use 220 grit for this, but if a finish is particularly shiny or glossy I may use 180 or even 150 grit. Learn more about scuff sanding before painting here.
Step 5: Priming
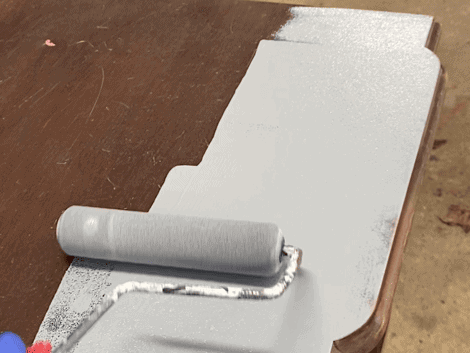
You are almost there! This is the last step before pulling out that furniture paint color you’ve been excited to use! Again, I don’t recommend skipping this step – it almost always improves the adhesion and longevity of your final finish. There are many primers out there, and it can be a bit confusing! You can learn more about priming furntiure for paint here, but in short.
- Use a stain-blocking for any woods that you are worried about tannin bleedthrough:
- BIN shellac-based primer
- de-waxed shellac
- Melange Paints stain blocking primer
- Use a bonding primer if you are painting a glossy surface:
- Melange Paints clear bonding primer
- STIX bonding primer
Want to give Melange A try?
Melange Paints has been gracious enough to offer an affiliate discount code for my readers! Simply use the code FRESH10 at checkout for a 10% discount sitewide.
Summary
Prepping furniture for paint might not be the most exciting part of the process, but it is the most important. Taking the time to clean, repair, sand, and prime your piece will give you a high-quality, professional-looking finish!
If you have any questions about the prep process, please comment on this post, and I’d be happy to help! And be sure to sign up for my newsletter to get the latest updates and exclusive content.
Be sure to check out my other posts on furniture painting basics:
- How to Clean Furniture Before Painting
- How to Fix Furniture: Common Repairs Before Painting
- Scuff Sanding Furniture Before Painting
- Priming Furniture: Everything You Need to Know
- Hand Painted Furniture: How to Get A Flawless Finish With a Brush
- How to Seal Painted Furniture: Protecting With a Top Coat
New to furniture painting?
Get my FREE Beginner’s Guide to Painting Furniture! This guide walks through the steps of a furniture painting makeover and includes a downloadable project planner and supply checklist.