

Scuff Sanding Furniture Before Painting


Hello furniture painters! Let’s talk sanding! I know, you hear the word sanding and think, “that’s so much work, is it really necessary?” The bad news – yes, it’s necessary! The good news – it’s not that much extra work, I promise! Most of the time, you don’t need to sand off all of that old finish, but simply give it a good scuff sand. What is that exactly? Don’t worry, you’re in the right place – keep reading to learn all about scuff sanding furniture before painting it.
While it may be tempting to skip this step, it’s important to remember – you’re finished product is only as good as your prep. While some furniture paints claim to be “no prep” – I have tried many of them and this is often not the case. There is nothing worse than getting to the end of a furniture painting project and realizing you’re paint hasn’t stuck well (and I unfortunately speak from experience here). So learn from my mistakes! At a minimum, I recommend cleaning and scuff sanding every peice before painting.
What is scuff sanding
Scuff sanding is exactly what it sounds like – scuffing up the existing finish. Finished surfaces are meant to be smooth, and this isn’t an ideal surface for paint to adhere to. By roughening up the finish, you are giving it some “teeth” that help with paint adhesion.
How to scuff sand
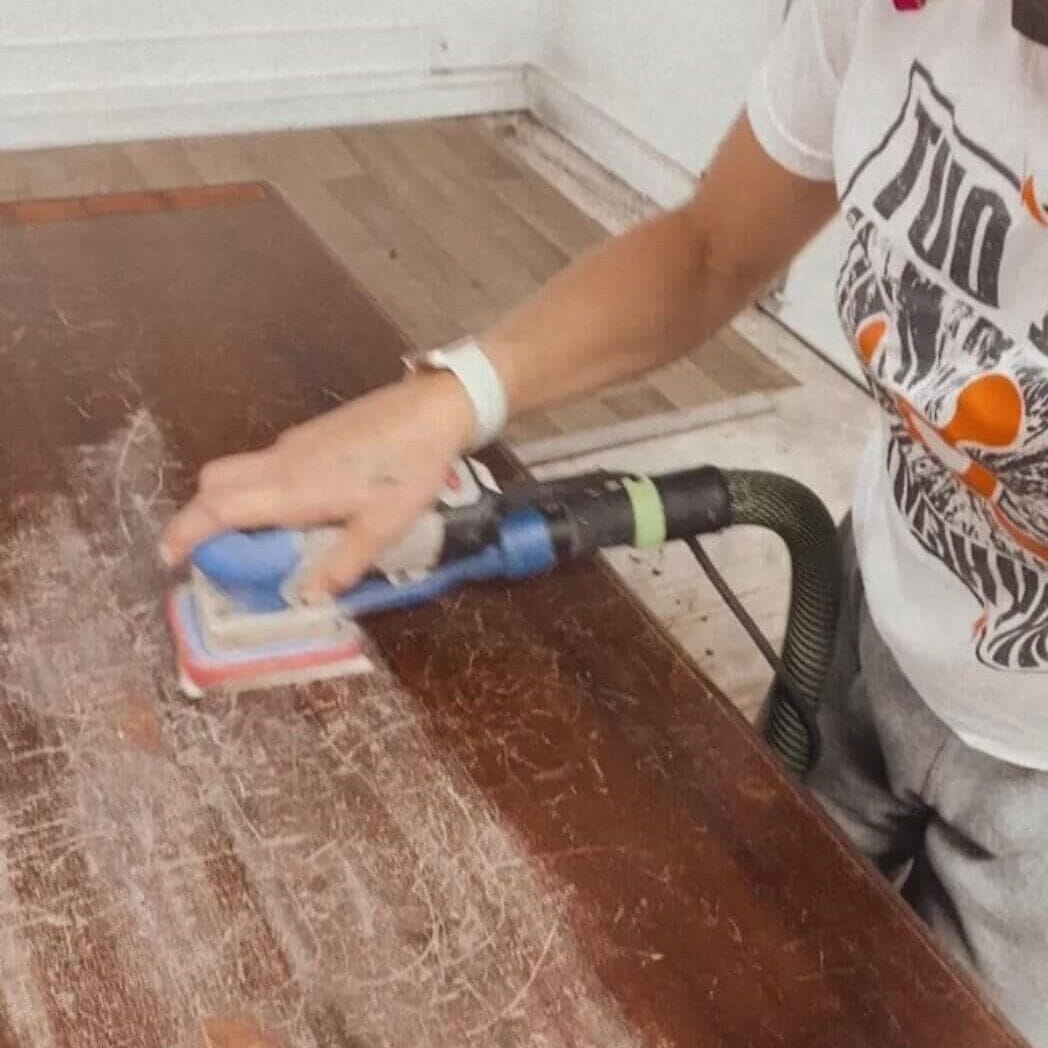
After you have cleaned your peice, it is time to scuff sand. To do this, simply take a piece of 220 grit sandpaper and, going in the direction of the wood grain, apply even pressure to roughen up this surface. You can do this by hand or with an electric sander. For curves, I recommend using a sanding sponge or foam sanding pads that will conform to your surface.
If the existing surface is glossy or shiny (or if the 220 doesn’t seem to be working all that well), I would recommend going down in grits and using 180 or even 150 grit. This applies prepping laminate furniture as well – you can absolutely get paint to stick to laminate furniture!
Once sanded, you will need to wipe off all of the sanding dust. I recommend doing this with a damp microfiber cloth. Let it dry completely, and you are ready to move on to the next step, priming!
Quick Tip
Painting furniture often? I highly recommend investing in an electric sander. My go-to is the Surf Prep Electric Ray. It’s an investment—but after five years of use, mine’s still going strong!
When you need more than a scuff sand
That said, sometimes the finish is not in the best shape (it may be why you are painting it in the first place). In this case, you will need to sand out any imperfections and may have to remove the old finish if it’s failing. Some scratches may be deep enough that they don’t sand out and need to be repaired (more on furniture repairs here).
Also, if you are painting a previously painted piece, remember that the new paint job is only as good as the previous paint job. So if it’s peeling or flaking off, you will likely have to strip off the finish and start from scratch. At a minimum, make sure you sand off all old brush strokes, as those will show in the new finish.
Summary
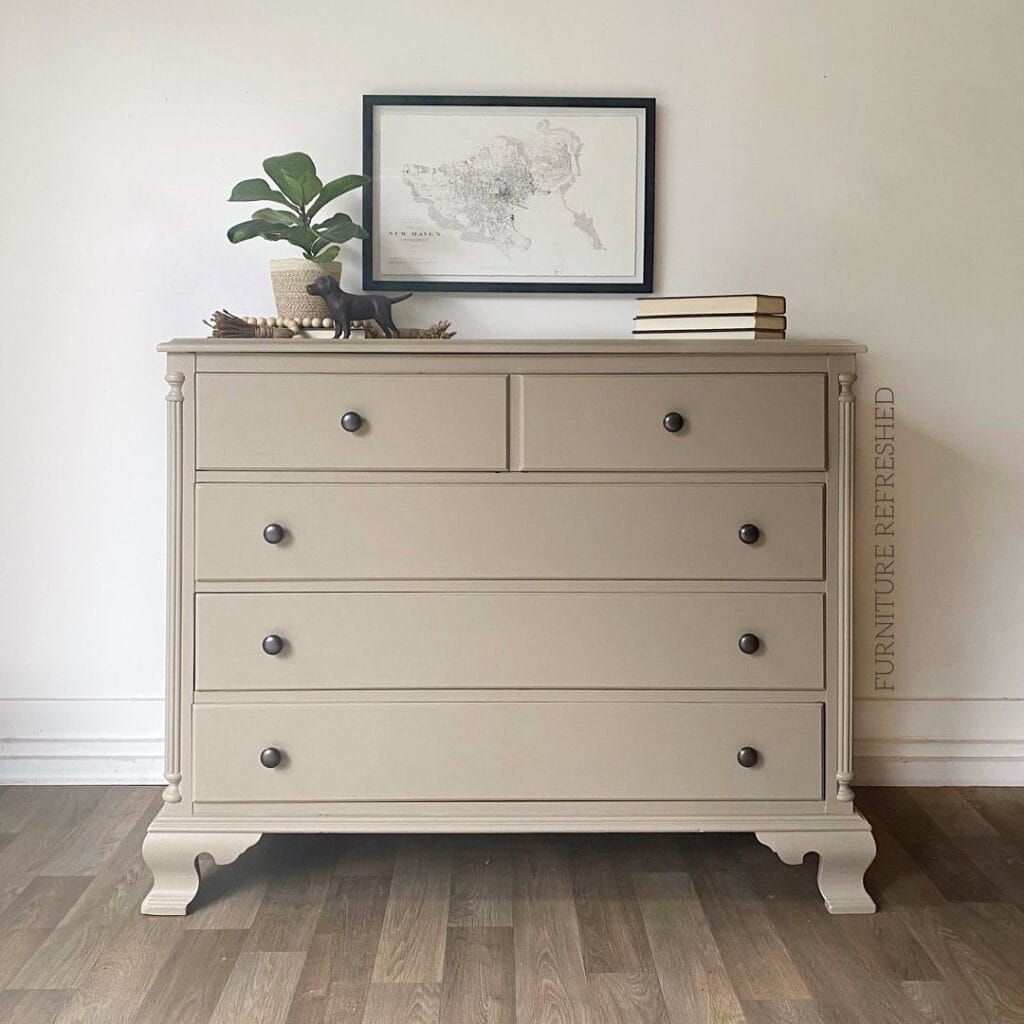
Scuff sanding might seem like an extra step, but it’s one of the most important parts of prepping furniture for paint. It doesn’t take long, and it makes a big difference in how well your paint sticks. Your future self (and your furniture!) will thank you. Have questions about scuff sanding or want help with a specific piece? Let me know in the comments!
Would you like to save this?
Be sure to check out my other posts on furniture painting basics:
As always, please let me know if you have any questions. Want to learn more about all things furniture? Make sure to sign up for my newsletter to get the latest updates and exclusive content.
New to furniture painting?
Get my FREE Beginner’s Guide to Painting Furniture! This guide walks through the steps of a furniture painting makeover and includes a downloadable project planner and supply checklist.