

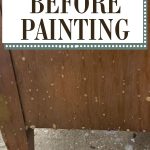
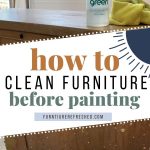
How to Clean Furniture Before Painting
Before you start painting furniture, the most important first step is cleaning! Even if a piece looks clean, chances are it has dust, grime, or residue that could prevent paint from sticking. Over the years, I’ve tested plenty of cleaning methods, and I’m sharing my tried-and-true recommendations for how to clean furniture before painting—so your finish lasts!
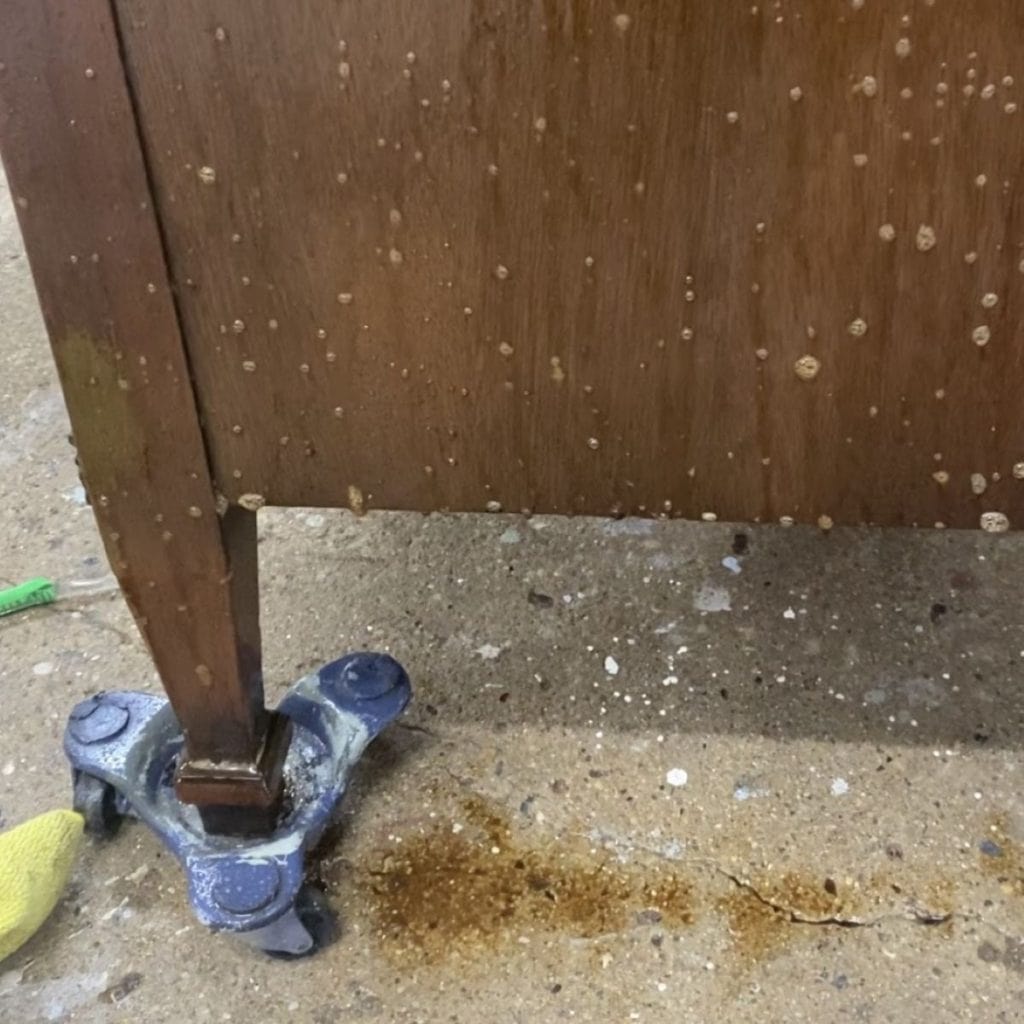
Obviously, if a piece has been sitting in a garage or basement and is covered with dirt, dust, and cobwebs, it will need a good scrub. But what about a piece that has been in someone’s home and is well taken care of? Chances are wood cleaners or polishes with waxes have been used at some point. And these are not your friend when trying to get a fresh coat of paint to stick!
I know, there are paint products out there that claim to be “no prep,” but unfortunately, this is almost never the case. There are several important steps in furniture painting prep, and cleaning is one of them. If you do nothing else to prep your piece, at least make sure it’s clean!
Quick Tip
Before getting started, be sure to remove all hardware and take apart what is easy to take apart. I find it helpful to label the pieces (if it’s not clear what goes where) and place them all in a Ziploc bag.
Why clean first?
One of the next steps in prepping a piece of furniture for paint is scuff sanding. A common question I get is, “Can’t I just clean after sanding since I’ll have to wipe away the dust anyway?” Here’s the problem: if you sand a dirty piece, you’ll clog up your sandpaper quickly and can grind the dirt and grime into the finish (which can give you issues with paint adhesion). Cleaning first actually makes sanding more effective and efficient!
A note on product links
This post contains Amazon affiliate links, meaning I get a small commission on qualifying purchases, at no cost to you.
supplies Needed
Step 1: Protect yourself!
When cleaning a piece, it’s always a good idea to protect yourself against dust and potentially hazardous chemicals in any products you are using. I recommend wearing gloves, a respirator mask, and safety glasses at a minimum, but be sure to take a look at what cleaning products you are using and follow the manufacturer’s directions.
Step 2: Vacuum!
Start by vacuuming the piece, inside and out. I have a Shop-Vac that I’ll use for this, but a regular vacuum works well as well. Removing as much “dirt” as you can before scrubbing will make that job a bit easier. Plus, I’d much rather vacuum up a spider than surprise them with my hands. And don’t forget all those cobwebs underneath. There is nothing worse than loading a peice of furniture into a customer’s car and revealing a bunch of cobwebs on the bottom.
Step 3: Scrub!
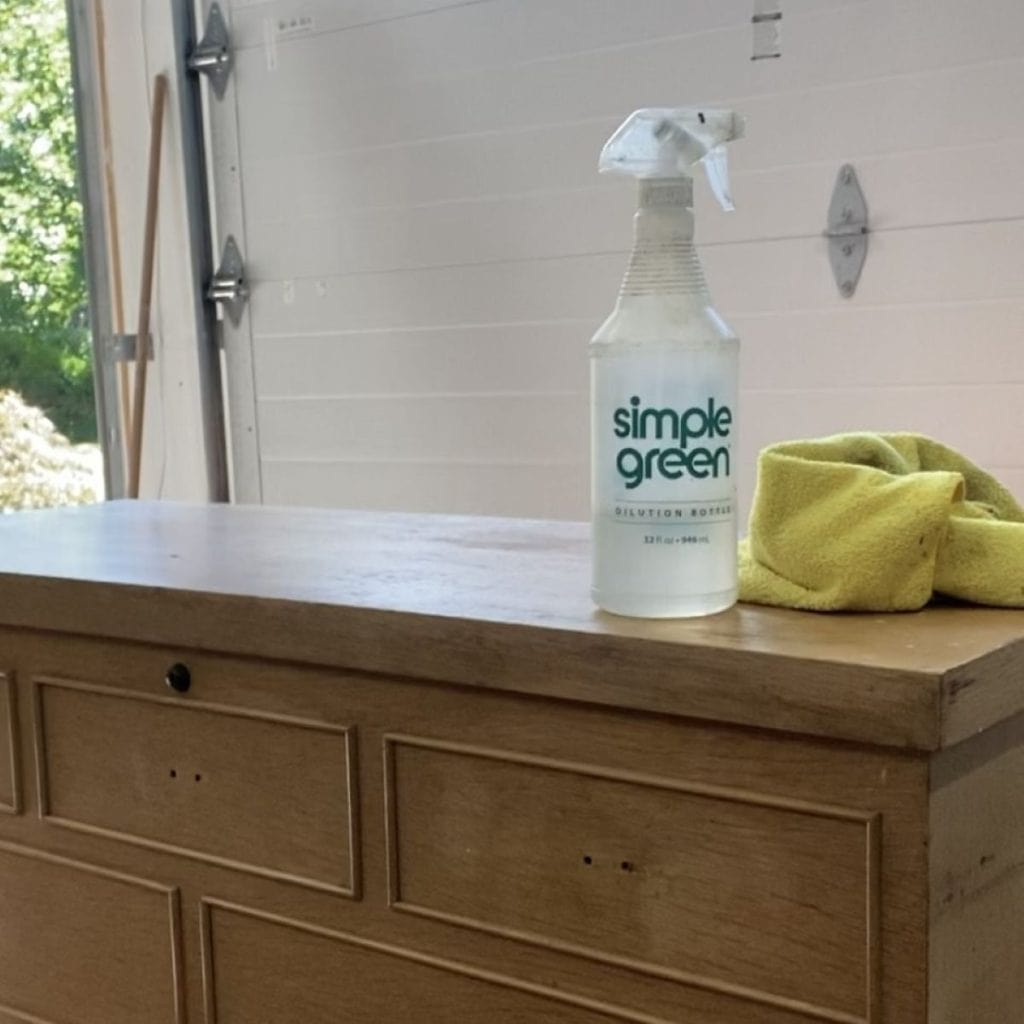
- Working in sections, take a degreaser such as Simple Green or Krud Kutter, liberally spray the surface. Let it sit for a minute or so. Long enough so it can start to break down any buildup, but not so long that it starts to dry out.
- Using a green Scotch Brite pad, scrub well. It’s okay if you leave some small scratches in the finish; the sanding in the next step will take care of them.
- If there are cracks or crevices, I will use an old toothbrush to scrub out that grime.
- Using a microfiber cloth I will wipe off the now dirty degreaser and repeat the process if I feel like there is still more dirt or grime remaining.
- Finally, take some water (in a spray bottle), spray down, and wipe back the whole piece to remove any residue that’s left over from the degreaser.
- Once clean, let it dry completely before moving on in your paint prep process!
Quick Tip
If a piece is REALLY dirty, start by cleaning with a bucket of Dawn dish soap and water. This just helps to get some of the dirt off before cleaning thoroughly with degreaser.
Summary
Hopefully, if you’re still with me, you understand how important it is to clean your furniture before painting! By following these steps, you’ll create a smooth, paint-ready surface and avoid peeling, adhesion issues, or unexpected grime showing through your finish. Taking the time to clean properly now will save you so much hassle later! As always, reach out with any questions!
Be sure to check out my other posts on furniture painting basics:
As always, please let me know if you have any questions. Want to learn more about all things furniture? Make sure to sign up for my newsletter to get the latest updates and exclusive content.
New to furniture painting?
Get my FREE Beginner’s Guide to Painting Furniture! This guide walks through the steps of a furniture painting makeover and includes a downloadable project planner and supply checklist.