

DIY Furniture Appliqués: Floral Dresser Makeover Using Decorative Moulds
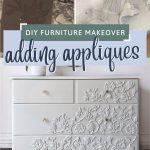
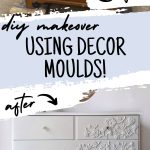
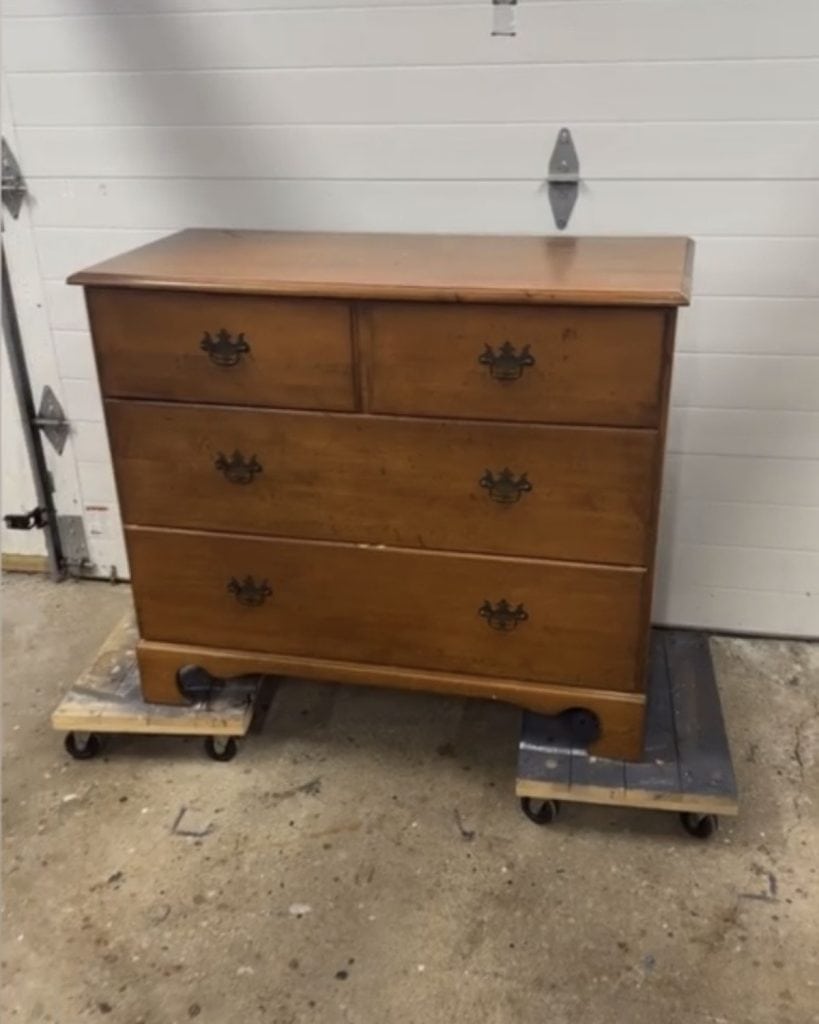
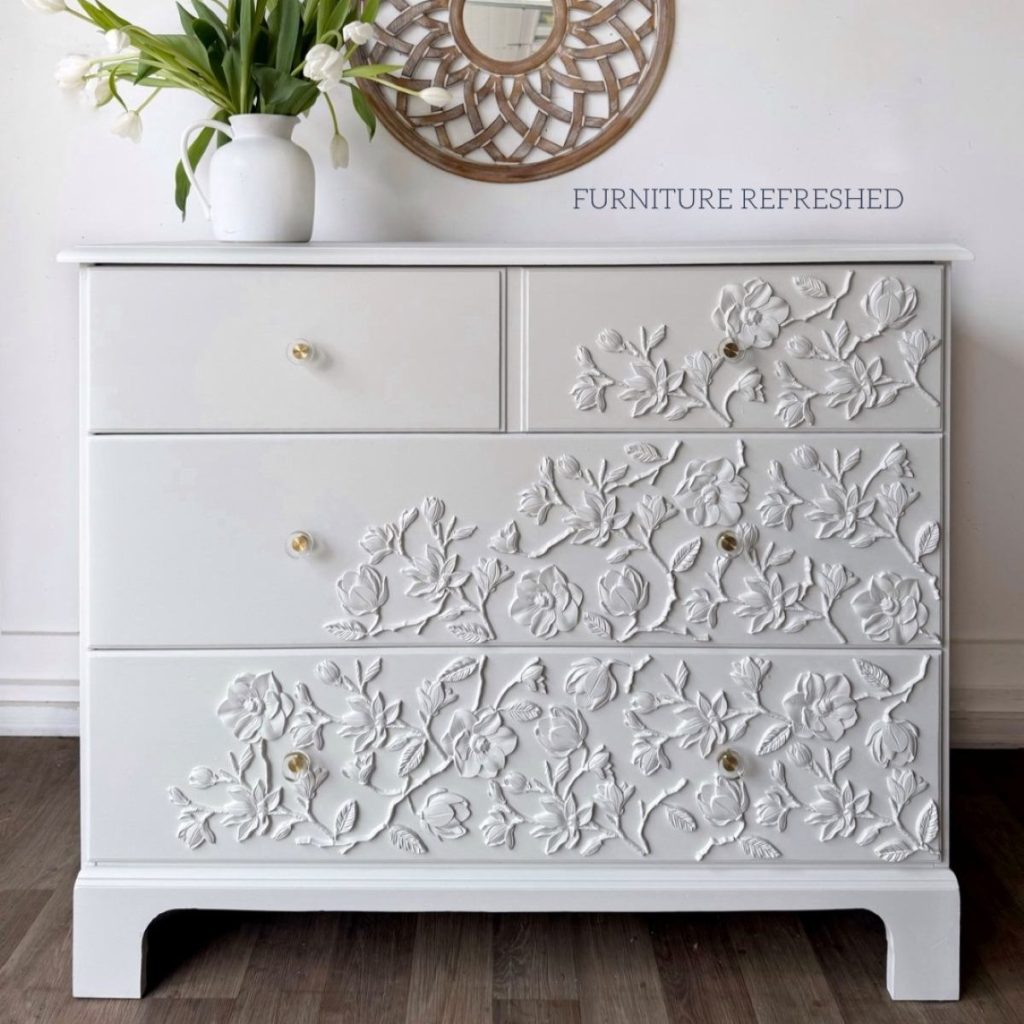
These maple dressers are pretty common furniture finds where I live. And my advice? Don’t pass on them! Yes, they are plain, but think of them as a blank canvas. When I picked this one up, I knew I wanted to try something new and fun. So, I scoured Instagram and Pinterest for inspiration, and decided I wanted to try adding DIY furniture appliqués using decorative moulds. And let me tell you, I love just love the outcome!
This technique to add character to a furniture makeover wasn’t hard to do either. It just took a some extra time to create all of the appliqués, glue them all on, and paint over them. So, as long as you have a little patience, adding these decor moulds is easy! Keep reading for step-by-step instructions on exactly how I did it on this dresser.
A note on product links
This post contains Amazon affiliate links, meaning I get a small commission on qualifying purchases, at no cost to you.
Steps to add appliqués to furniture
supplies Needed
Step 1: Prep your furniture
This tutorial assumes you have prepped your piece for paint like you normally would. If you’d like a review of these steps, check out my post on how to prep furniture for paint. For this dresser, I cleaned it with Krud Kutter, glued a few loose drawer slides. filled the old hardware holes and redrilled new ones, filled some minor dings and scratches, and scuff-sanded the entire piece. I also cut off some of the dated details from the base.
Step 2: Make the appliqué moulds
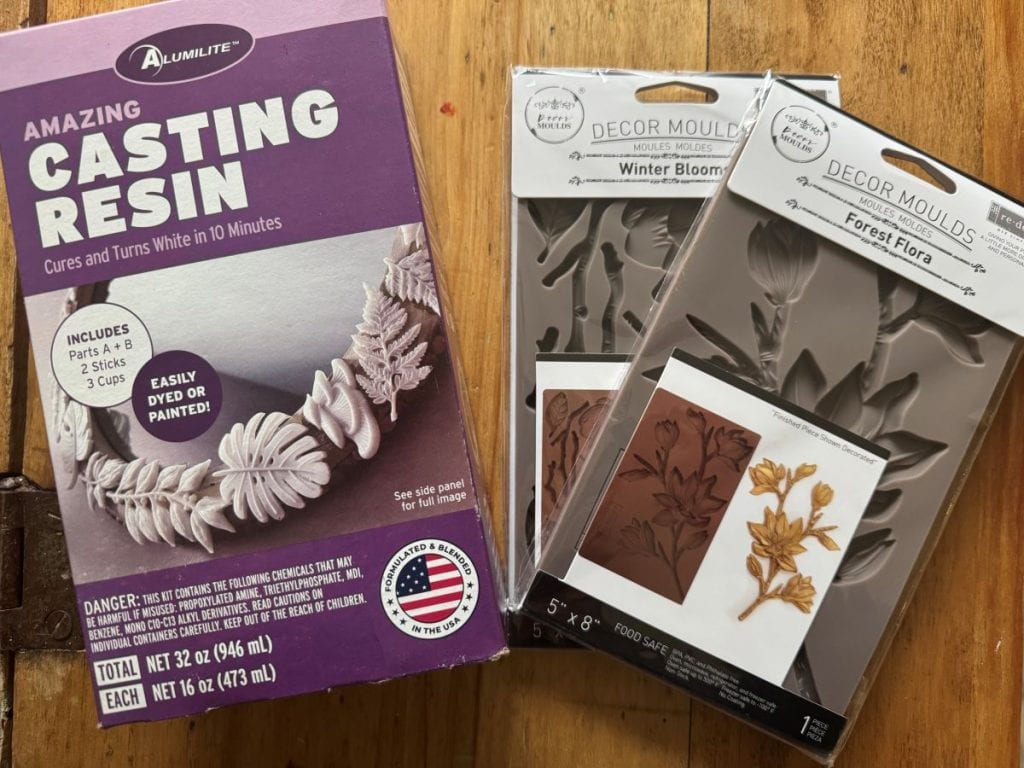
There are several ways to make DIY furniture appliqués, but I decided on resin and silicone moulds for crisp, detailed shapes. I used 2 different silicone moulds, winter blooms and forest flora, both by ReDesign with Prima, and the Amazing Casting Resin 32 ounce kit ( I used the entire kit for this project). Essentially, I followed the manufacturer’s directions for the Amazing Casting Resin to make all of the appliqués.
Set up:
Label the enclosed measuring cups A and B so you don’t get them confused. Get a paper or plastic cup for mixing (don’t use styrofoam – the resin will melt it). Spread a plastic dropcloth, paper bag or something else to protect your surface.
Mix the resin:
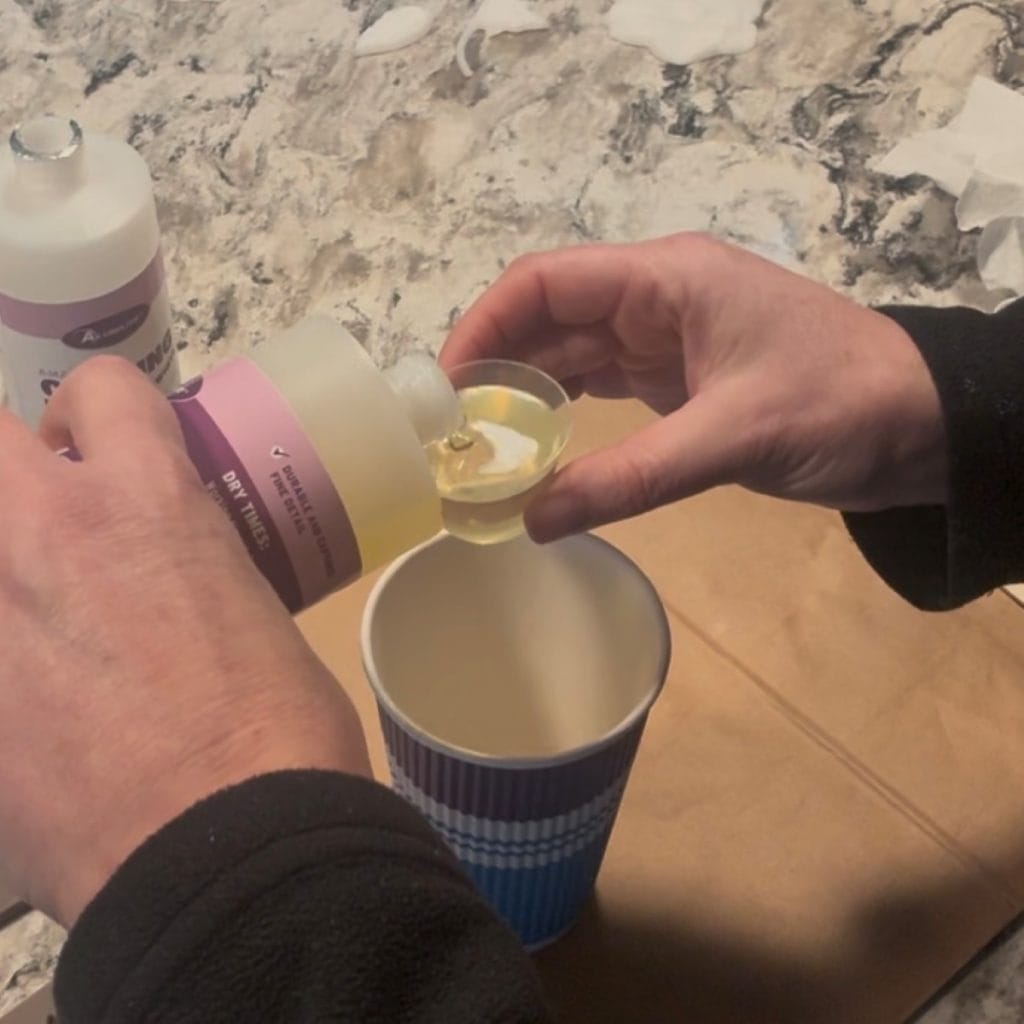
Using the measuring cups, measure out an equal amount of A and B cast material. Pour into the mixing cup and stir with the included wooden stick for about 30 seconds – until it is well mixed and totally clear. The liquid may feel warm through the cup – don’t worry, this is normal. Don’t measure out more than you can use in the moulds, or you will end up wasting product. I did one full measuring cup of A and B material for each round.
Pour resin into moulds:
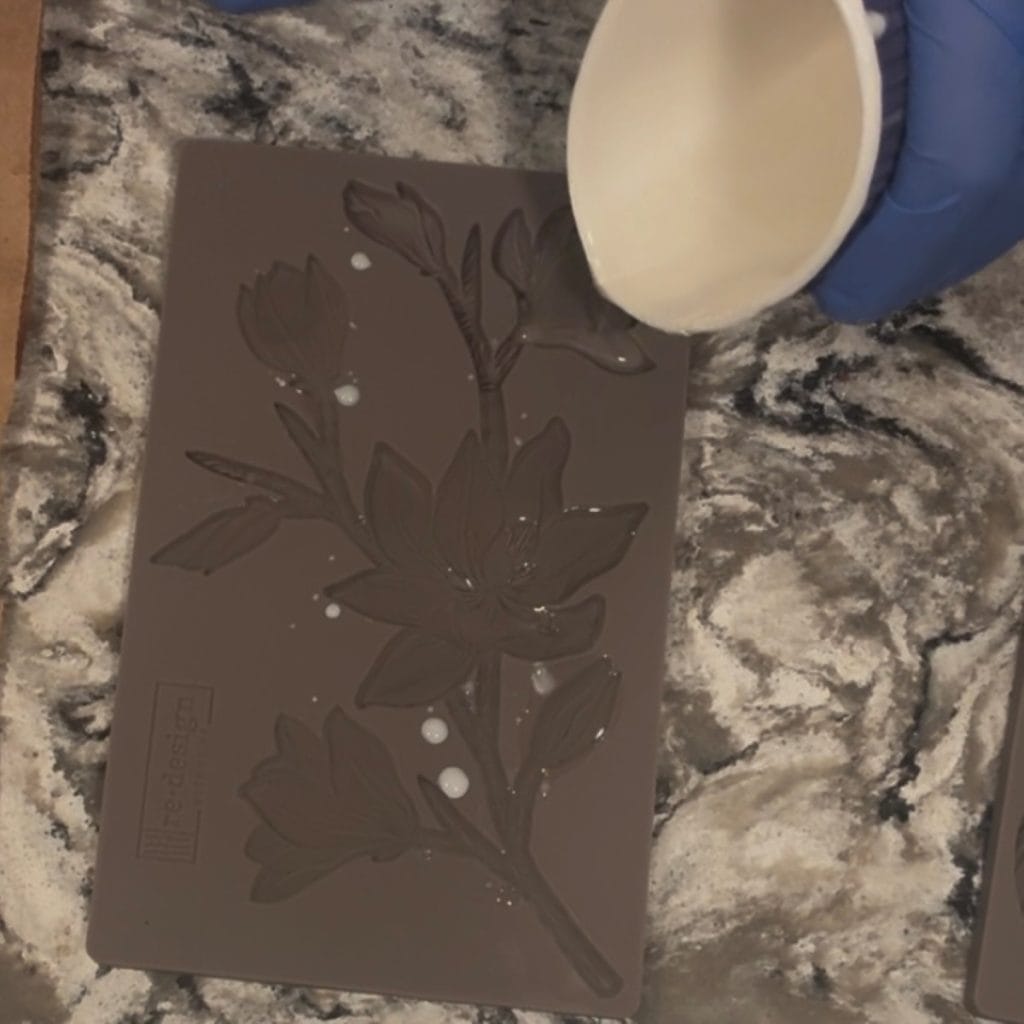
Pour the resin into the moulds and fill to the top of each mould. If you overfill, you can use the wooden stick to level the resin a bit. You do have a bit of work time, so I recommend pouring slowly and carefully. Use all of the resin you have mixed. Even if you can’t fill a mould entirely, you can add fresh resin on the next round. It will bond to what is already there.
Remove appliqués from moulds:
Wait about 10 minutes for the resin to turn white, then gently pop out the appliqué from the mould. The appliqué will be bendable, but should release from the edge easily. If it doesn’t, give it a few more minutes to cure. Lay on a flat surface to finish hardening.
Prime the appliqués:
The Amazing Casting Resin product recommends painting before fully cured. If you are going to be adding them to your furniture and painting immediately, you can skip this step. However, I was making so many and knew I wasn’t going to get them all positioned and painted until the next day. So to ensure that my paint would stick, I decided to use a bonding primer on them right after removing them from the moulds.
Step 3: Glue appliqués to your furniture
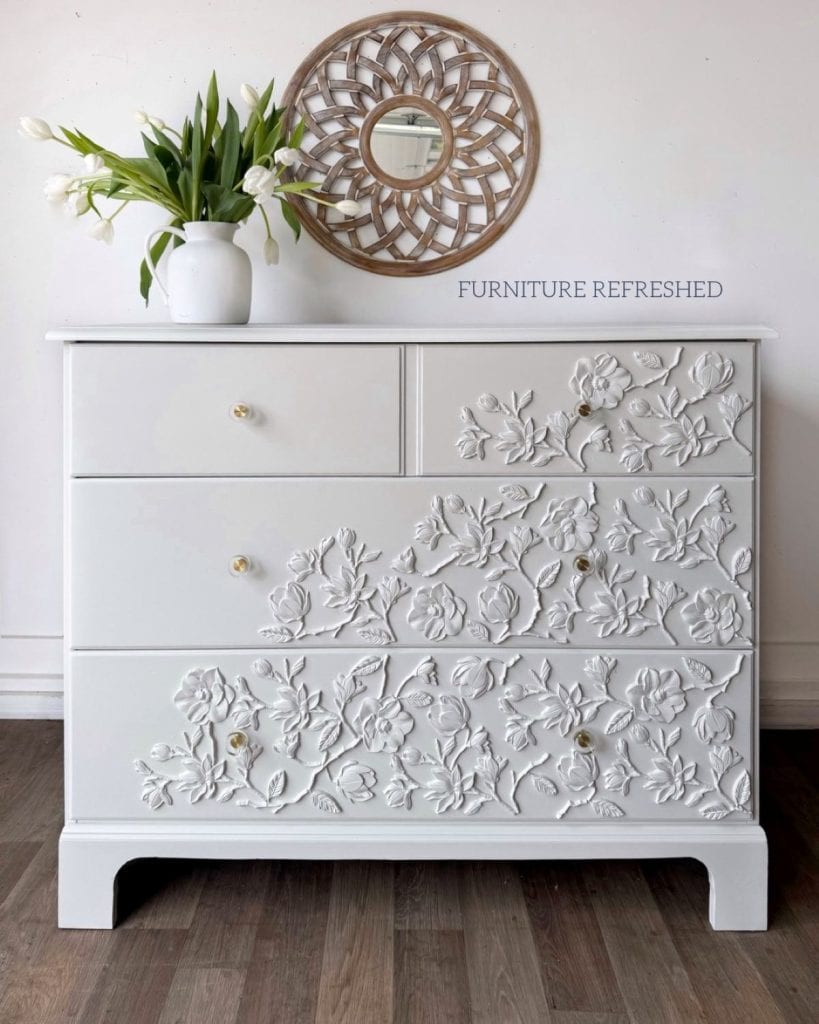
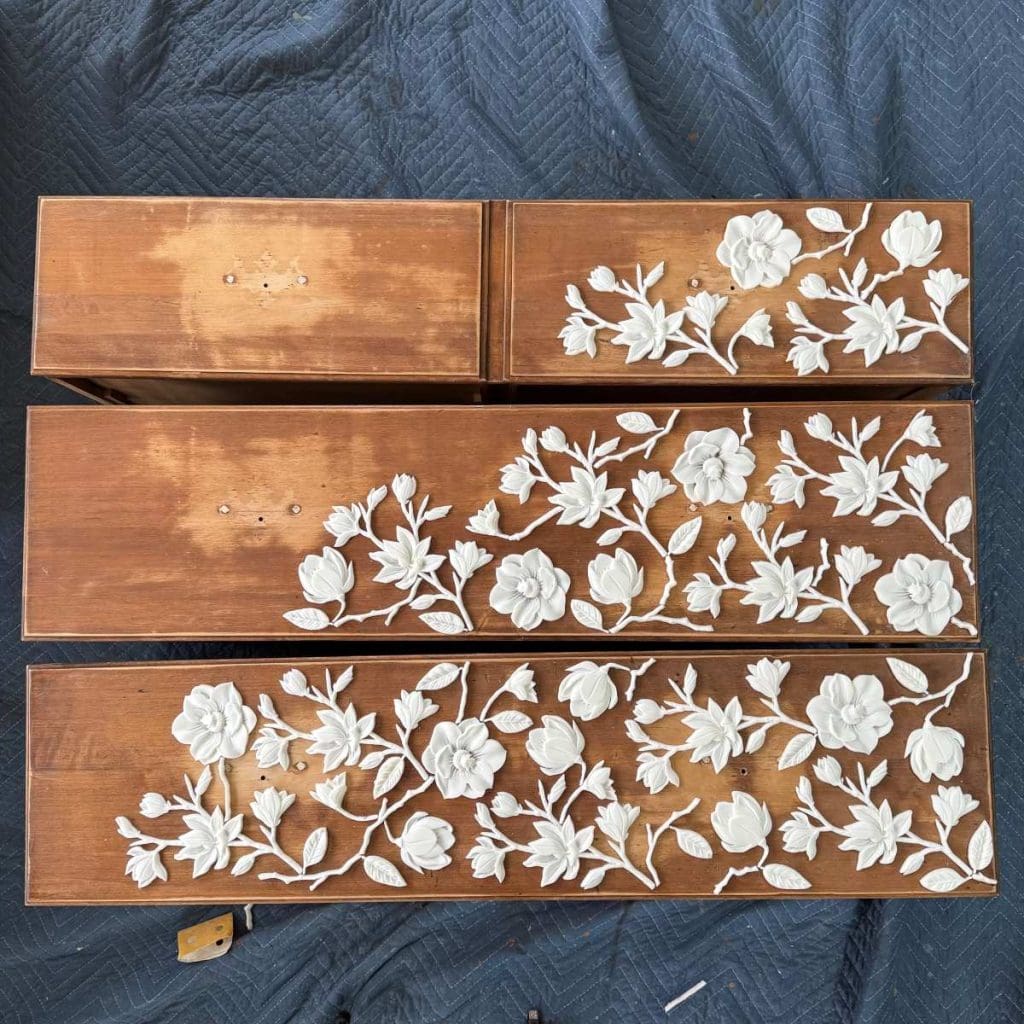
Once you have all of your appliqués made, it’s time to get them glued onto your furniture piece! I recommend playing around with the positioning before you start glueing, just to make sure you like the final result. To start, I laid out the three drawers in their positions on the floor and positioned all of the flowers first. Then, I also placed my new hardware in the correct locations to make sure I was happy with the final look. Then, working peice by peice, I glued each one down.
Would you like to save this?
Sanding:
Taking a piece of 150 grit sandpaper and I quickly sanded the back of each appliqué to roughen up the surface and help the glue stick.
Glueing:
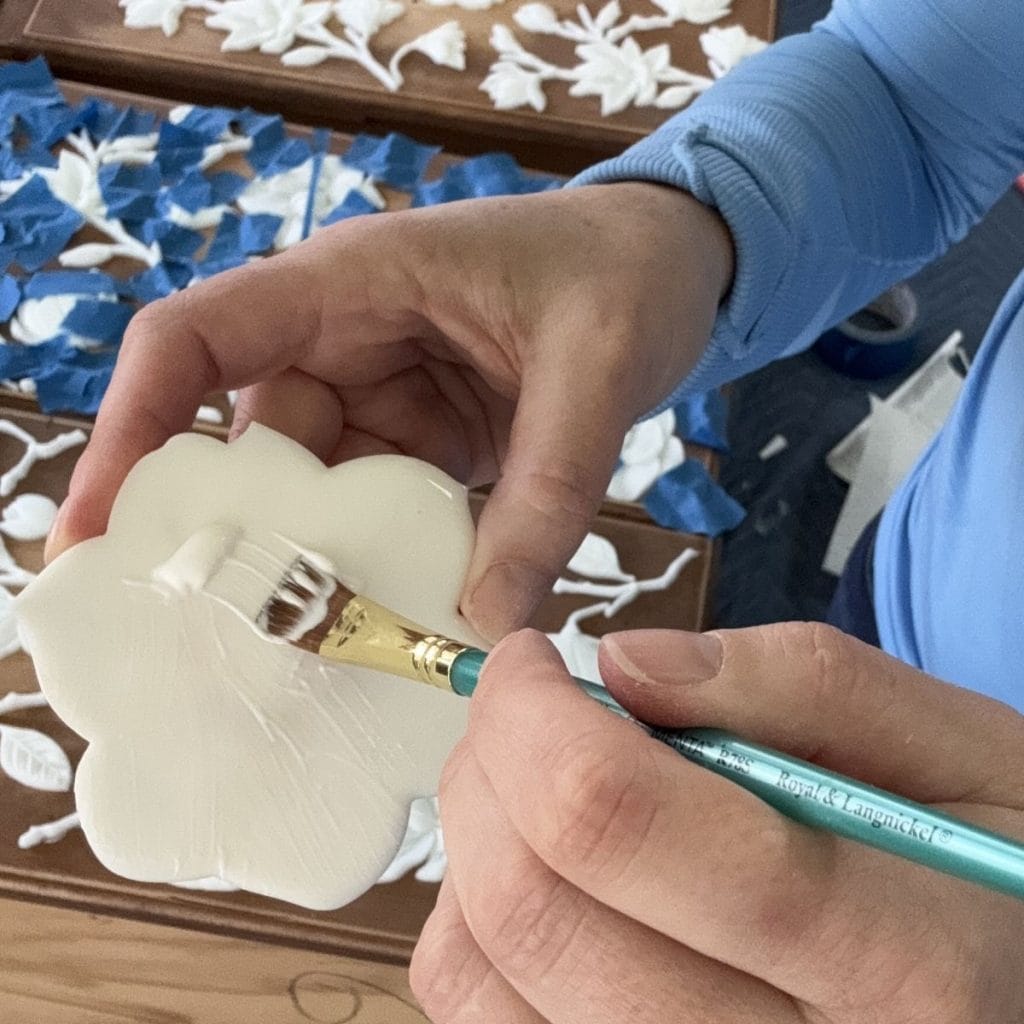
Using a few drops of glue and an artist’s brush, I brushed a thin layer of glue over the entire back of the appliqué. You want enough glue that the entire surface is covered, but not so much that it will ooze out of the edges once placed on your furniture. Place the appliqué in its desired location and press it down firmly.
Securing:
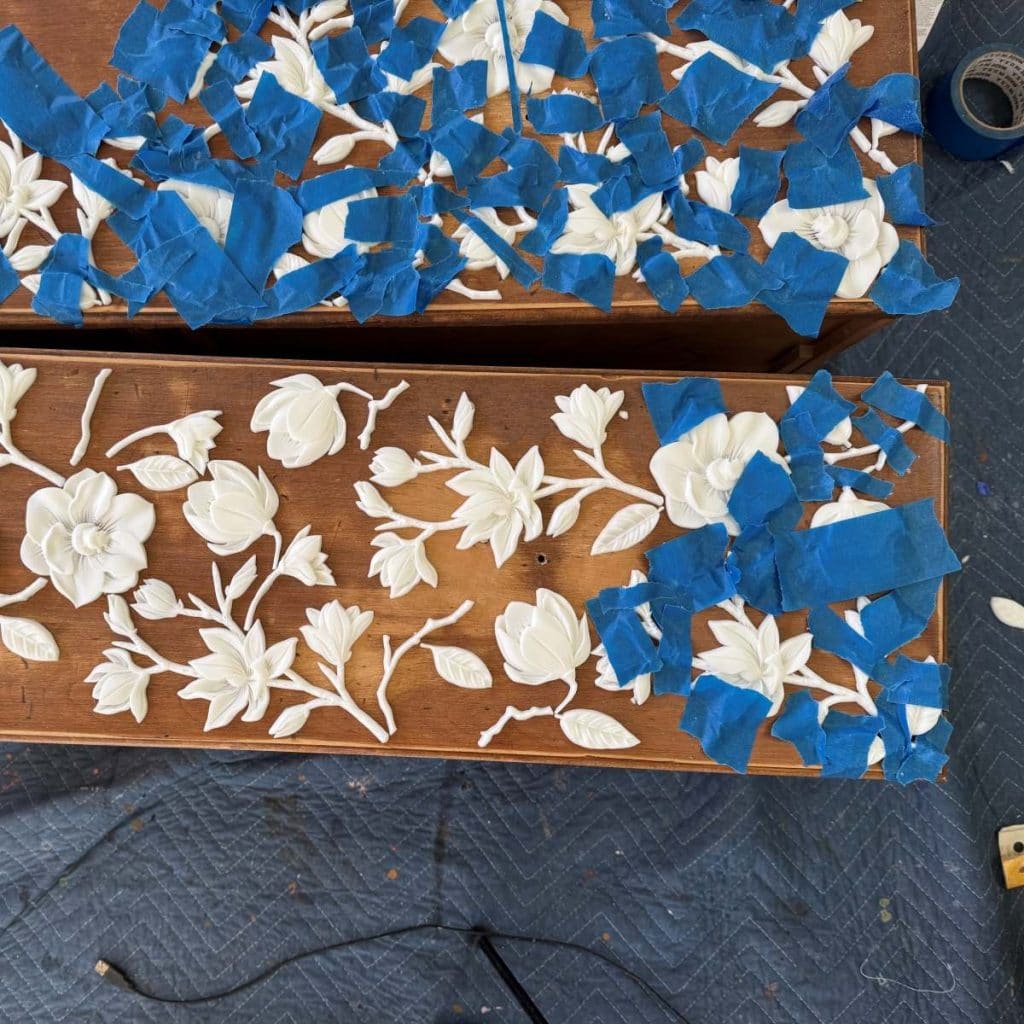
When you apply glue, you should always clamp it into place to ensure the best adhesion. However, using a million little clamps for all of the different pieces would have been impossible! So I took strips of painter’s tape and used those to firmly secure the pieces in place while the glue dried. I let the glue dry overnight before proceeding to the next step.
Step 4: Painting and finishing touches
Priming:
Now it’s time to get to painting! But first, I primed this piece because most of the finish had sanded off and I was a bit worried about bleed through. Decide if your project needs to be primed and proceed accordingly.
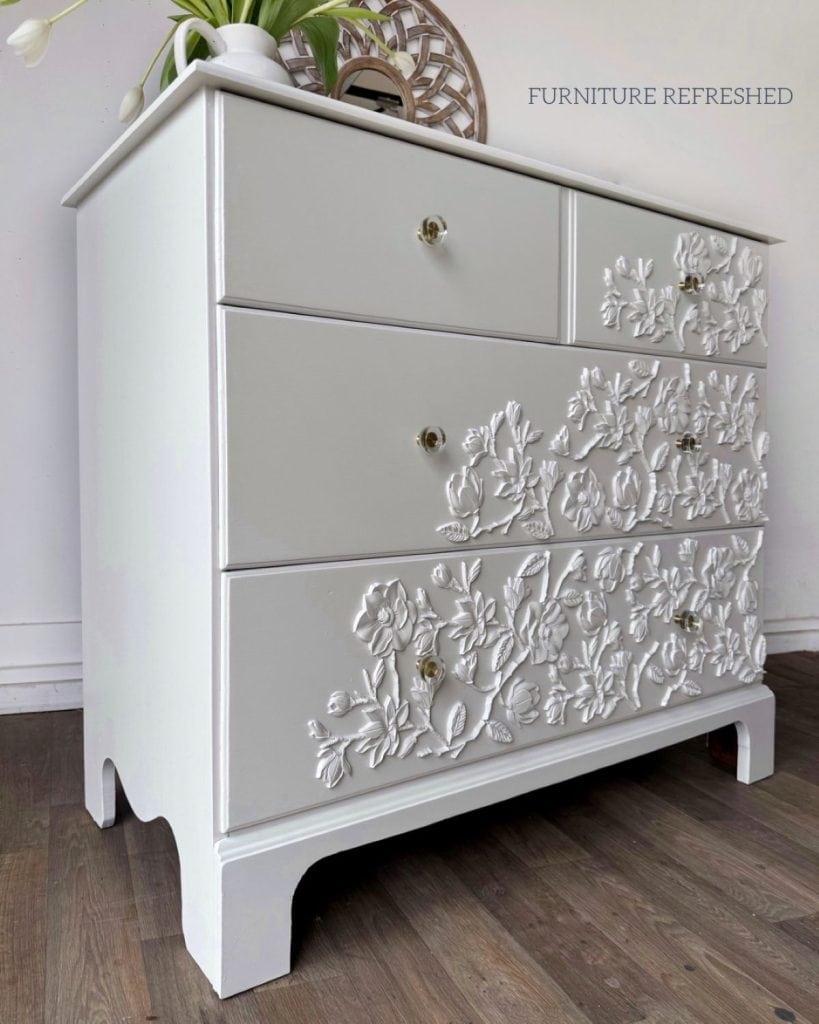
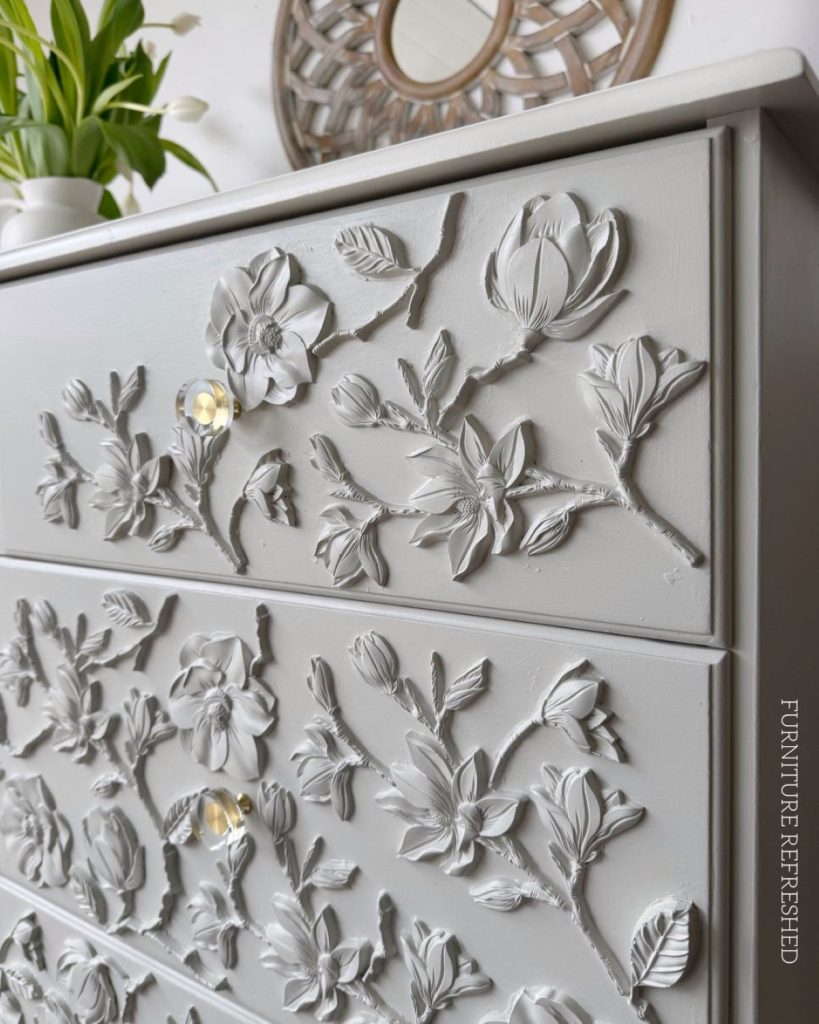
Painting:
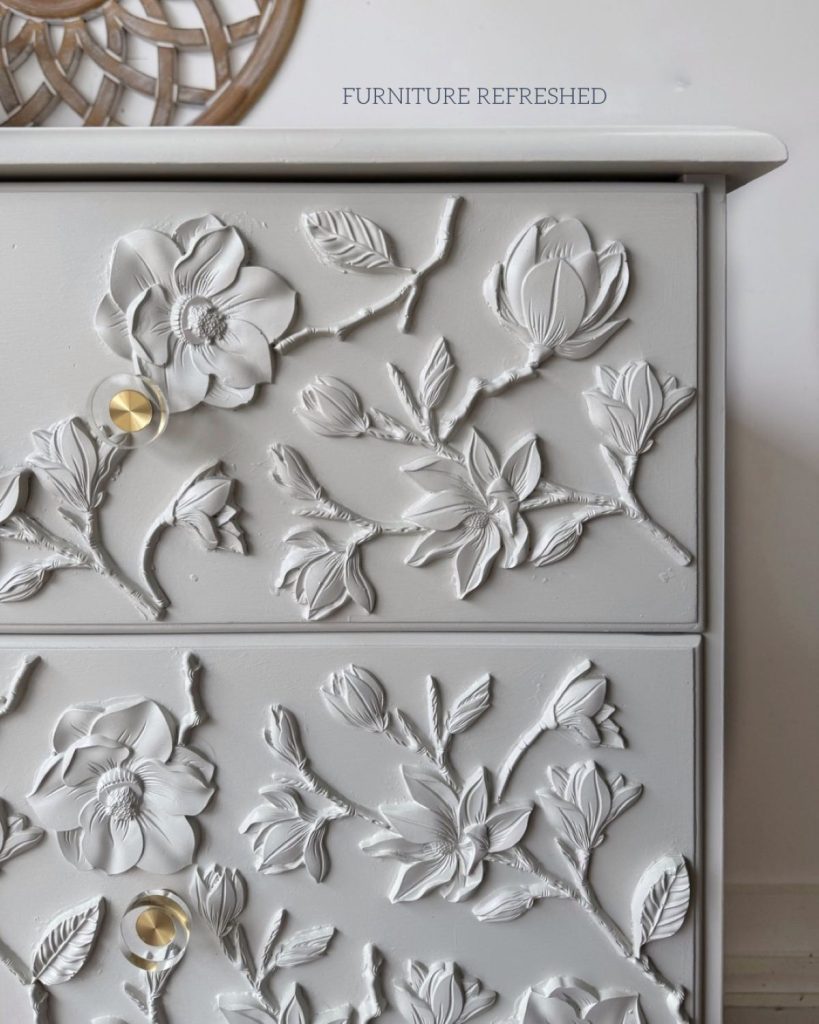
For paint, I chose the color Anemone Pearl by Melange Paints. It is a off-white with just a hint of a green undertone, and was a perfect way to showcase these floral DIY furniture appliqués and all their beautiful detail. I hand painted this piece using my favorite all-purpose synthetic brush for the body and the Zibra round brush for the flowers – the round brush is great for getting into all the details, but is smaller than I like for painting larger surfaces on the rest of the dresser. You could also use a paint sprayer, but I didn’t want to pull it out for just this project.
In a few places, there were some gaps where the flowers met the drawer fronts. I simply put some caulk into a blunt ended syringe to fill those gaps.
Want to give Melange a try?
Melange Paints has been gracious enough to offer an affiliate discount code for my readers! Simply use the code FRESH10 at checkout for a 10% discount sitewide.
Sealing:
Finally, I applied General Finishes High Performance Topcoat to the body of the dresser. I chose not to topcoat the drawers becuase I didn’t want to worry about drips and unevenness in the topcoat finish around the appliqués. This is why I recommend using an all-in-one paint for this type of project. Skipping the top coat makes this project easier for sure! I do generally like to add a top coat as an extra layer of protection, especially on high-use surfaces. However, I felt in this case that the addition of top coat wasn’t going to add anything significant to the drawer fronts and the extra work and worry about drips wasn’t worth it.
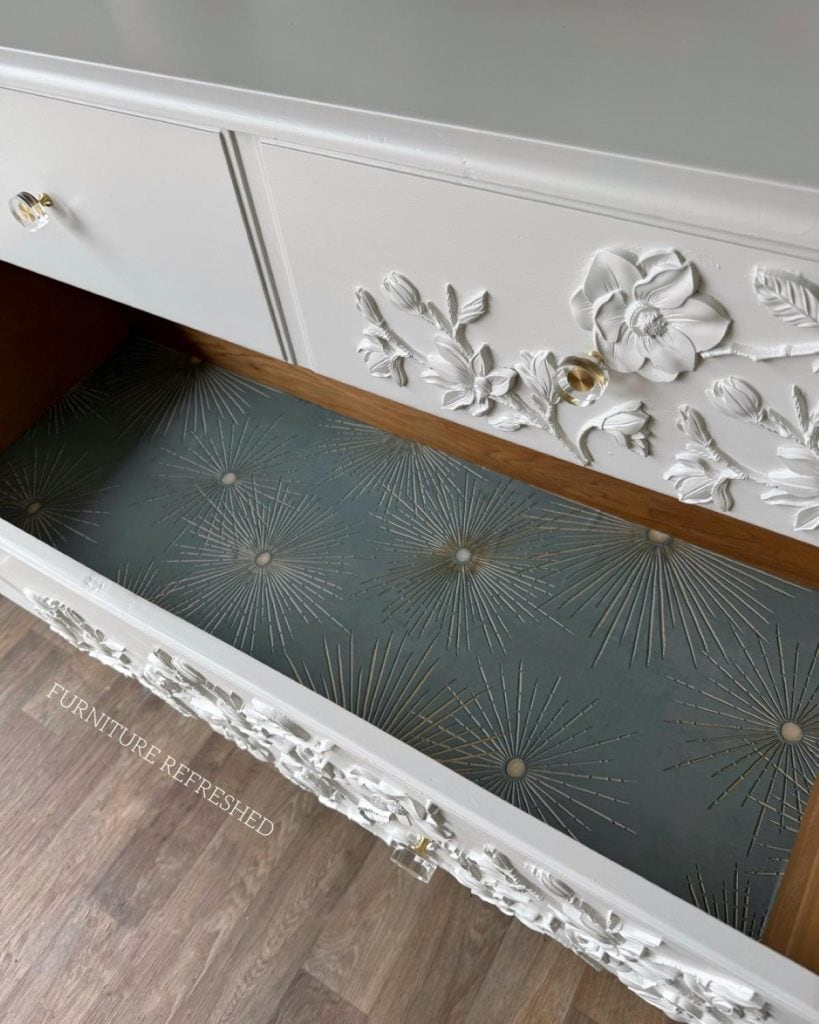
Finishing Touches:
To finish off this piece, I added some new hardware and lined the drawers with this peel-and-stick wallpaper. I added some drawer lubricant to help the drawers slide more easily, and that was it! A brand new look for this vintage maple dresser.
Summary
If you’ve been curious about trying DIY furniture appliqués, I hope this tutorial gives you the confidence to go for it! Adding decorative moulds is a fun way to add character to plain furniture and turn it into something unique. It might take a little extra time, but with the right materials and some patience, anyone can pull off this look.
Please comment on this article if you have any questions! I’m always happy to help. Want to learn about all things furniture? Make sure to sign up for my newsletter for more!
New to furniture painting?
Get my FREE Beginner’s Guide to Painting Furniture! This guide walks includes detailed links to each furniture painting step through and includes a downloadable project planner and supply checklist.