

Painting Furniture with a Brush: How to Avoid Brushstrokes!
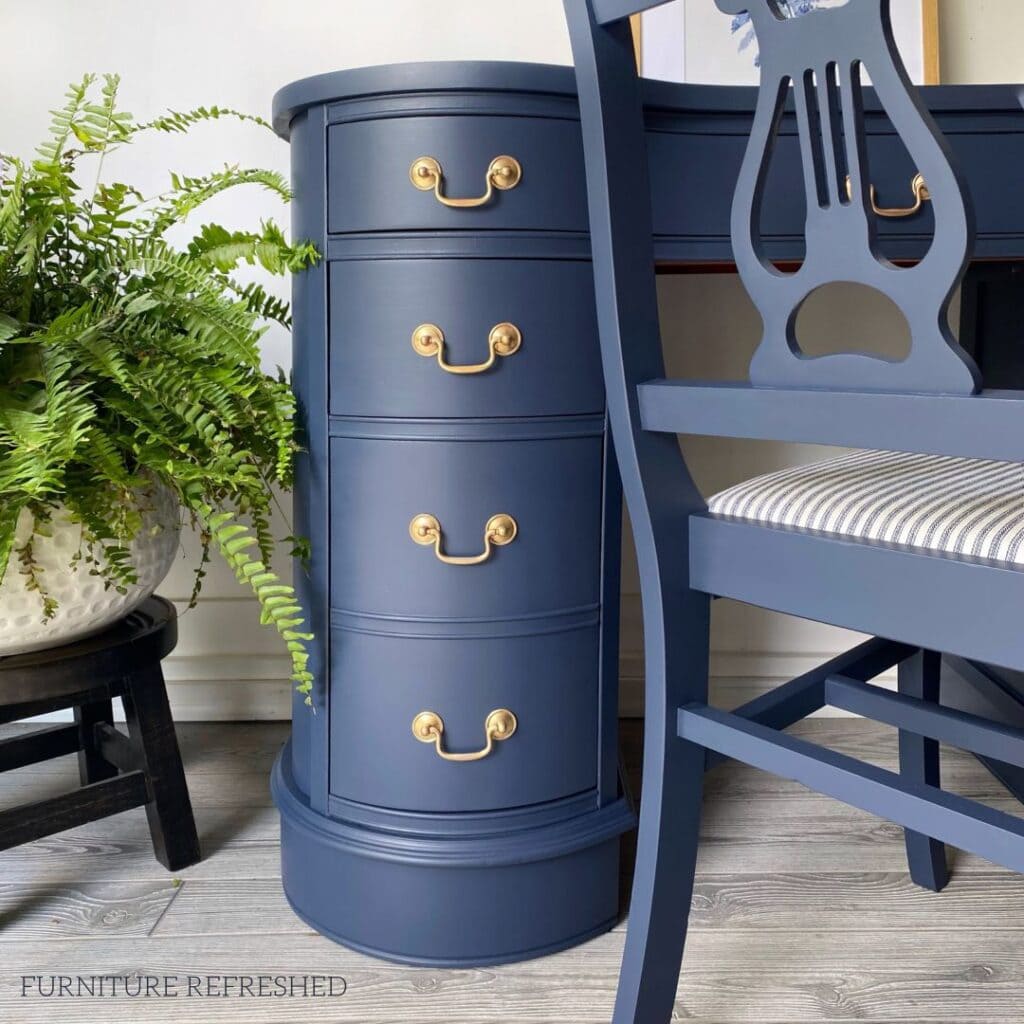
Want a professional-looking paint finish? You may think you need a paint sprayer to achieve this look. But you can absolutely pick up a brush and a smooth, brushstroke-free finish with hand painted furniture. Unfortunately, it’s not as easy as grabbing some paint and just slapping it on there. But with patience and practice, you can do it! Here’s everything you need to know about successfully painting furniture with a brush.
Why I prefer to hand paint furniture
While spraying is a great option, it can also be challenging. You need to invest in a sprayer, and you need to have a good setup where you can spray safely. I have a sprayer and an okay setup (in the warmer months – it’s way too cold in my garage in the winter to do any painting), but my projects are almost always painted with a brush. Why? Because it’s what I love to do! I honestly find hand-painting therapeutic and relaxing. It’s way more enjoyable than a noisy sprayer. And I love the flexibility of being able to paint almost anywhere.
A note on product links
This post contains Amazon affiliate links, meaning I get a small commission on qualifying purchases, at no cost to you.
Tips for painting furniture with a brush
Here are my best tips for getting that brushstroke-free paint finish!
Tip 1: Put time and effort into your prep work
I’ve said this before, and I’ll say it again. You’re final finish is only as good as your prep work. If you have imperfections, such as scratches, cracks, old brush marks, drips, or chips, those will show through in your final finish. The new paint will not mask any of these things, so make sure you take the time to do the proper prep work – make sure you are cleaning and scuff sanding, doing all necessary repairs, and priming when necessary.
Tip 2: Use a high-quality paint and brush
Choosing the right paint ultimately comes down to personal preference. That said, I find paints that are self-leveling are best at giving you a smooth finish. I recommend using furniture paint, especially if you are starting out. Cabinetry and enamel-based paints are very durable, but I find they don’t brush on as well and work better with a sprayer. That’s not to say you can’t brush them on, but they do take a bit more practice to get a smooth, brush-stroke-free finish.
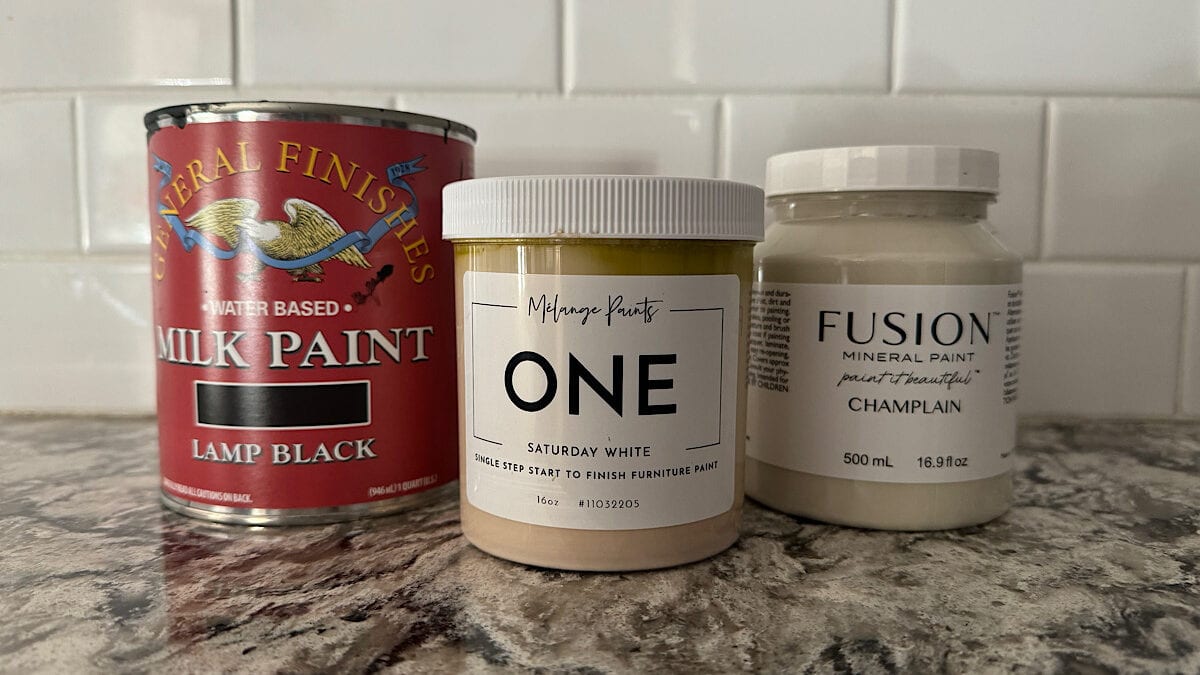
My favorite paint brand to use is Melange Paints, and I use them for about 90% of my projects. You can read my review of Melange Paints ONE furniture paint to learn more about why! They have an amazing color palette and their paint levels beautifully. Other self-leveling paints that I like to use are Fusion Mineral Paint and General Finishes Milk Paint. Try a few and see what you like best.
Want to give Melange A try?
Melange Paints has been gracious enough to offer an affiliate discount code for my readers! Simply use the code FRESH10 at checkout for a 10% discount sitewide.
A high-quality synthetic brush is also a must-have. My favorite is a 1.5-inch oval brush that is sold by several paint companies. Melange sells one called the Rachel Brush (I’ll often throw one into my cart when placing a paint order), and you can also get this one by County Chic on Amazon. I like them because they don’t leave many brush strokes and are relatively inexpensive. Zibra also has some great specialty brushes that are high quality and inexpensive.
I also recommend getting your brush damp before use. Simply wet it and then remove the excess water with a towel or cloth.
Tip 3: Use long strokes in the direction of the wood grain
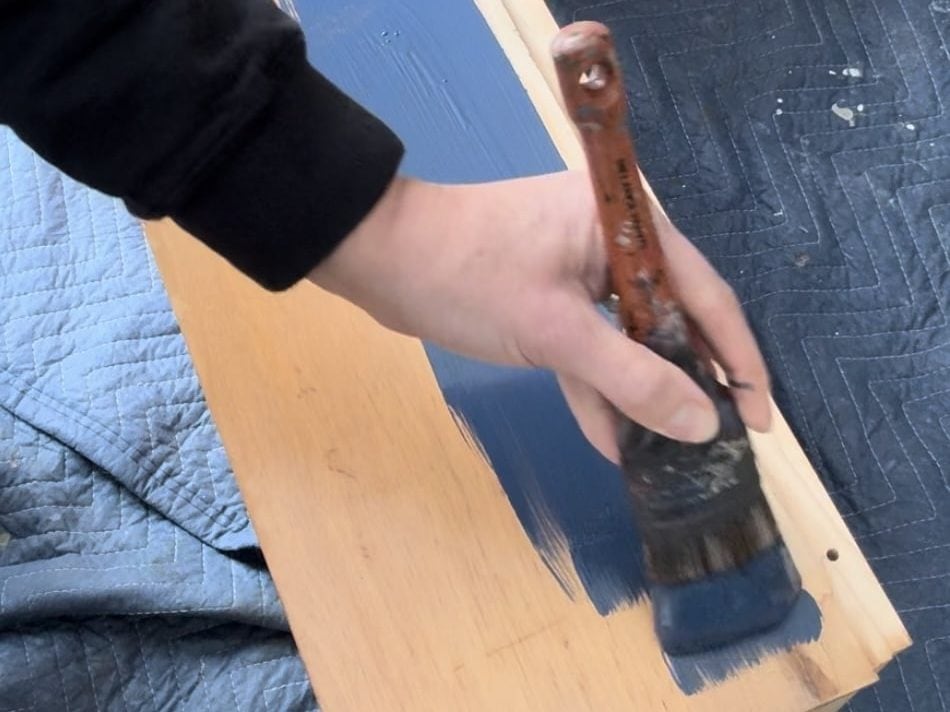
The key is to have thin coats, but don’t “stretch” the paint. Too much paint will cause sagging and drip marks. Too little will dry before you’re able to apply it to the area you’re working on. I generally will paint across in shorter strokes, reapplying paint as necessary to my brush. And then follow with one long, light-handed stroke to even everything out.
Tip 4: Don’t overwork your paint
This is an important thing to keep in mind. Once you lay your paint down, you want to make sure you let it do its thing. It can be so tempting to go over it with your brush one last time. I am guilty of this, but I’ve gotten better with practice. If the paint is starting to dry, you will start to feel your brush pull, and that leaves marks in your finish. Better to leave it slightly imperfect, and sand out any imperfections before your next coat.
Tip 5: Try a mister bottle
This is a great way to avoid overworking your paint, as described above. Sometimes, especially in dry or warm conditions, there just isn’t enough time to get your paint laid down before it starts to dry. When that happens, I will use a mister bottle and lightly mist the surface you are painting before laying down the paint. This increases your work time and will help the paint level better before drying. It’s also a great thing to do on your final coat for a smooth, extra leveled finish.
Tip 6: Sand lightly between coats
While all of the above tips will help you get a smooth finish, a very light sanding in between coats will get rid of any texture or imperfections. I recommend using a high-grit sanding sponge and lightly sanding the surface by hand. My favorite sanding pads are the RAD pads by Surfprep, but you can also find something similar at your local hardware or big box store, or on Amazon. Just be sure your grit is 300 or higher. I do sand the final coat when I am planning to top coat. If not top coating, don’t sand the final coat.
Summary
Like everything, hand-painted furniture takes some practice. But the learning curve is no different than learning how to spray paint. And it doesn’t require a fancy space or a big investment to get started. Keep in mind that different paints will apply differently. Try a few and see what you like working with best. As always, please let me know if you have any questions!
Be sure to check out my other posts on furniture painting basics:
- Prepare Furniture for Paint: Cleaning and Sanding
- How to Fix Furniture: Common Repairs Before Painting
- Priming Furniture: Everything You Need to Know
- How to Seal Painted Furniture: Protecting With a Top Coat
New to furniture painting?
Get my FREE Beginner’s Guide to Painting Furniture! This guide walks through the steps of a furniture painting makeover and includes a downloadable project planner and supply checklist.