

Six Tips for Photographing Furniture to Sell


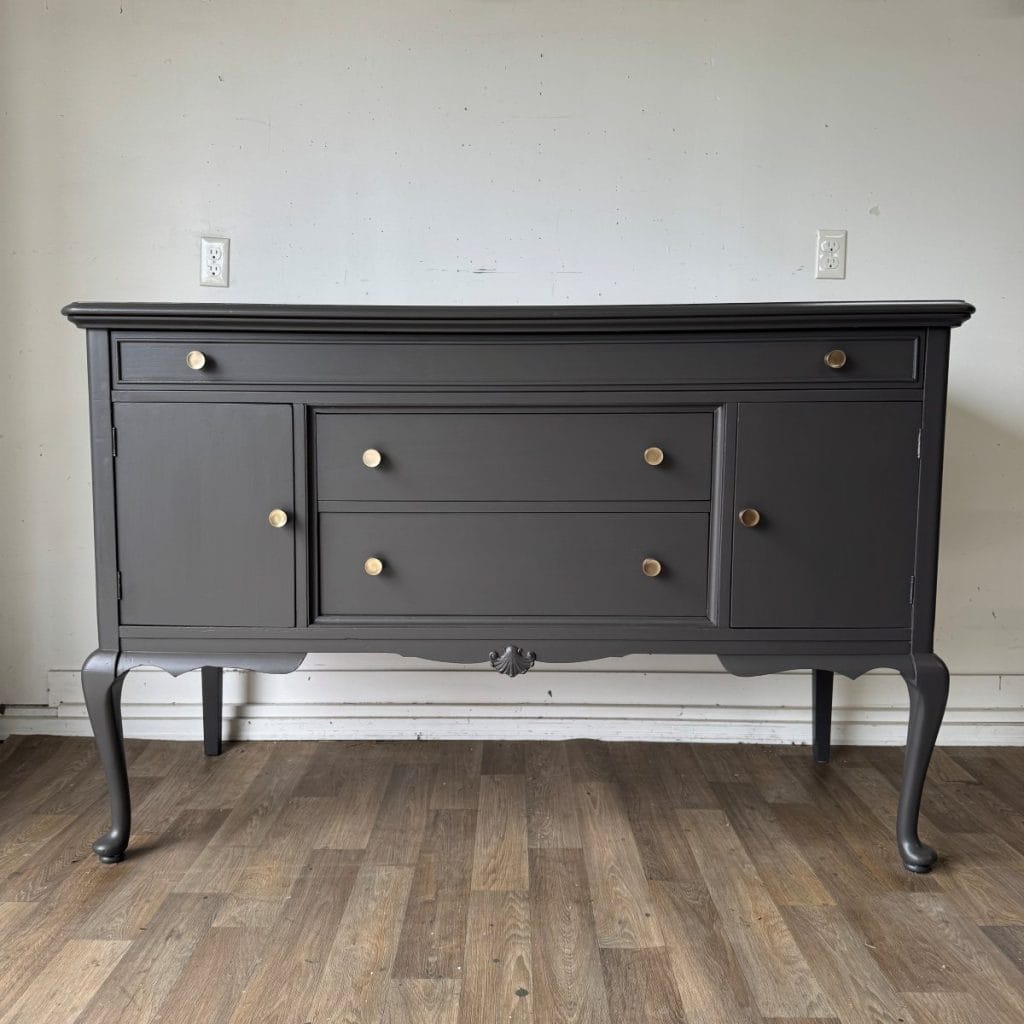
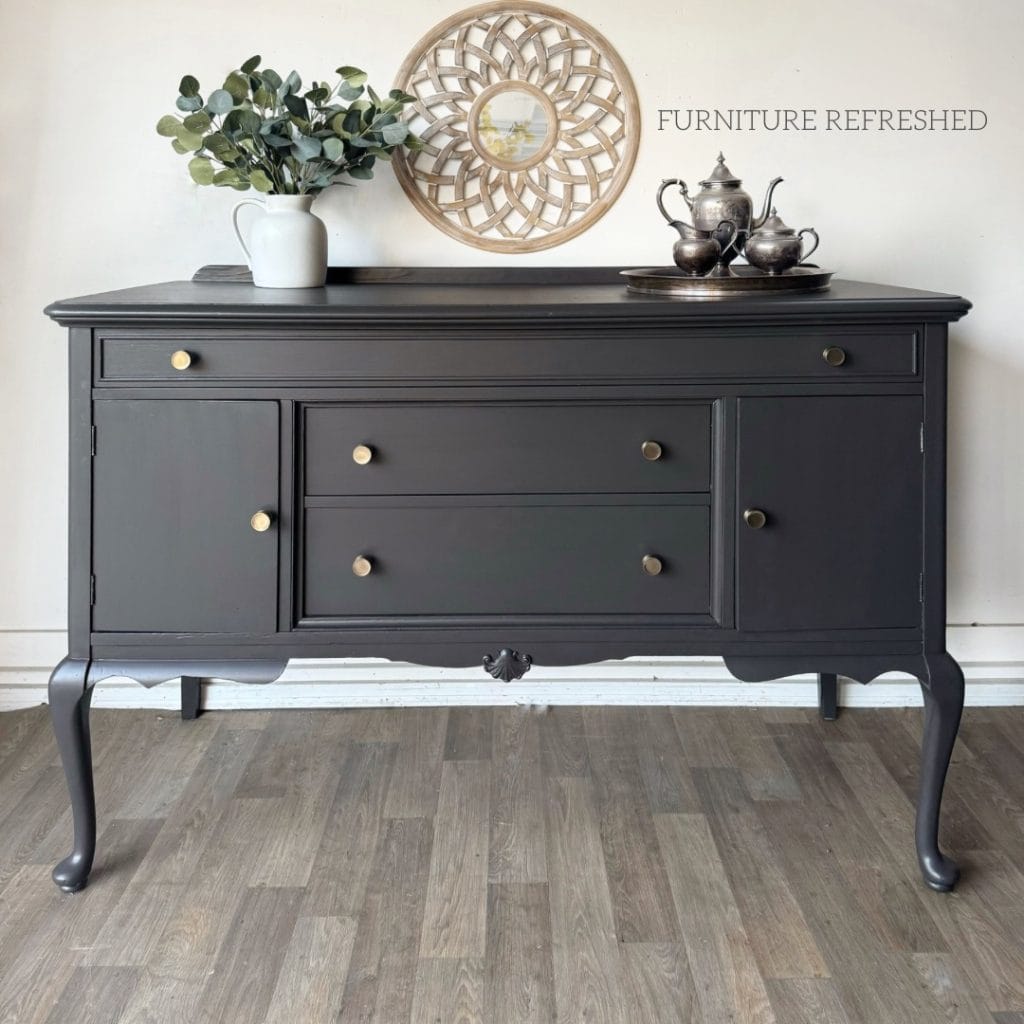
Which piece would you be more likely to buy, and more importantly, pay good money for? Getting quality photos is so important when listing a piece for sale. No matter the quality of your work, if you don’t showcase that quality, you are hurting your potential sales. The good news is, you don’t need a fancy camera to take good furniture photos! I use my iPhone, and along with a bit of editing, the end result is a professional-looking photo I can use to sell. Keep reading for my top tips for photographing furniture to sell.
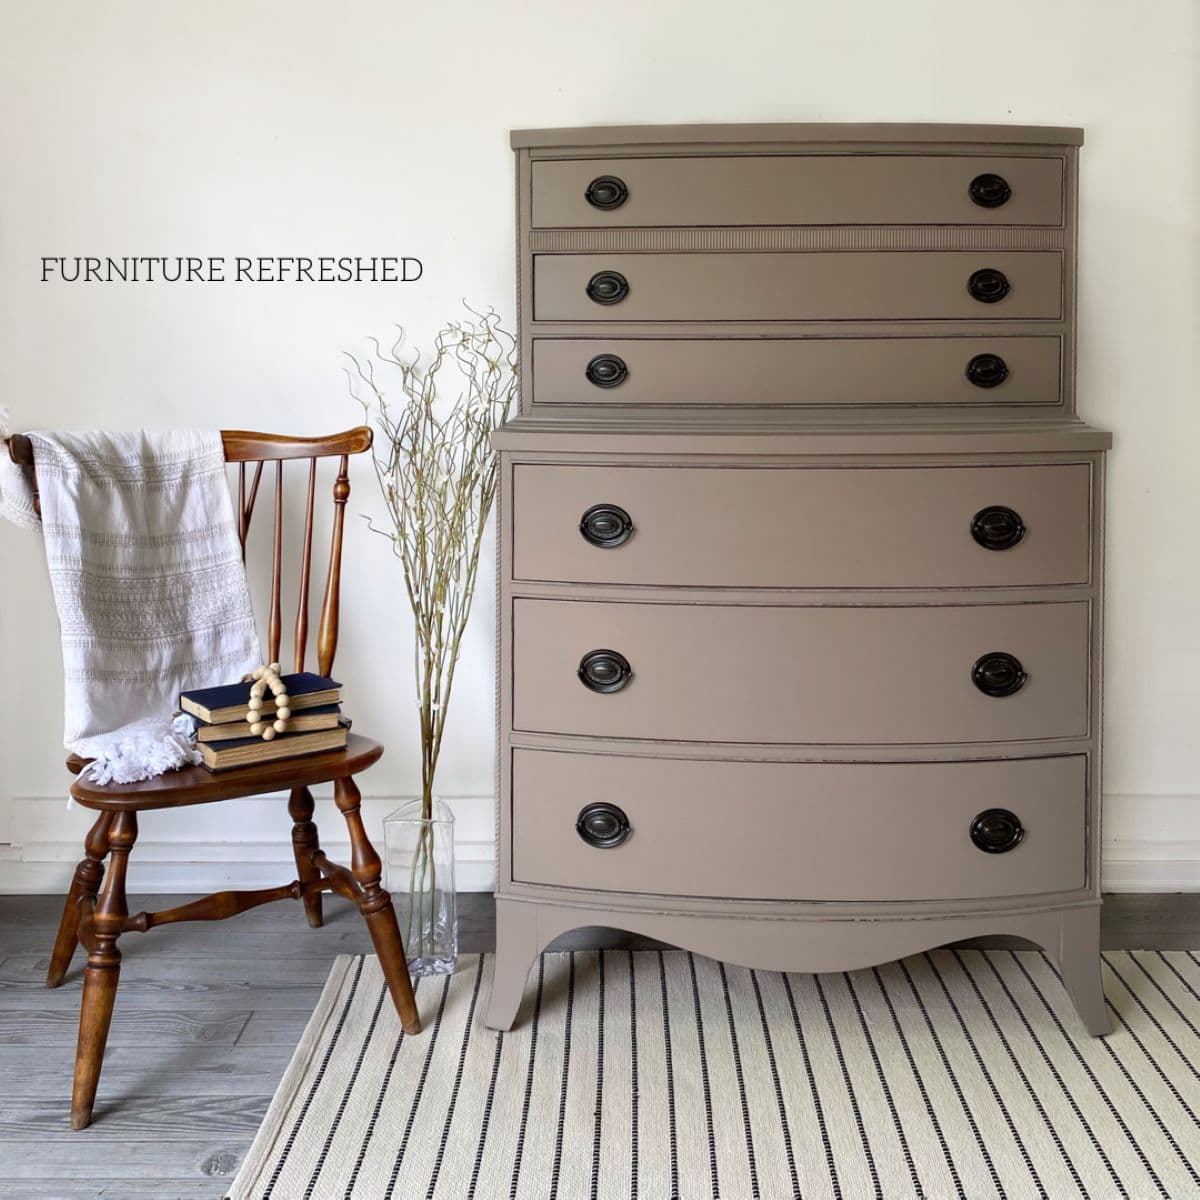
Tip 1: Take the time to stage your furniture
The goal of staging a piece of furniture? Getting potential buyers to imagine the piece in their own space. Having well-staged photographs makes your pieces look more professional and worth more money. I use items from around my house – you don’t need to go out a buy a bunch of new decor pieces to stage with. Once in a while, I will go out and buy something specific, but that is the exception, not the rule. Here are a few things you should consider when deciding what to stage with:
- Keep it simple: Less is definitely more. The furniture is the star of the show, not your decor skills! Use neutral staging items; bold colors will bring attention away from your piece.
- Keep things balanced: Decorators love to group things in threes or fives. Consider adding height, or placing an object (like a chair, plant, or large basket) next to the piece. Use items with mixed shapes.
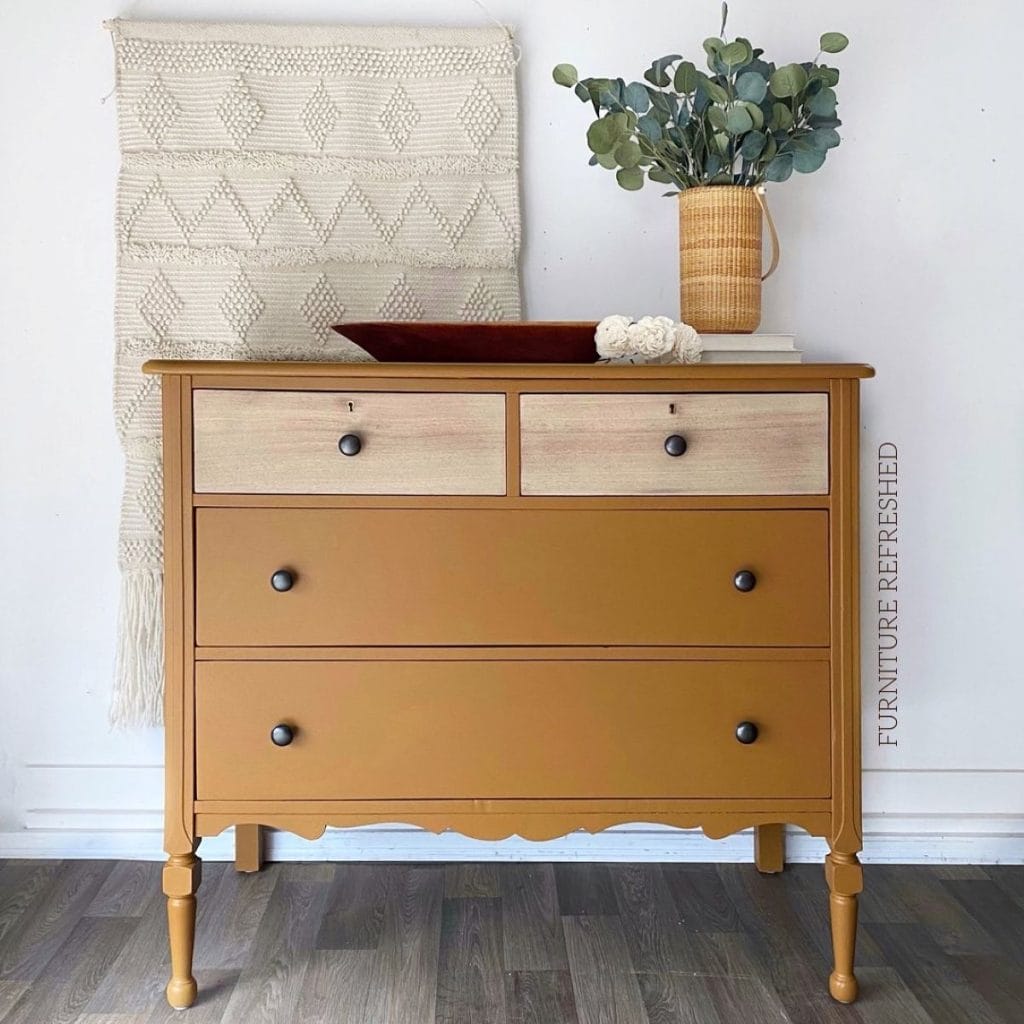
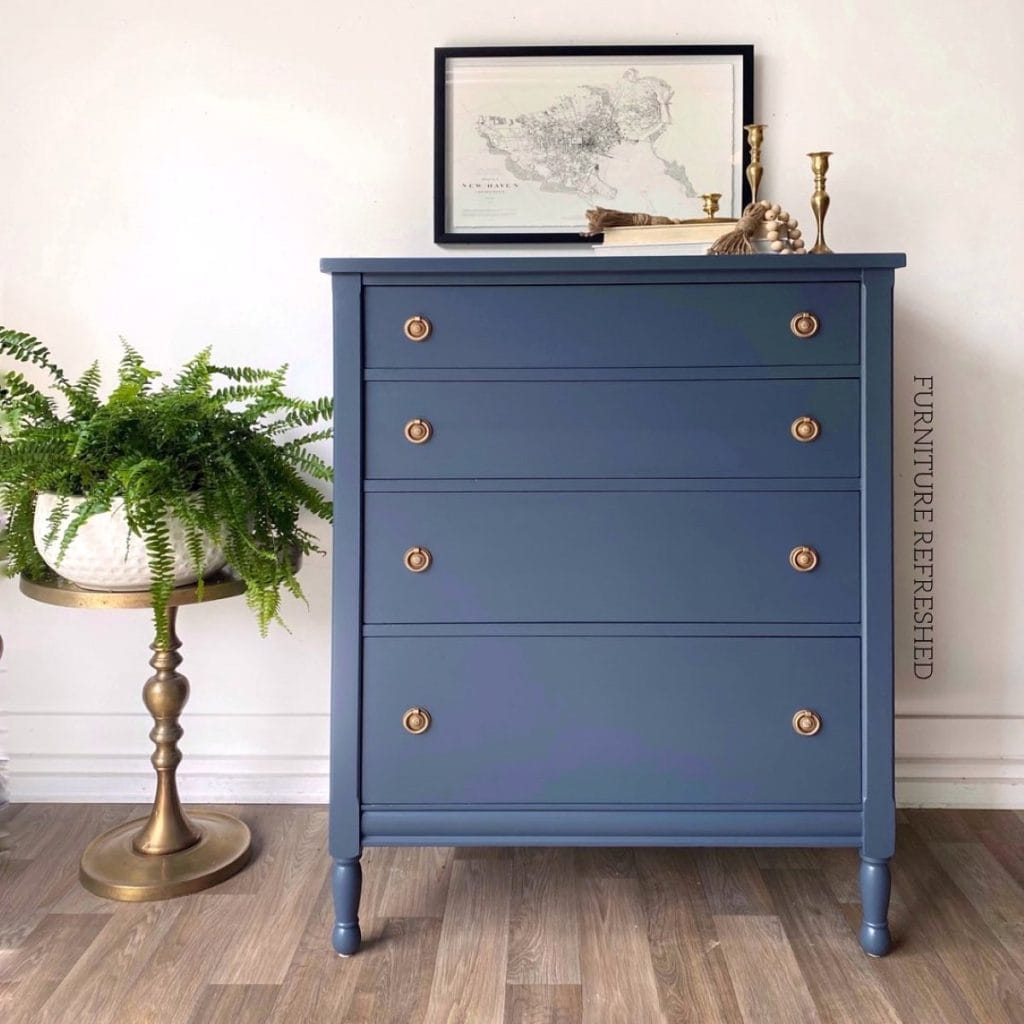
- Coordinate with the piece: be sure to highlight the features of your furniture. I will try to use an object that is the same finish as the hardware. If a piece is painted in a light color, I’ll be sure to use something white (like a vase or pitcher) to anchor the color and provide some contrast. Same thing with dark finishes and using something brown or black as an anchor.
- Complement the style of furniture: Use staging items that have a theme and coordinate with the piece you are selling. Don’t use shabby chic farmhouse decor on a classic MCM piece.
- Use items that are “soft”: It’s so important to add some texture with the items you are staging with. I always try to incorporate greenery, fabrics, or woven things like baskets.
A note on product links
This post contains Amazon affiliate links, meaning I get a small commission on qualifying purchases, at no cost to you.
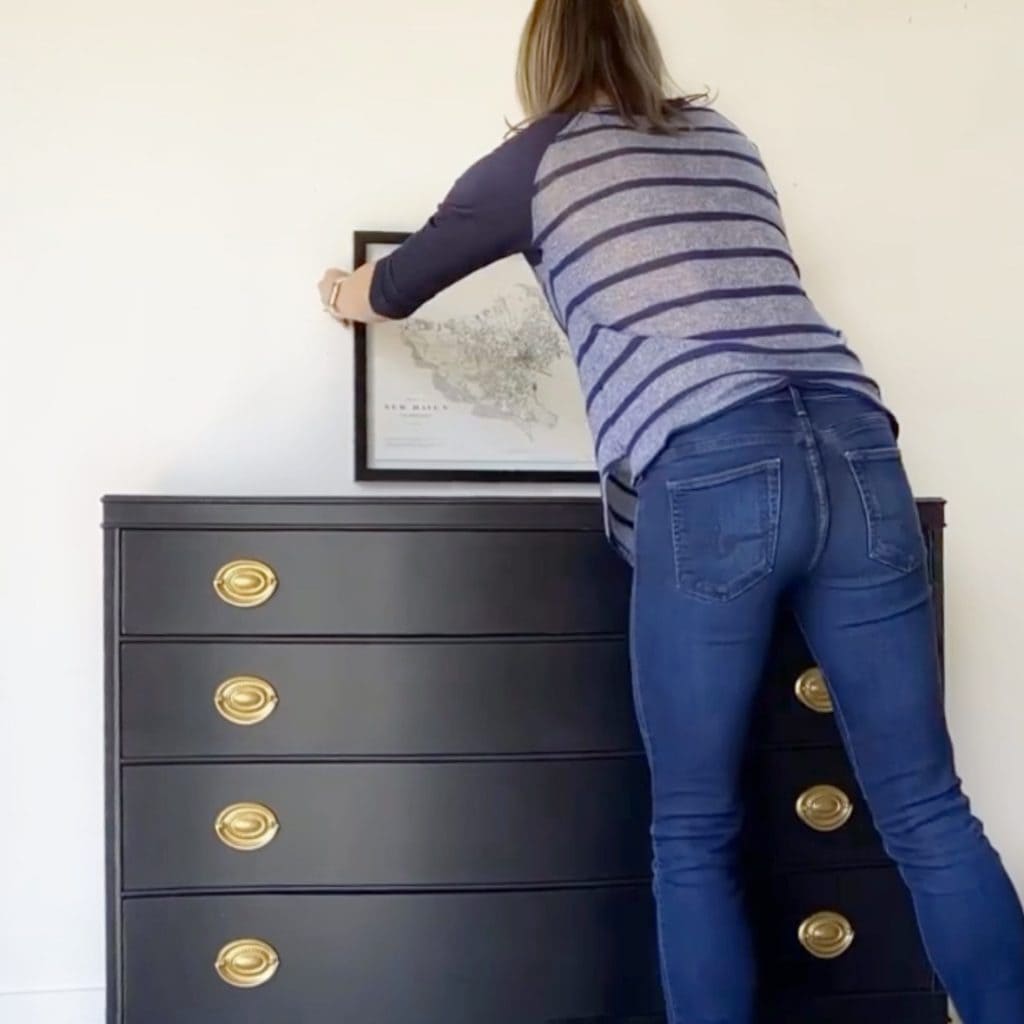
Tip 2: Consider your lighting and backdrop
Where you take your photographs is important. Both lighting and the backdrop make a huge difference in how your photographs will turn out. Indirect natural lighting is best, but if you don’t have any spots with good natural light, a photography lighting kit can help. Avoid direct light and the shadows that come with it. Try to have your backdrop white or at least a light neutral. Any colored walls will potentially clash with certain colors and may alter the look of other colors.
When I was just starting, I had a wall in our bedroom that got great afternoon light. So once I finished a piece, I would lug it into my bedroom, move the dresser that was on that wall, and take my photographs there. That was quite a production (and got old fast), so I eventually created a “staging area” in my garage with a piece of vinyl flooring, white walls, and a small baseboard.
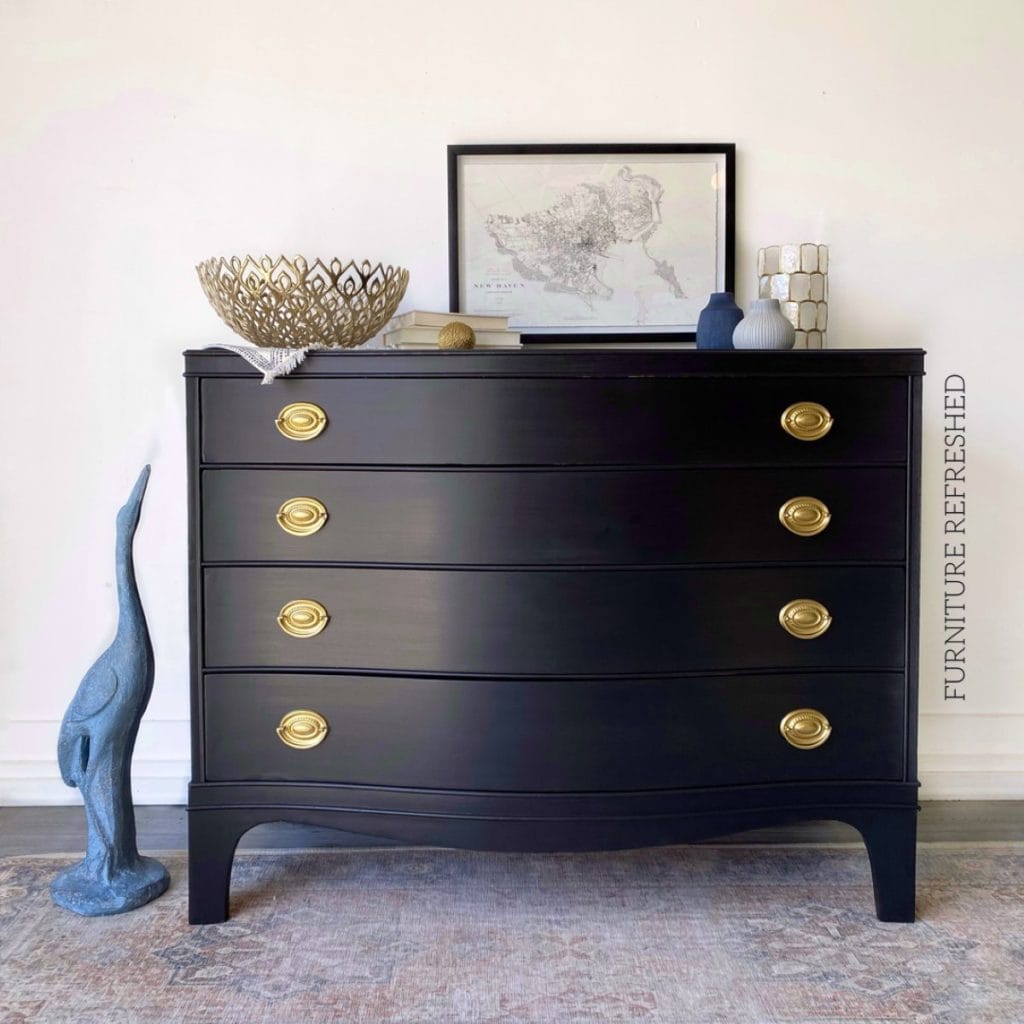
Tip 3: Get the “money shot”
Would you like to save this?
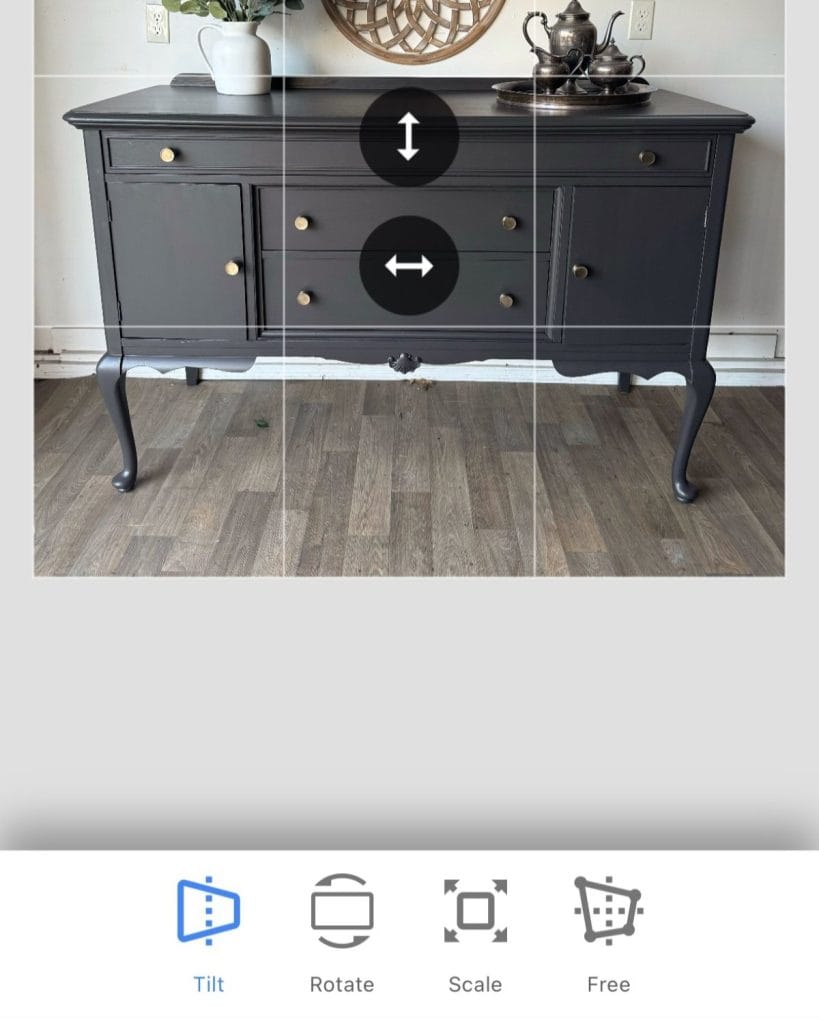
If you do nothing else, make sure you are getting one photo of the piece from the front. I call this the “money shot,” and it showcases the pieces as it is intended to be viewed. When taking this photo, don’t do it standing – get down on the ground and take that photo at eye level. The sides of your furniture should be totally vertical, not angled in (using the grid feature on your phone helps with this). I always use this as the first (or featured) image in my furniture listing.
Tip 4: Take lots of photos
While the “money shot” is what you want potential customers to see first, it’s important to highlight other features when you are photographing furniture. These include closeup shots of the hardware, the top or sides of the peice, photographs of the inside of drawers or cabinets, even the dovetails and maker’s mark if that is something you want to highlight. I generally take way more photos than I need and then decide which ones are worth using.
Tip 5: Use a photo editing software
Even if you have the perfect lighting and backdrop, take photos exactly straight and at the right angle, chances are, a few minor edits will elevate your photos even more. I use the Snapseed app on my phone to brighten up the background, help with shadows, ensure my color is accurately depicted, and ensure my photos are level. I also have two outlets on my staging wall that I need to erase from every photo. When editing photos, I try to do as little to the actual piece as possible and focus mainly on the background. You may want to consider adding a watermark – this helps with branding and deters others from using their photos without permission.
tip
If your piece of furniture has a mirror, check out this step-by-step tutorial on how to change a mirror reflection.
Tip 6: Consider using AI
This is something that I’ve only recently started exploring, but I do think it can add value to a furniture listing. I’ve experimented with ChatGPT and the app Photoroom, both of which can give you great-looking images. I have found that ChatGPT will often slightly modify the piece itself (add or take away drawers, change the hardware, modify the legs), which isn’t ideal when you are trying to sell something. Photoroom can remove and replace the background, but the free version of the app is fairly limited, so it can be tricky to get what you want.
If you truly have no good location to traditionally stage and photograph your furniture, using AI alone to create images is an option. However, I would recommend taking several of your own photos and then supplementing your listing with some additional AI-generated images. When I do this, I make sure they are labeled as such. These additional images can showcase a totally different style and allow a potential buyer to imagine a piece with different decor (coastal vs. modern, for example), but that buyer also knows what the piece truly looks like.
Summary
Photographing furniture well can make a huge difference when it comes to selling refinished furniture. With the right staging, lighting, and editing (even using just your phone), you can make your work shine and attract serious buyers. Whether you’re just starting out or refining your process, these simple tips will help give you the best possible photographs! Have a tip you’d like to share? I’d love to hear about it in the comments.
Great Information.