

Stripping Furniture with Smart Strip


A couple of months ago, I posted an article comparing four “green” eco-friendly furniture strippers: Smart Strip, Citristrip, GreenEZ, and Stripwell QCS. While they all had some pros and cons, my overall favorite was Smart Strip. I’ve since used it several more times, and now I want to go into some more details on stripping furniture with Smart Strip and share some tips I’ve learned along the way.
A note on product links
This post contains Amazon affiliate links, meaning I get a small commission on qualifying purchases at no cost to you.
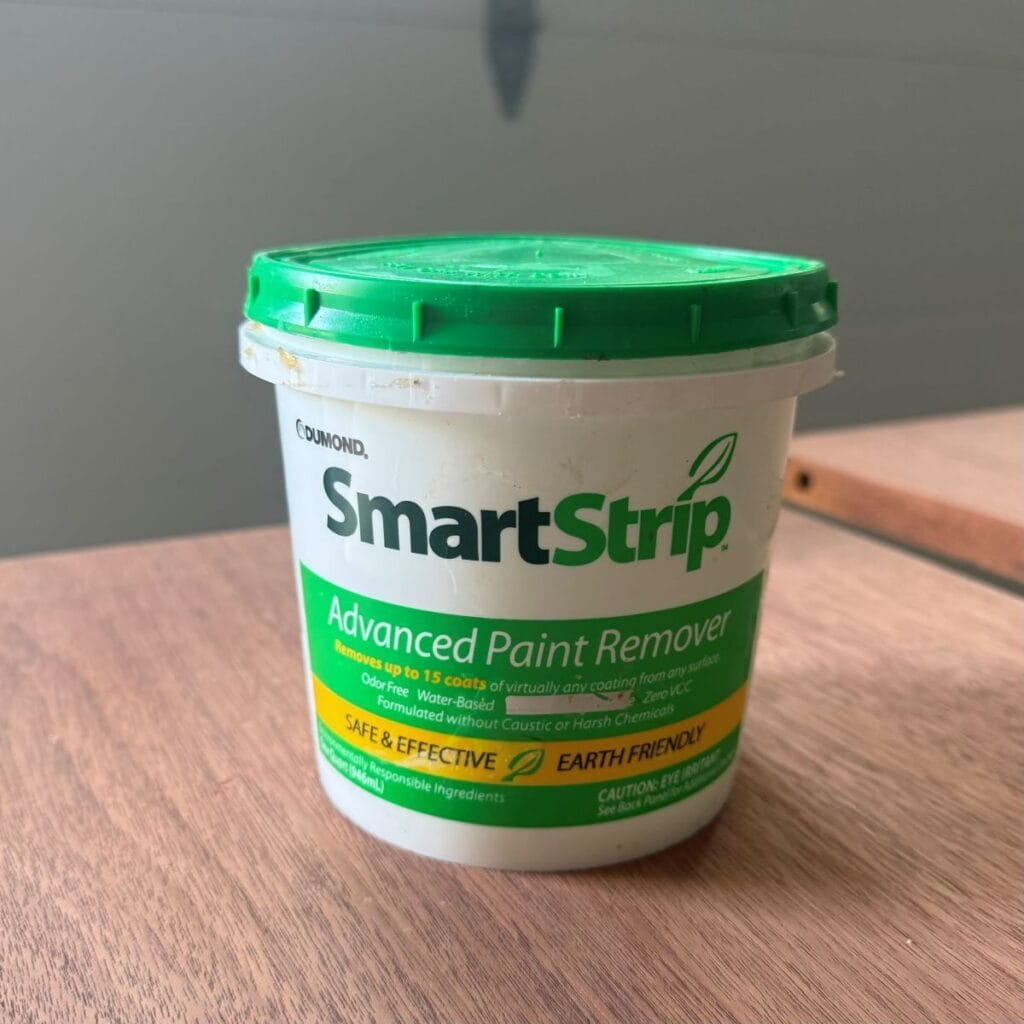
What is Smart Strip?
Smart Strip is a gel-based paint stripper that is low VOC and contains no caustic chemicals. The safety data sheet recommends chemical-resistant gloves to prevent skin exposure, eye protection, and a respirator if not working in a well-ventilated area. Of the 4 green strippers I tested, I liked this one becuase it was easy to apply, it’s non-toxic, and it was the easiest to remove and clean up.
When to use Smart Strip
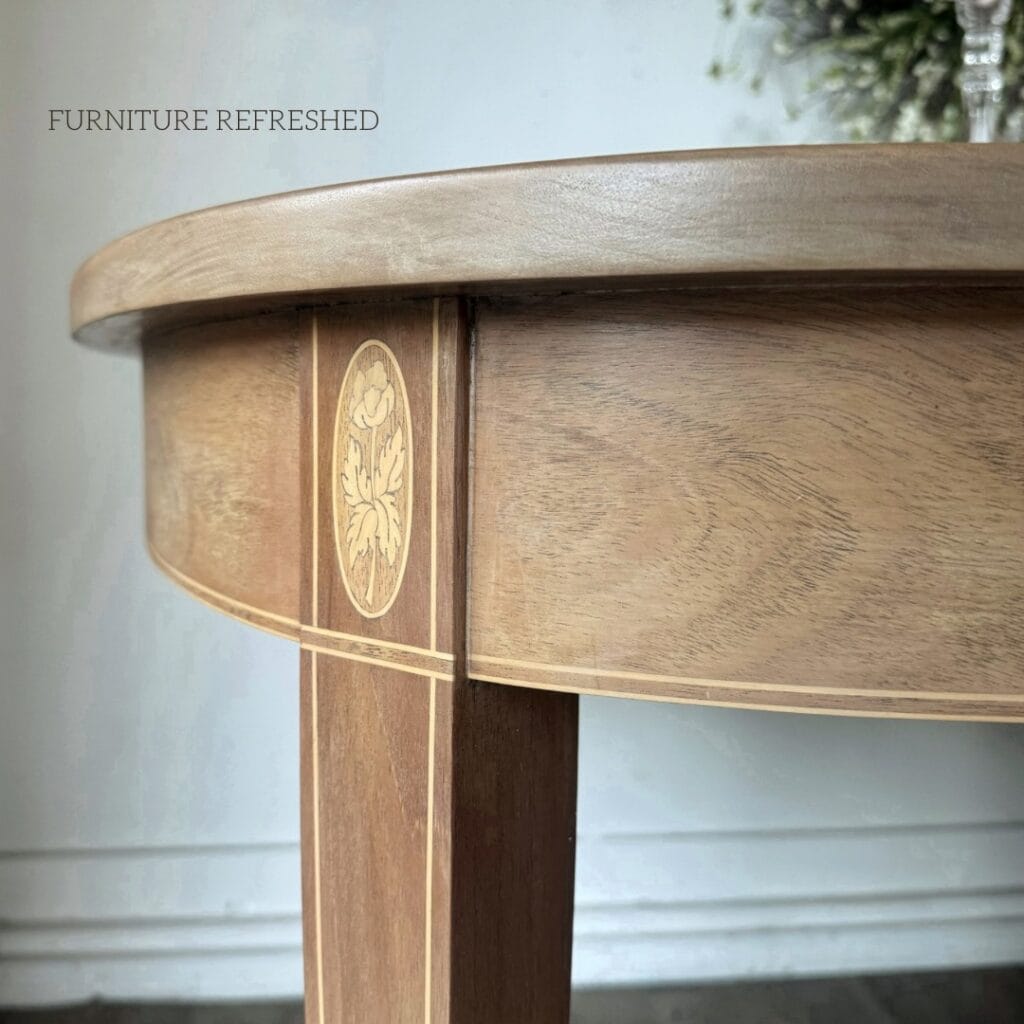
While Smart Strip is advertised as a paint stripper, it can be used on other finished furniture surfaces with a lot of success. When I recently refinished my dining room table, I tested four different stripping products to see which one I liked best. Smart Strip was one of those that I tried, and it worked really well for this project.
Dumond, the company that manufactures Smart Strip, has a great video that discusses which of their products works best for a particular project. They even have a test kit where you can try several out and see which works best. Start Strip Advanced (the green one I’ve tested and used) is their most non-toxic option. I’ve not tried the kit, but I do think it’s a great option!
How to use Smart Strip
supplies Needed
As with any product, it is important to follow the manufacturer’s instructions. However, I wanted to share a few things that I’ve learned along the way.
Step 1: Prepare your work area
Start by making sure your work area is covered. Stripping can get messy! I always put down a plastic drop cloth that I can just ball up and throw away at the end. If you are inside, you want to make sure your floor is protected.
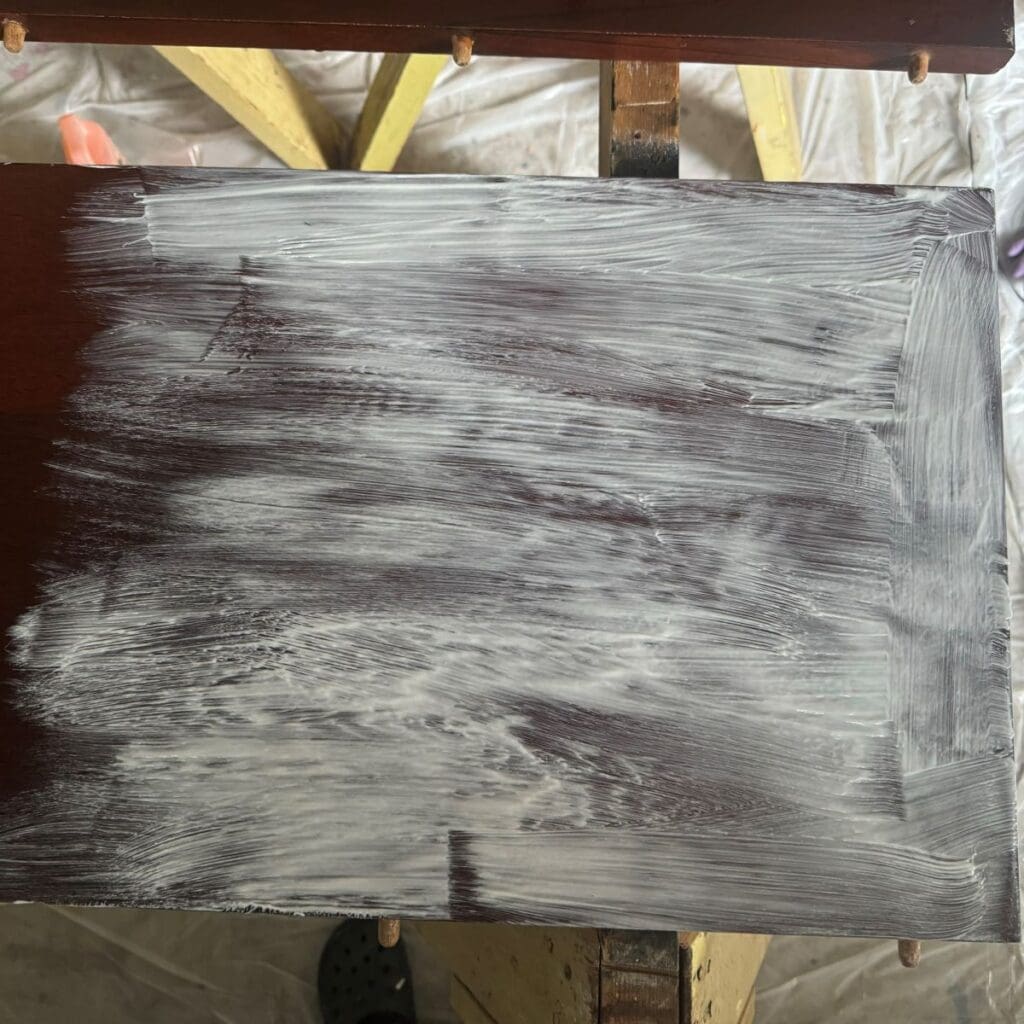
Step 2: Apply the stripper
Using a chip brush, liberally brush on the stripper. Becuase of its gel-based formula, it doesn’t drip much and stays put on your surface. And make sure you go thick – you want enough on there so it can soak down into the existing finish and not dry out.
Would you like to save this?
Once you have applied the Smart Strip, cover the area with the Dumond laminated paper or plain waxed paper. The laminated paper is made by the company that manufactures Smart Strip and is what they recommend. However, I’ve been in a pinch and used plain waxed paper, which worked well and was much cheaper. I’ve tried plastic wrap – the Smart Strip dissolves the plastic somewhat and allows the product to dry out, so I don’t recommend that.
Step 3: Wait
This can be the hardest part, even though it requires no work at all. The one downside to Smart Strip is the long dwell time, or the time it takes for the product to work. Dwell time varies significantly depending on the type of existing finish, thickness, age, temperature, and humidity.
No project is the same, but according to the manufacturer, it can take anywhere from 15 minutes to 24 hours. I’ve always found it takes at least a couple of hours. Be patient and let the stripper do the work for you! Test a small area to see if the finish comes off easily. If not, recover and wait some more.
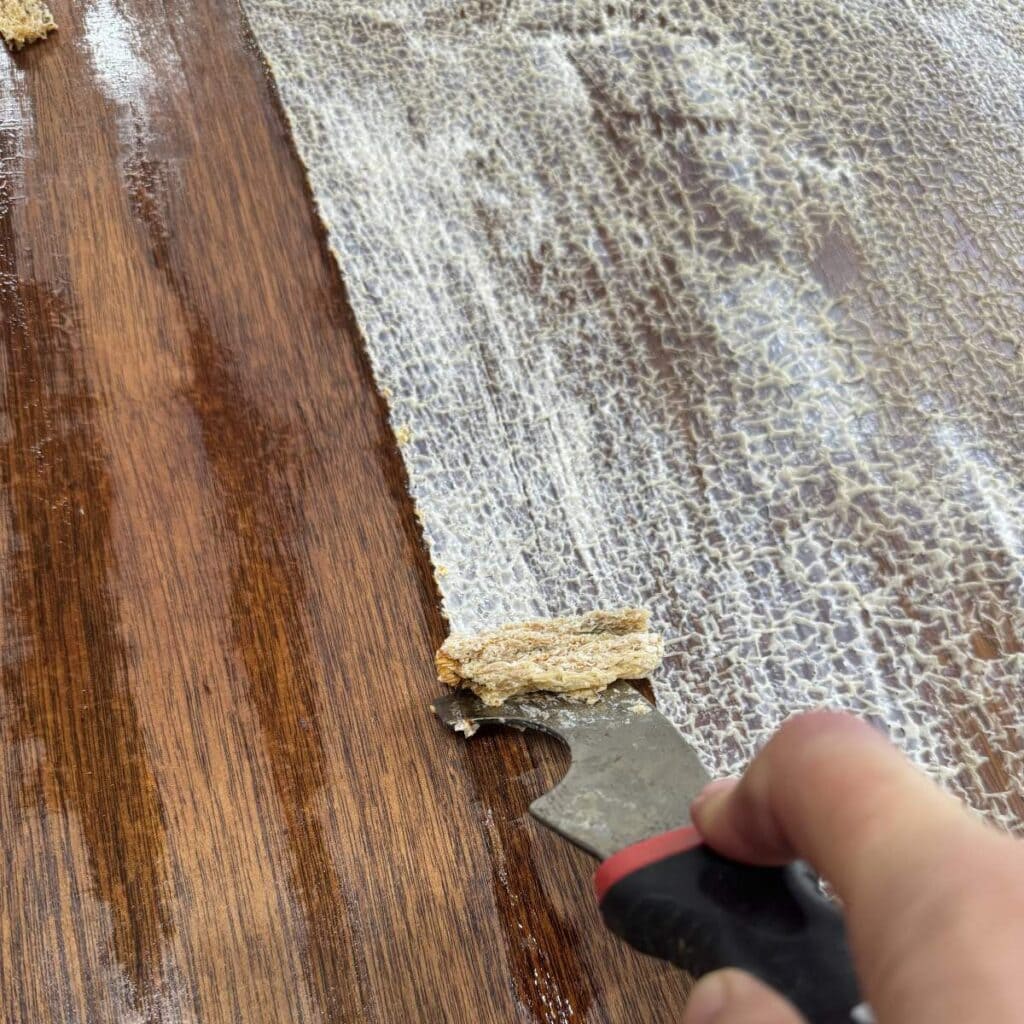
Step 4: Remove stripper and clean
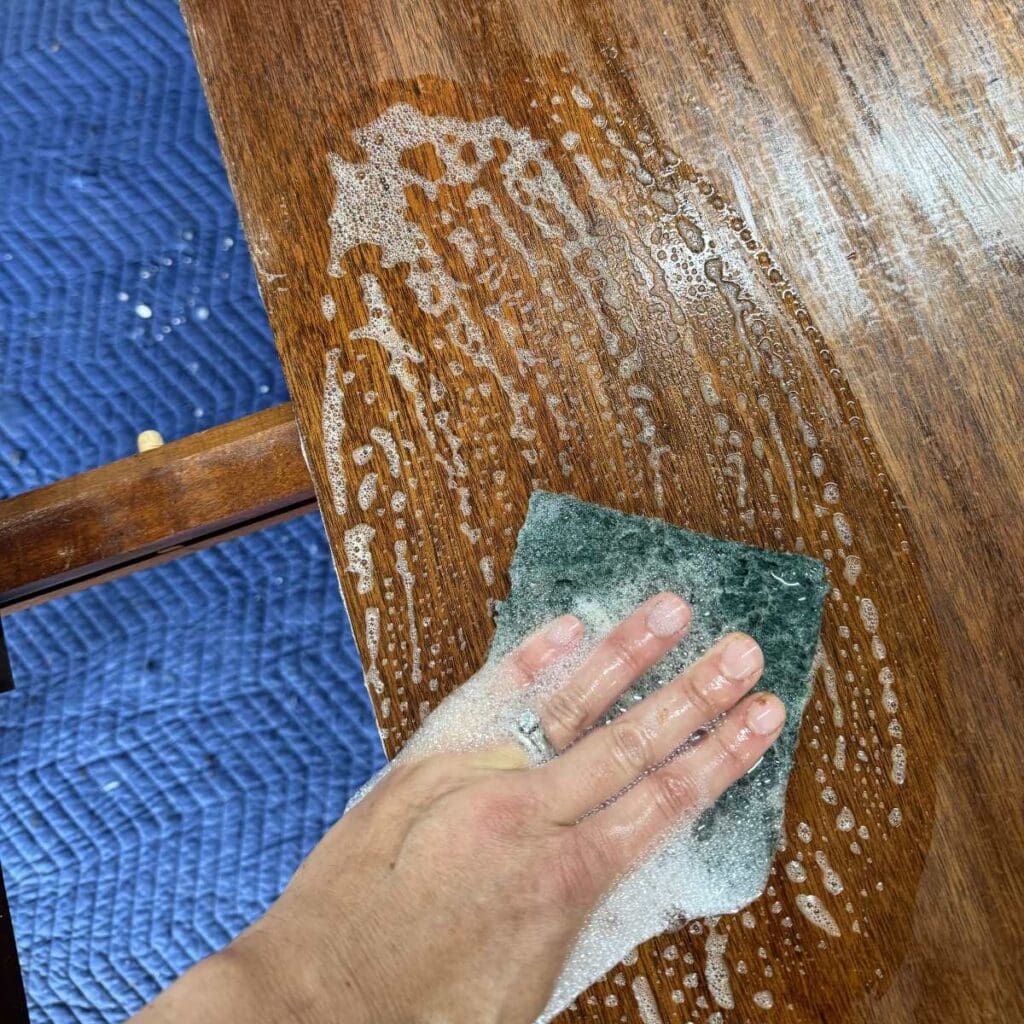
Once ready, remove the paper one section at a time and scrape off the stripper and finish. Keep the paper on the rest of the piece until you are ready to tackle the next section so that it doesn’t dry out. I like to use a small cardboard box to catch and hold what I’ve scraped off. If you need to do another round of stripper, you can reapply, cover, and wait. Once you have removed the majority of the old finish, clean with a scotchbrite pad and some water, working with a bucket to rinse the pad as necessary. I will usually add a bit of Dawn dish soap in there as well.
Step 5: Prepare surface for refinishing
After you have thoroughly cleaned the piece, let it dry completely. Then sand and prepare the area for new paint or stain. If you didn’t get all of the finish off with the stripper, sanding will remove the rest and will also smooth out the grain of the wood. More details on this step can be found in my article on stripping and staining.
Summary
I hope this guide on stripping furniture with Smart Strip has helped! Stripping furniture can feel like a daunting task, but with the right product and technique, it doesn’t have to be! Smart Strip has become my go-to for its ease of use and non-toxic formula. While patience is key due to its longer dwell time, the results are well worth it. By applying a thick coat, covering it properly, and allowing enough time for the stripper to work, you can efficiently remove old finishes with minimal effort. Once cleaned and sanded, your piece will be prepped and ready for a brand-new look.
Happy refinishing! As always, please let me know if you have any questions in the comments below. Want to learn more about all things furniture? Make sure to sign up for my newsletter to get the latest updates and exclusive content.