

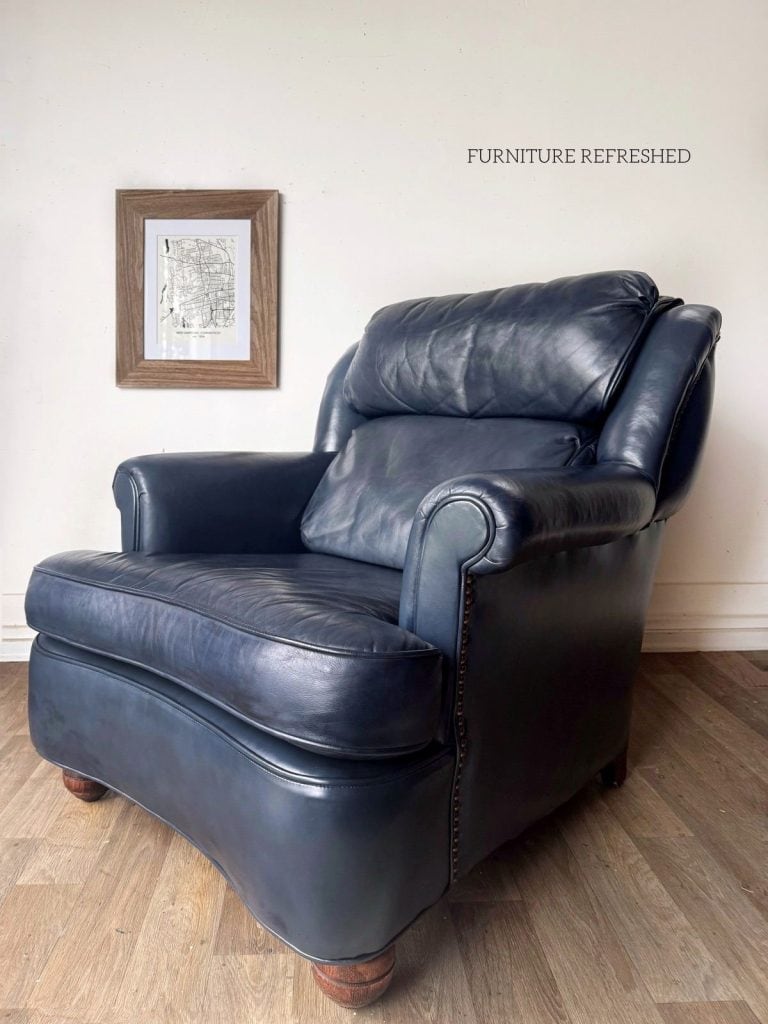
Repairing Leather Furniture: How I Restored a Chair and Ottoman
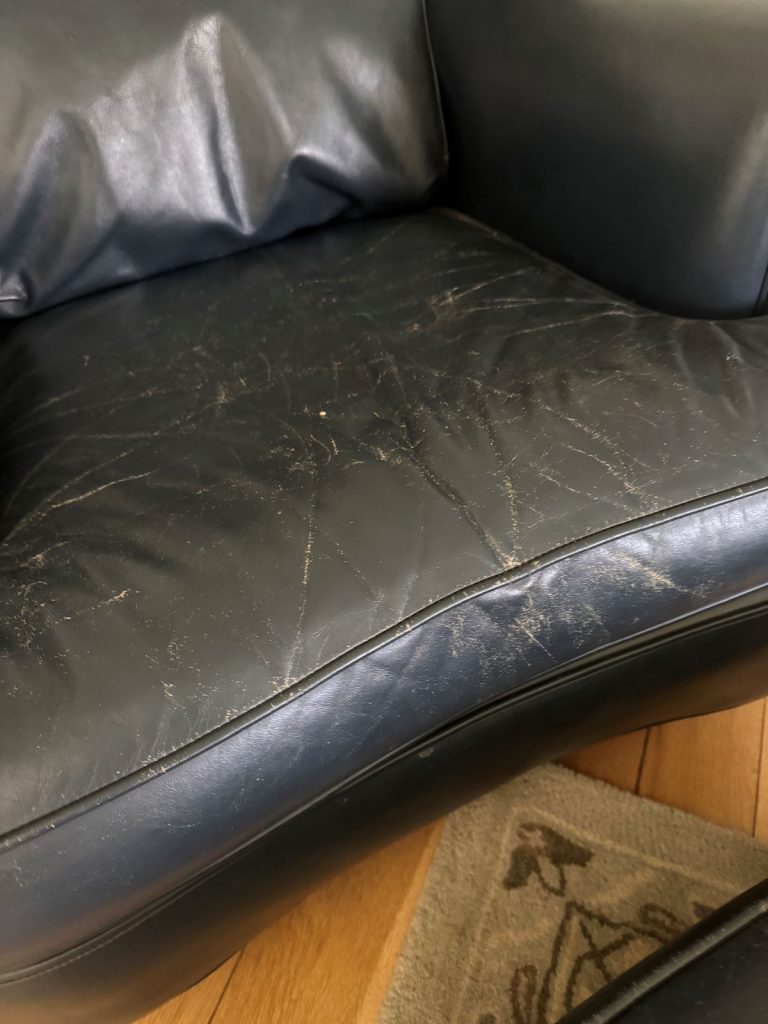
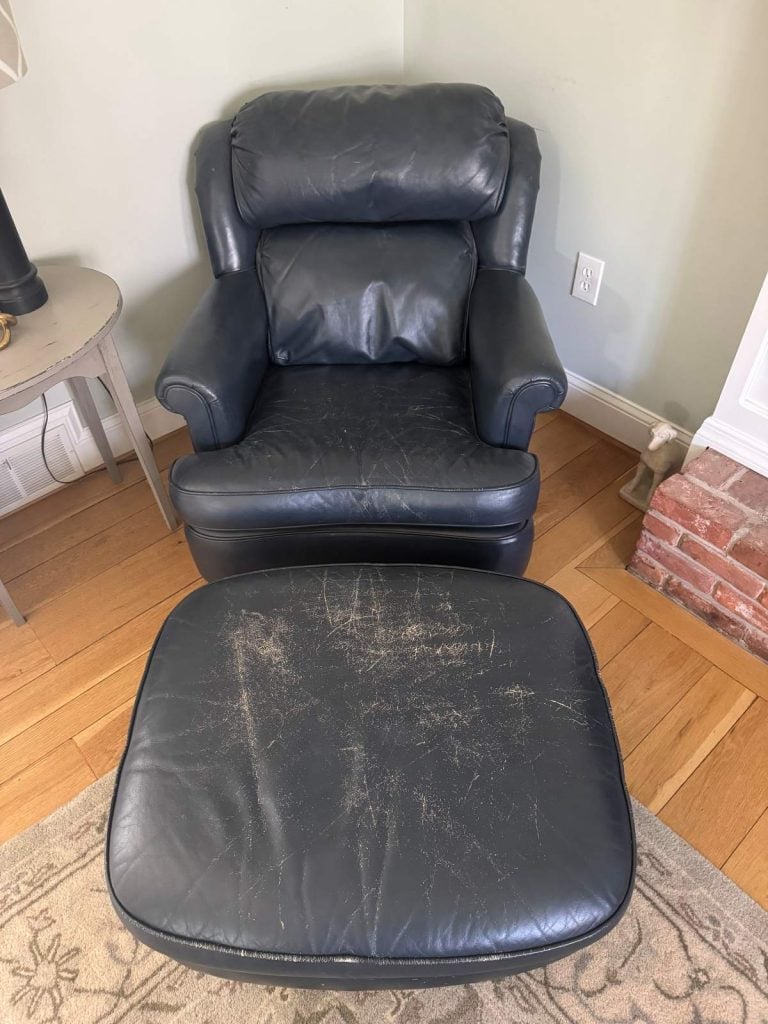
This leather chair and ottoman had seen better days. The set was passed down from my grandparents over 15 years ago – it wasn’t in amazing shape then, and has only gotten worse. I’d always intended to “do something” to it but it was just one of those projects I never got around to. And I finally made it a priority this spring! I’ve painted leather before, but didn’t want to go that route for these chairs. After doing a bit of research on repairing leather furniture, I found Clyde’s Leather Company had a DIY leather care kit – it seemed like the perfect solution.
In this article, I’ll walk you through the steps I took and my thoughts on their products. This is my honest review of using Clyde’s Leather Products to repair leather furniture. Overall, I was really happy with the outcome! But make sure to take a look at my key takeaways and lessons learned – they will help ensure your project is a success.
A note on product links
This post contains affiliate links, meaning I get a small commission on qualifying purchases. If you decide to make a purchase, be sure to use the code FURNITUREREFRESHED for 30% off and free shipping!
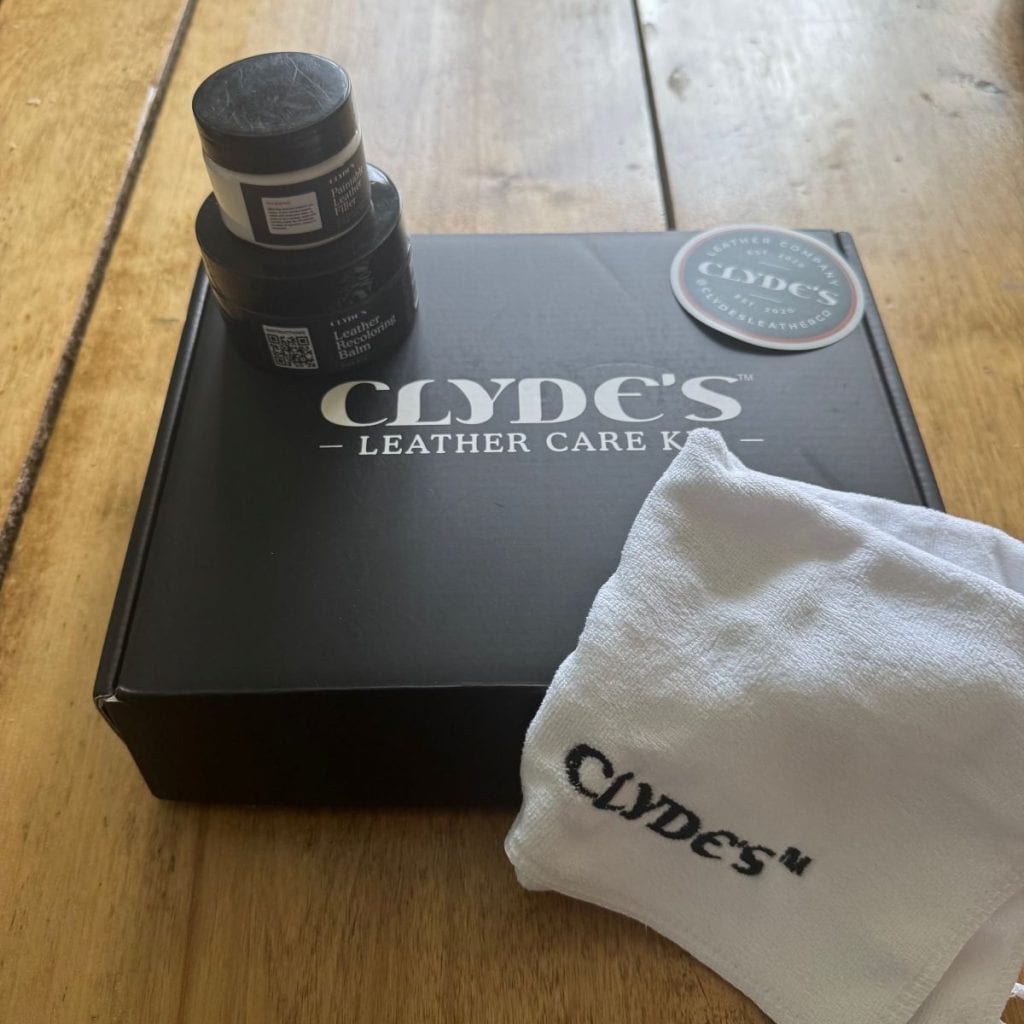
Supplies Needed
Everything you need is included in the kit! A few extra shop towels or microfiber cloths is helpful just to have on hand.
Steps for repairing leather furniture
Step 1: Clean the leather
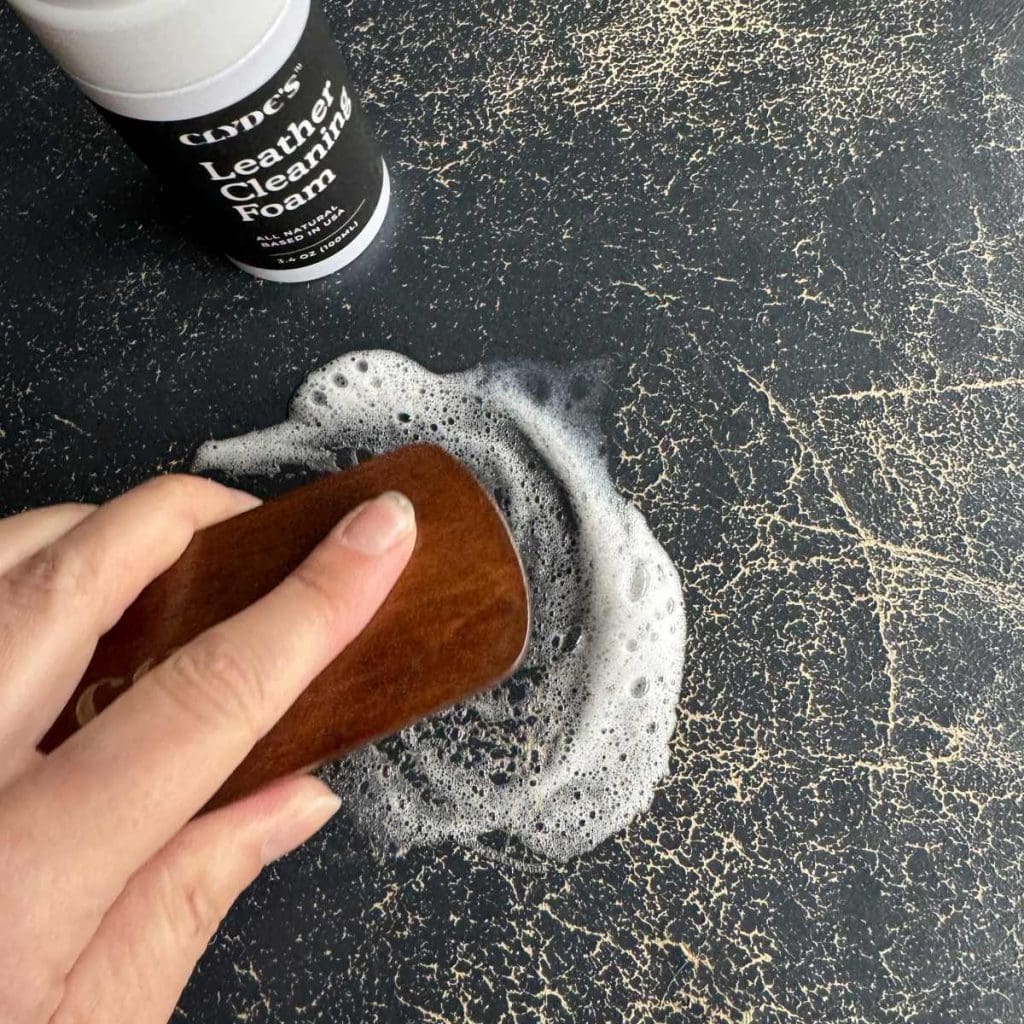
This kit comes with the leather cleaning foam and a small cleaning brush. Working in sections, apply the foam directly to the leather. Using the brush, work the cleaner in using circular motions, then wipe back any excess with a microfiber cloth (or other lint-free cloth).
I found I had just about the right amount of cleaner to cover this chair and ottoman. Once cleaned, allow the piece to dry completely before moving onto the next step.
Step 2: Deglaze the leather
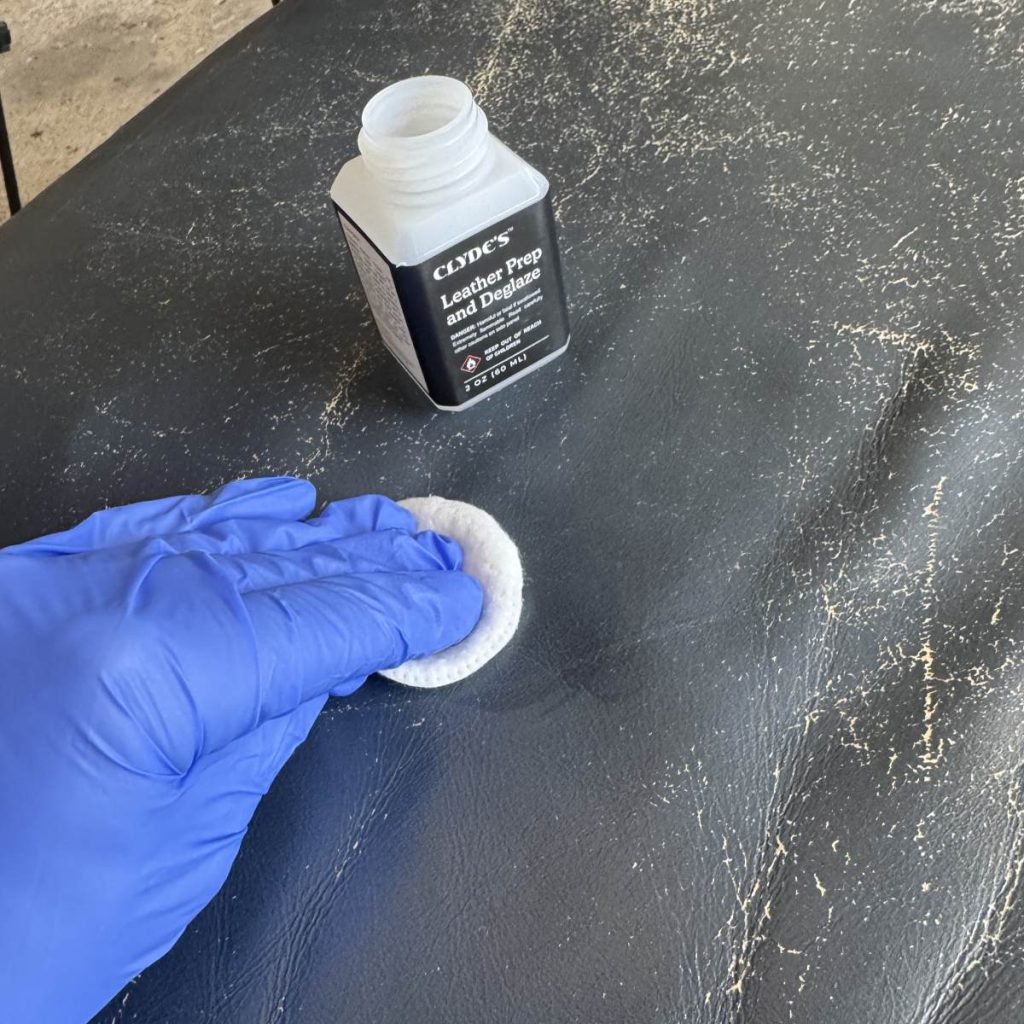
This is the most important step of this process! You need to make sure that your leather has been deglazed so that it can absorb the coloring balm. To test whether you need to deglaze, add several drops of water to your leather. If they sit on top, deglazing is necessary. If they soak right in, then your leather doesn’t need any deglazing, and you can skip this step.
This set needed to be deglazed, so I took a cotton pad and applied the deglazing solution. Rub the solution over the piece until the area becomes absorbent (keep doing the water test as needed). I had to do a few rounds to get the leather correctly prepared.
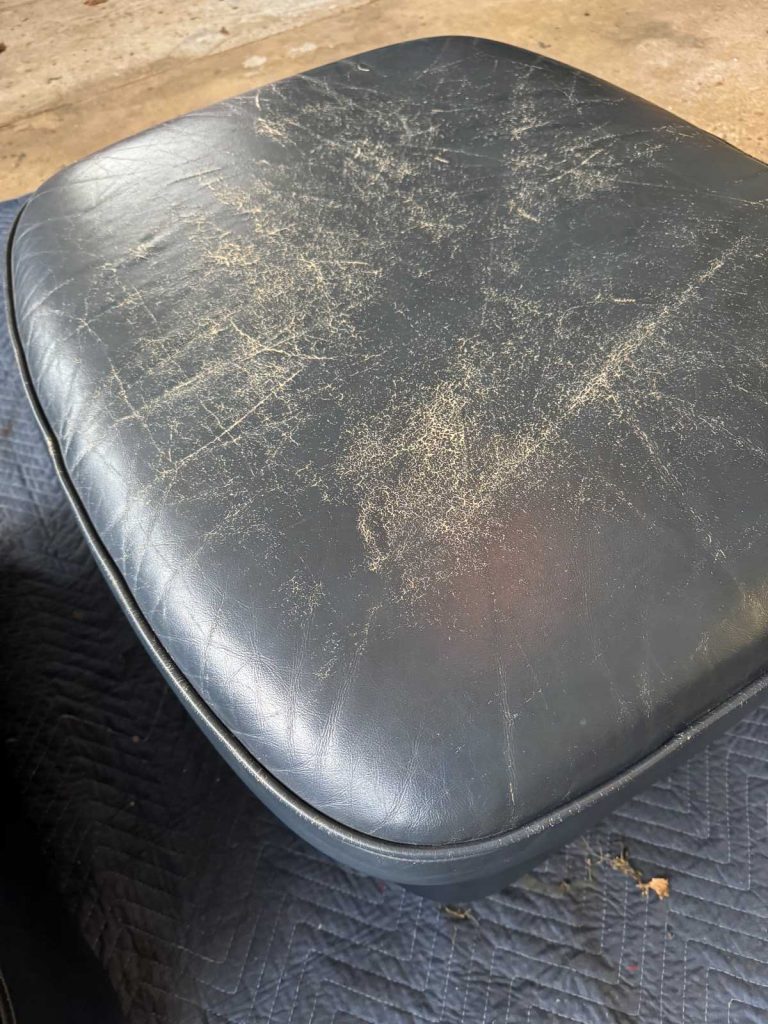
Step 3: Fill cracks in the leather
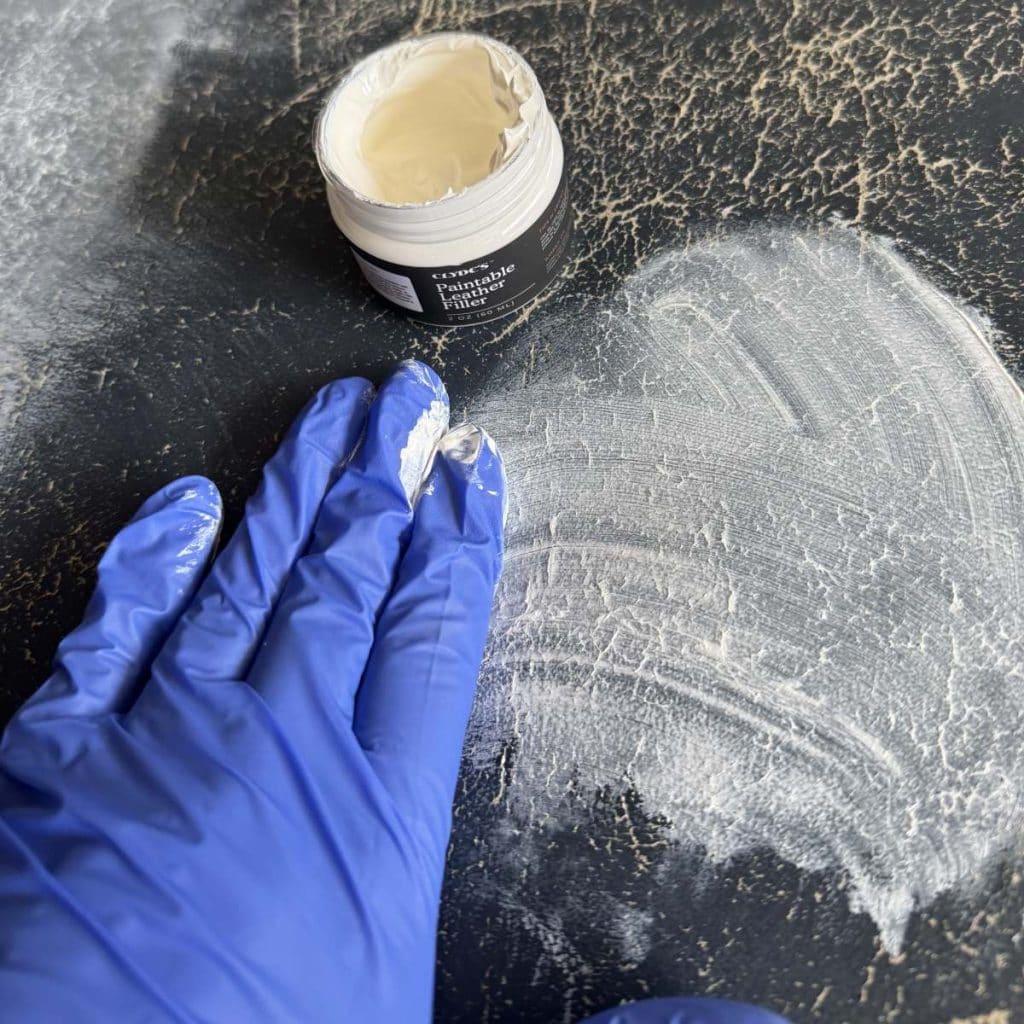
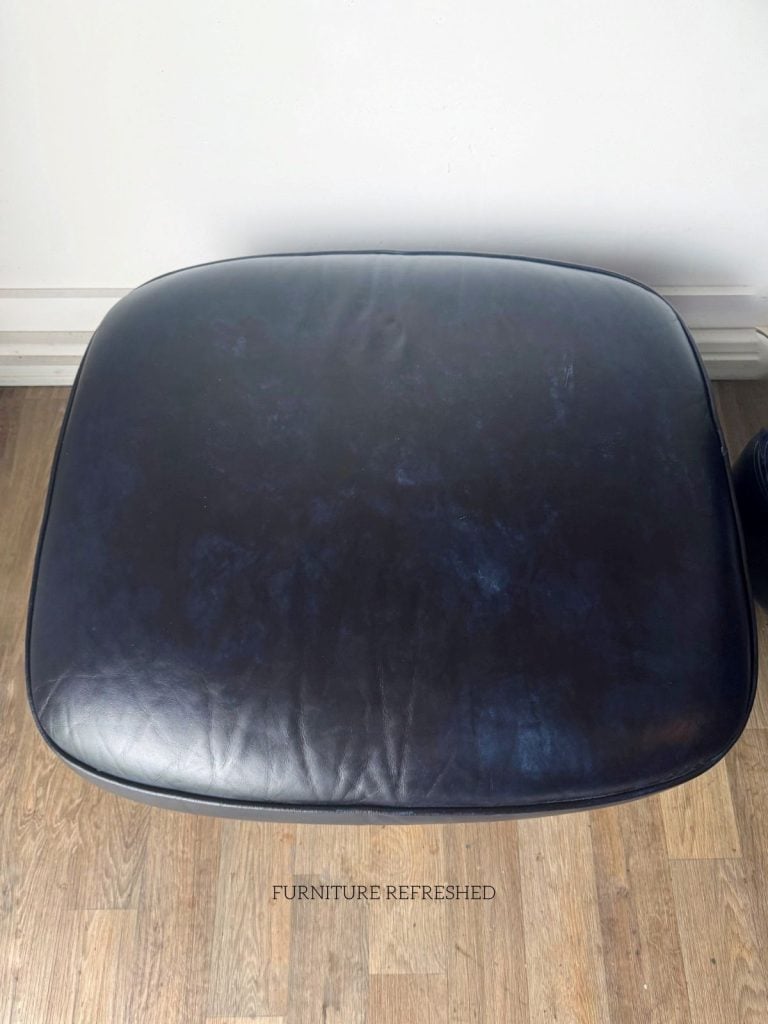
This is the step that I had the hardest time with. I started with the ottoman because that was the piece with the most damage. I used my fingers to cover the area with filler, let it dry, and then sanded it smooth. All of this went well – the finish was smooth yet flexible; however, when I proceeded to the next step, I found that the recoloring balm did not cover the white well. I did many coats and still could see the white filler.
So I decided to be much more conservative with the filler on the chair. I put very little on, and still did see some white, but it was much better. If I were to do it again, I would add a bit of the recoloring balm into the filler before application.
Step 4: Apply leather recoloring balm
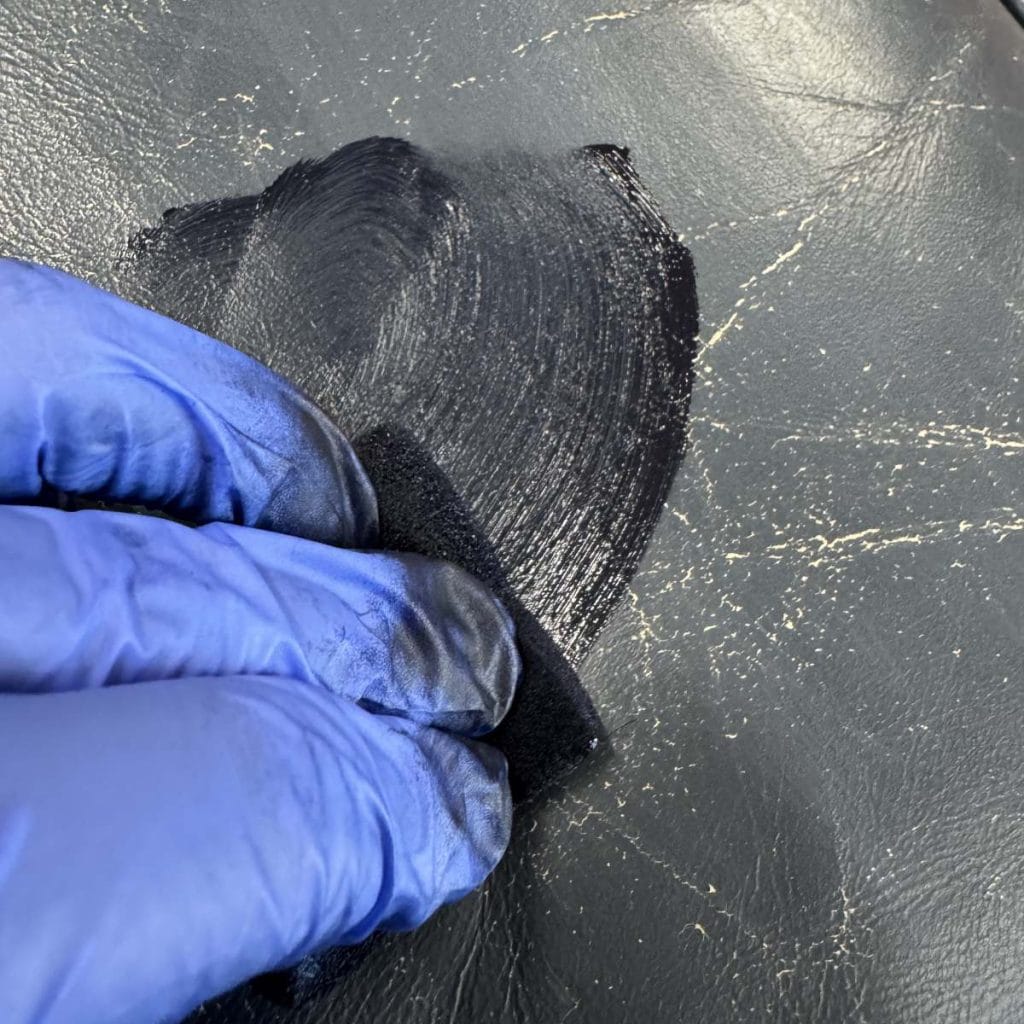
Using the applicator sponge included in the kit, apply a small amount of recoloring balm in circular motions. A little goes a long way, and you want it to soak in before it dries. If the balm is not soaking in well, you likely didn’t deglaze well enough.
I found it very helpful to work in sections. If you do see some streaking, finish the section you are working on. Then use a damp cloth to buff out the streaks.
You can recoat in as little as 5 minutes. Be sure to buff between coats. I did two coats to achieve the color I wanted on the chair. I lost count of the number I did on the ottoman, trying to cover the white filler.
Step 5: Seal with leather conditioner
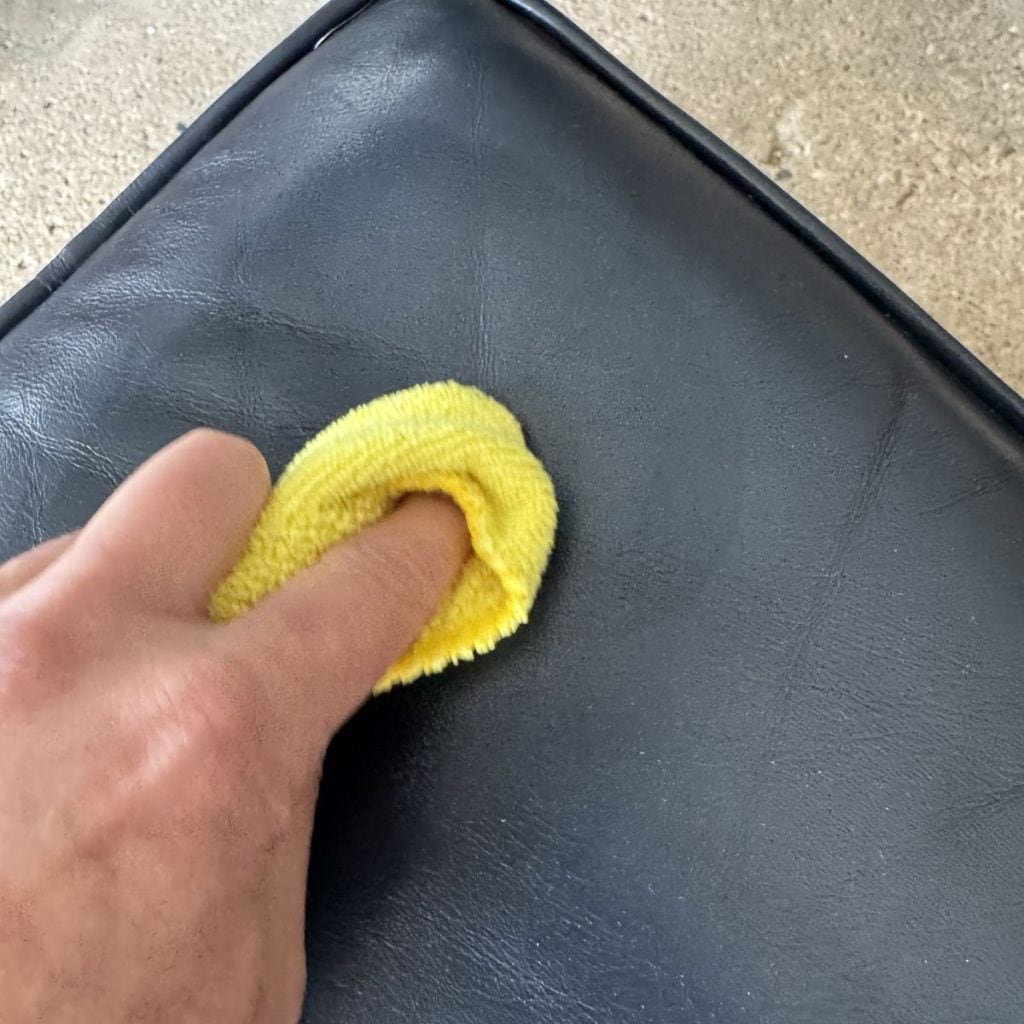
Let the recoloring balm dry and cure for 24-36 hours. Once cured, it’s time to seal it with the leather conditioner. Using a microfiber cloth, gently rub the conditioner over the entire surface. Let it soak in/dry for 5-6 hours and your piece is good to go! We had a very humid day when I did this, so I just let it sit overnight. In the morning, it was totally soaked in.
Key takeaways/lessons learned
- Use the filler sparingly! Or skip it all together. I had the hardest time with the filler and was using it more like I would use a wood filler on a piece of wood – spreading it all over and then sanding smooth. While it was very smooth, there was also a lot of filler, and the recoloring balm didn’t cover it very well. Maybe it was the blue color, and another color may cover better, but it’s definitely something you should apply with care and maybe test in a small area first!
- More of a stain than a paint. I loved the authentic aged finish this product gives. I didn’t want a monochrome, almost plastic look to the leather, and this product delivered. It maintained its leather character, and I love that.
- Don’t skimp on the deglazer. This is the most important part of the process, and for this project, it was the most time-consuming. I had to do several rounds to make the leather truly absorbent.
- Quick recoat time. This made the whole process go fairly quickly. By the time I had finished all of the sections on the chair, I could immediately start over with the second coat.
- Easy cleanup. The leather balm can be cleaned up with soap and water. I was able to wash and reuse the sponge and microfiber cloths I used for buffing.
Want to give Clydes a try?
Clyde’s Leather Company has been gracious enough to offer an affiliate discount code for my readers! Simply use the code FURNITUREREFRESHED at checkout for a 30% discount sitewide and free shipping.
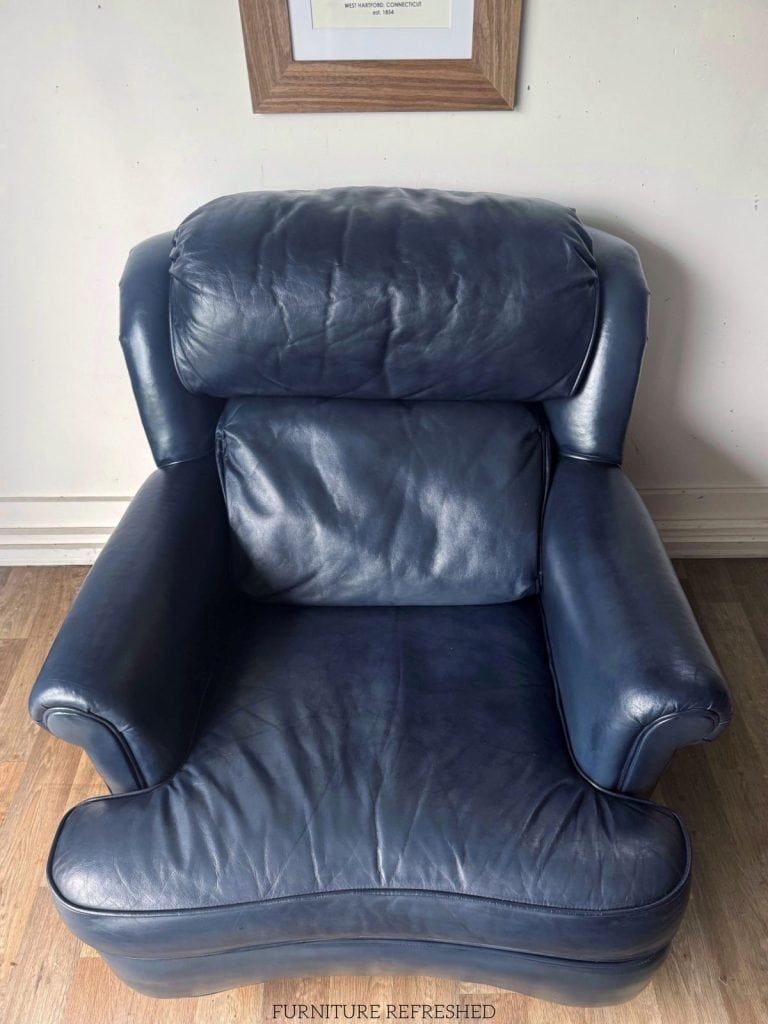
More before photos
Would you like to save this?
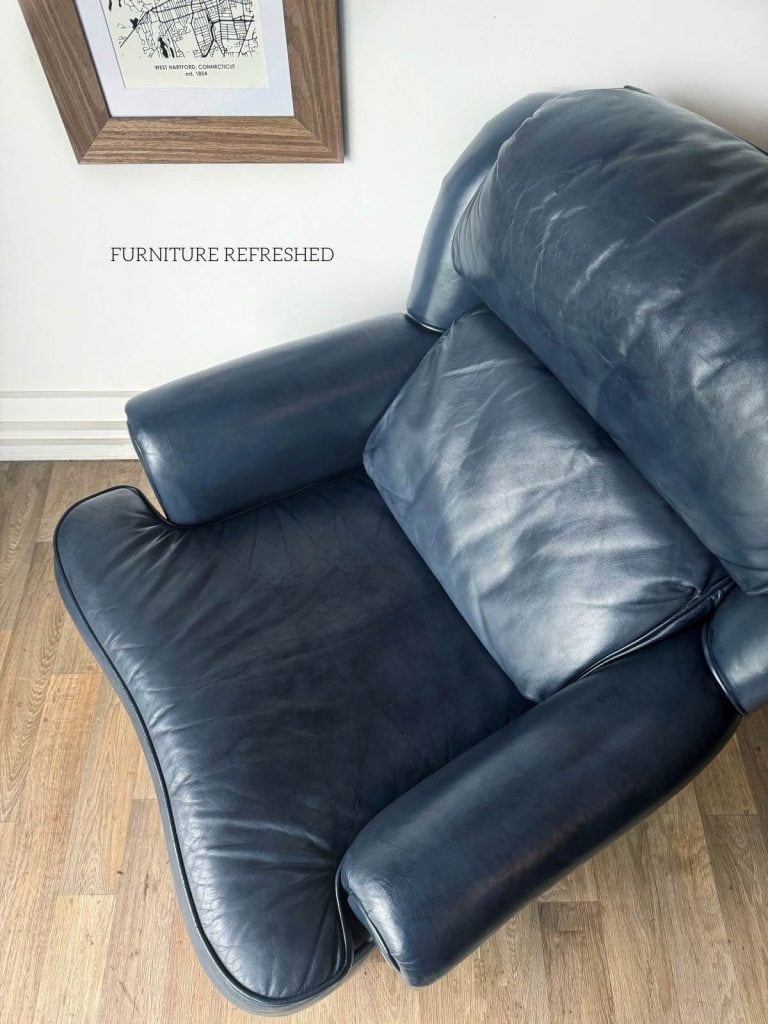
More after photos
Summary
Repairing leather furniture doesn’t have to be intimidating — with the right products and a little patience, you can breathe new life into worn pieces. Overall, I was happy with using Clyde’s Leather Care Kit for this project and would absolutely use it again in the future. While the ottoman didn’t turn out perfectly, it is still a huge improvement from where I started. Next time, I will be more careful with the filler! As always, I’m happy to answer any questions you have about the process!